bizhub 42/36
8-9
8.1
Sending a PC-FAX
8
6
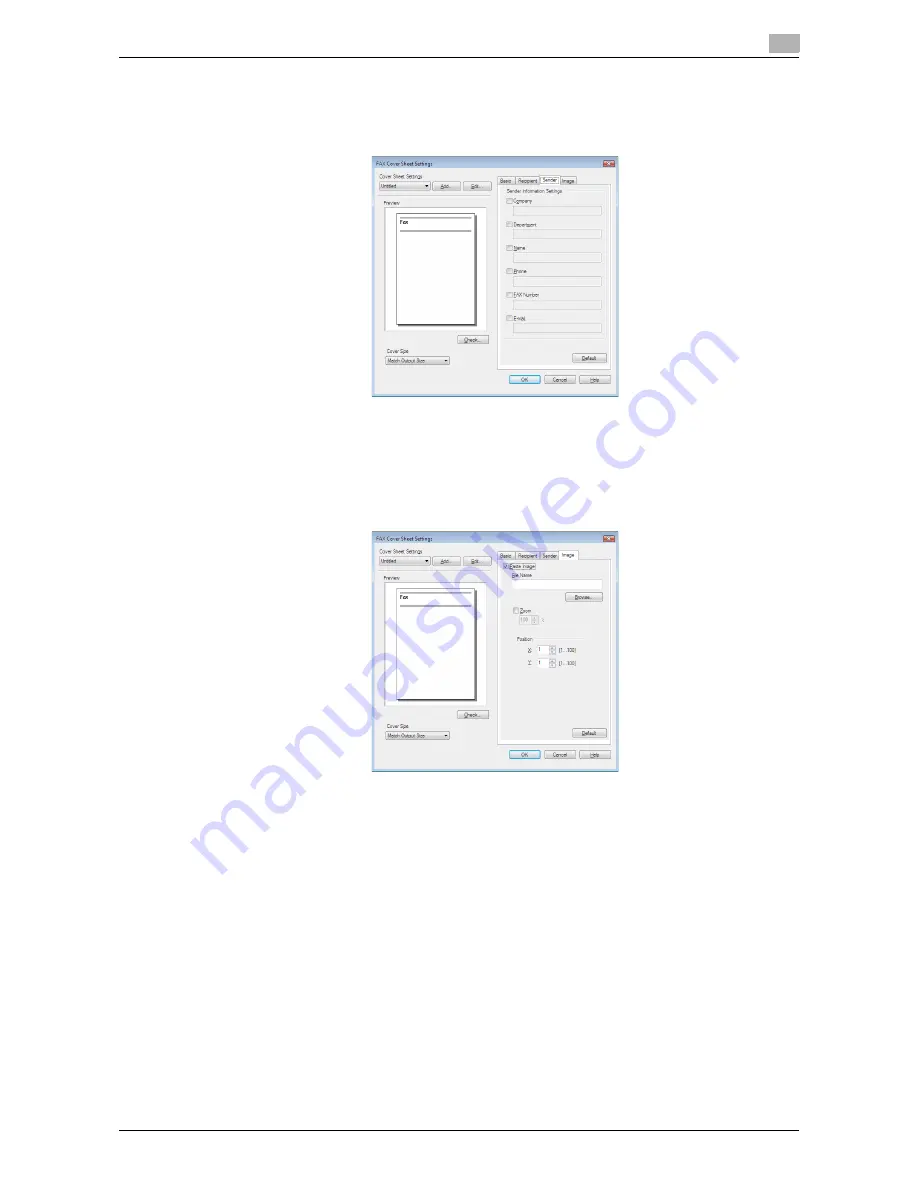
Use the [Sender] tab to specify the information about the sender to add to the cover sheet.
%
Select check boxes for the items you want to add, and then enter the text.
%
You can enter up to 80 characters in each item.
7
To place images such as a company log mark and map on the cover sheet, use the [Image] tab to spec-
ify the image file.
%
To specify the size, select the Zoom check box and enter the value in the box. To specify the posi-
tion, enter the values in the [X:] and [Y:] boxes.
%
The specifiable file type is BMP.
8
Check the specified contents.
To confirm the enlarged layout image, click [Check...].
%
Clicking [Add...] allows you to save the cover sheet settings with a name. You can recall them from
the [Cover Sheet Settings] list next time.
9
Click [OK].
Summary of Contents for bizhub 36
Page 1: ...User s Guide Fax Operations ...
Page 8: ...1 Introduction ...
Page 12: ...2 Before using the Fax function ...
Page 21: ...3 Control Panel Liquid Crystal Display ...
Page 29: ...4 Registering the basic information ...
Page 35: ...5 Installation of Fax Driver ...
Page 57: ...6 Sending G3 I FAX ...
Page 86: ...7 Receiving G3 I FAX ...
Page 96: ...8 Sending a PC FAX ...
Page 121: ...9 Convenient functions G3 I FAX PC FAX ...
Page 129: ...10 Description of reports and lists ...
Page 141: ...bizhub 42 36 10 13 10 6 Common lists 10 ...
Page 142: ...11 User Mode Settings ...
Page 148: ...12 PageScope Web Connection ...
Page 170: ...13 Troubleshooting for fax problems ...
Page 179: ...14 Appendix ...
Page 189: ...15 Index ...
Page 195: ...Copyright 2011 A3EW 9554FD 11 Printed in China 2011 11 http konicaminolta com ...


