REMOVAL OF THE REAR COUNTERWEIGHT
Completely lower the working equipment until it is re-
sting on the ground and stop the engine.
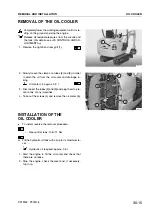
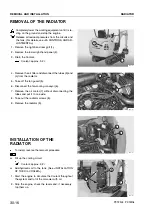
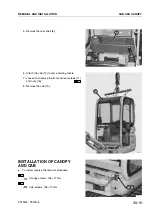
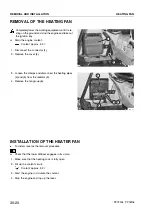
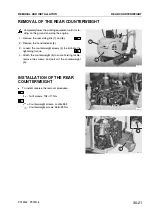
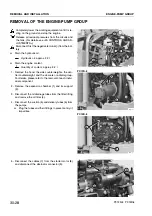
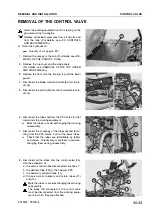
1 - Remove the rear side grills (1) and (2).
2 - Remove the hood fastener (3).
3 - Loosen the counterweight screws (4) to eliminate the
tightening torque.
4 - Attach the counterweight (5) to some hoisting tackle,
remove the screws, and pull out the counterweight
(5).
INSTALLATION OF THE REAR
COUNTERWEIGHT
.
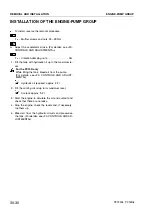
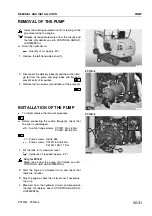
To install, reverse the removal procedure.
Grill screws: 108
w
11 Nm
Counterweight screws: Loctite 262
Counterweight screws: 268
w
29 Nm
30-21
REMOVAL AND INSTALLATION
REAR COUNTERWEIGHT
PC12R-8 PC15R-8
RKPA0612
1
2
5
RKPA2071
3
RKPA2080
4
5
Summary of Contents for PC12R-8 MISTRAL
Page 1: ......
Page 2: ...40 28 PC15R 8 ...
Page 4: ...00 2 PC12R 8 PC15R 8 ...
Page 17: ...GROUP 10 ...
Page 18: ...40 28 PC15R 8 ...
Page 30: ...10 12 PC12R 8 PC15R 8 PAGE INTENTIONALLY LEFT BLANK ...
Page 32: ...10 14 PC12R 8 PC15R 8 PAGE INTENTIONALLY LEFT BLANK ...
Page 34: ...10 16 PC12R 8 PC15R 8 PAGE INTENTIONALLY LEFT BLANK ...
Page 36: ...10 18 PC12R 8 PC15R 8 PAGE INTENTIONALLY LEFT BLANK ...
Page 38: ...10 20 PC12R 8 PC15R 8 PAGE INTENTIONALLY LEFT BLANK ...
Page 40: ...10 22 PC12R 8 PC15R 8 PAGE INTENTIONALLY LEFT BLANK ...
Page 42: ...10 24 PC12R 8 PC15R 8 PAGE INTENTIONALLY LEFT BLANK ...
Page 44: ...10 26 PC12R 8 PC15R 8 PAGE INTENTIONALLY LEFT BLANK ...
Page 79: ...10 61 PC12R 8 PC15R 8 PAGE INTENTIONALLY LEFT BLANK ...
Page 130: ...10 112 PC12R 8 PC15R 8 PAGE INTENTIONALLY LEFT BLANK ...
Page 132: ......
Page 133: ...GROUP 20 ...
Page 134: ...40 28 PC15R 8 ...
Page 158: ...20 24 PC12R 8 PC15R 8 PAGE INTENTIONALLY LEFT BLANK ...
Page 198: ......
Page 199: ...GROUP 30 ...
Page 200: ...40 28 PC15R 8 ...
Page 283: ...GROUP 40 ...
Page 284: ...40 28 PC15R 8 ...
Page 317: ...40 33 PC12R 8 PC15R 8 PAGE INTENTIONALLY LEFT BLANK ...
Page 324: ......

