Chapter 2
Kodak ESP 9 Printer User Guide
13
x
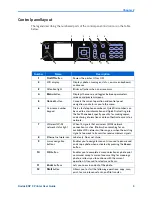
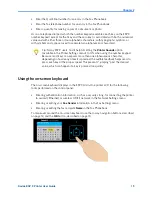
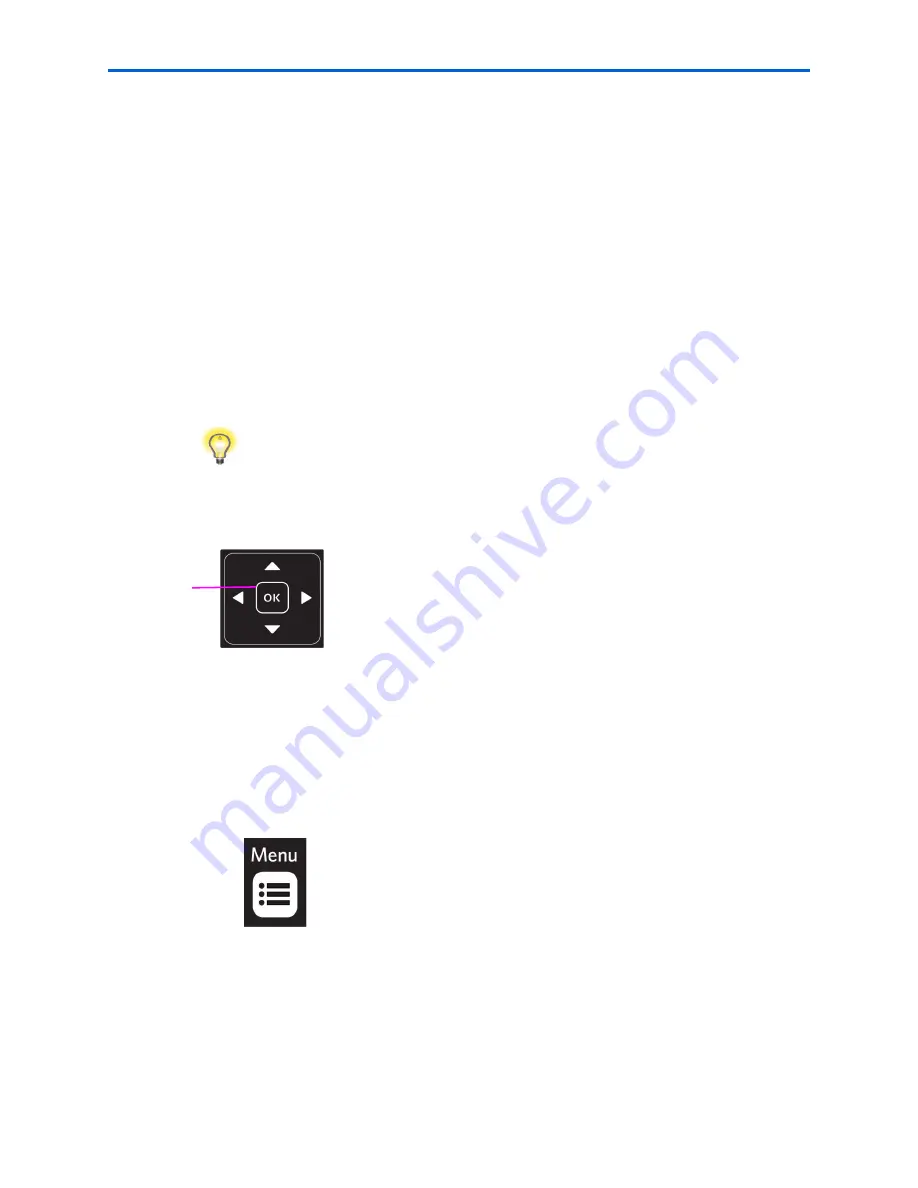
When you are viewing a group of photos stored on a portable memory storage device
such as a USB drive, pressing the
or the
button allows you to scroll through the
images.
x
Continuing to press any of the 4-way navigation buttons causes them to repeat the
action until you release it.
Using the OK button
Press
OK
to
x
Accept the setting displayed in the selected row in the current menu.
x
Accept the preview on the LCD display of something that you want to print, copy, scan
or fax as the content to be produced.
x
Select a photo for printing.
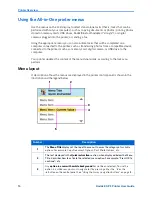
Using the Menu button
Press
Menu
when:
x
You want to set up a new task and anything other than a menu is visible on the LCD
display
x
You are viewing an image on the LCD display and want to use Photo Options menu .
x
You want to view the parent of the last menu displayed.
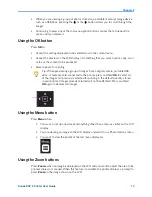
Using the Zoom buttons
Press
Zoom+
when an image is displayed on the LCD and you want to adjust the area to be
printed, copied, or scanned. When this feature is available, the printer displays a prompt to
press
Zoom
on the image shown on the LCD.
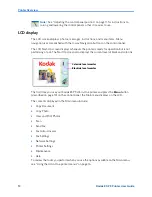
Tip:
When previewing a group of images from a digital camera, portable USB
drive, or memory card connected to the printer, press and hold
OK
to select all
of the images not previously selected for printing in the default quantity stored
in your printer. (Images already selected will not be affected.) Press and hold
OK
again to deselect all images.
Summary of Contents for ESP 9 ALL-IN-ONE PRINTER - SETUP BOOKLET
Page 17: ...All in One Printer print copy scan fax 9 User Guide ...
Page 28: ...Getting Help 4 Kodak ESP 9 Printer User Guide ...
Page 82: ...Copying 58 Kodak ESP 9 Printer User Guide ...
Page 130: ...Troubleshooting 106 Kodak ESP 9 Printer User Guide ...
Page 146: ...Glossary 122 Kodak ESP 9 Printer User Guide ...
Page 148: ...If you need to call Customer Support 124 Kodak ESP 9 Printer User Guide ...
Page 157: ... 1K3289 1K3289 1K3289 B ...


