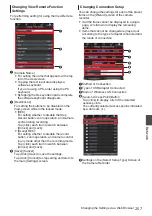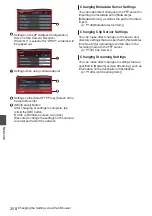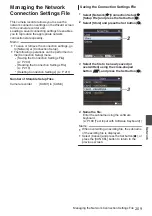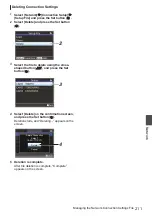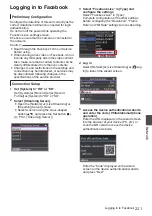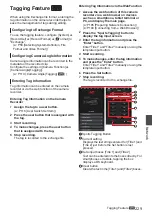
Logging in to Facebook
Preliminary Configuration
Configure the date/time of this unit correctly as the
correct date/time information is needed for login
authentication.
Do not turn off the power while operating the
Facebook Live settings screen.
Check to ensure that the camera is connected to
the network.
Caution :
0
Read through the Facebook Terms of Service
before using.
0
When sharing a live video on Facebook, do not
include any third-party ads in the video content.
Also, make sure that recorded contents can be
clearly differentiated from the live contents.
0
Changes to and restrictions on the settings and
connection may be introduced, or services may
be discontinued following changes in the
specifications of the service provider.
Connection Setup
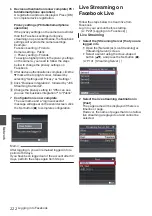
1
Set [System] to “HD” or “SD”.
Set [System]
B
[Record Set]
B
[Record
Format]
B
[System] to “HD” or “SD”.
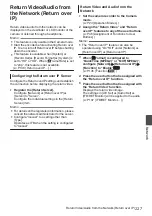
2
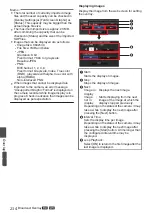
Select [Streaming Server].
0
Open the [Network]
B
[Live Streaming]
B
[Streaming Server] screen.
0
Select a server using the cross-shaped
button (
JK
), and press the Set button (
R
).
.
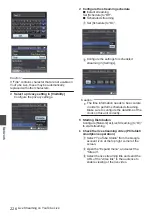
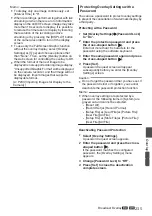
3
Select “Facebook Live” in [Type] and
configure the settings
Select “Facebook Live” in [Type].
Complete configuration of the other settings
before configuring the “Resolution”, “Frame
Rate” and “Bit Rate” settings for live streaming.
.
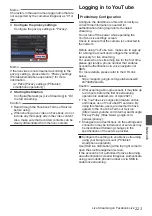
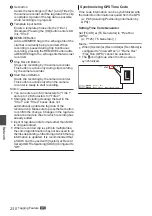
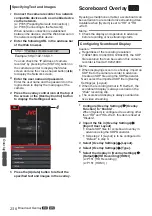
4
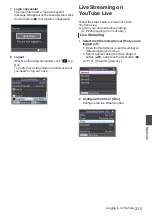
Log in
Select [Network]
B
[Live Streaming]
B
[
Log
In] to launch the wizard screen.
.
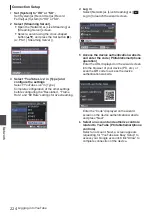
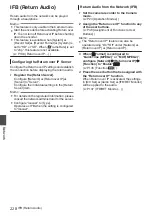
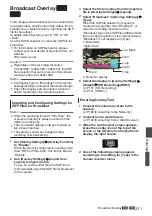
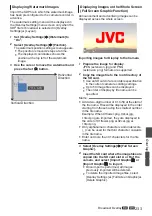
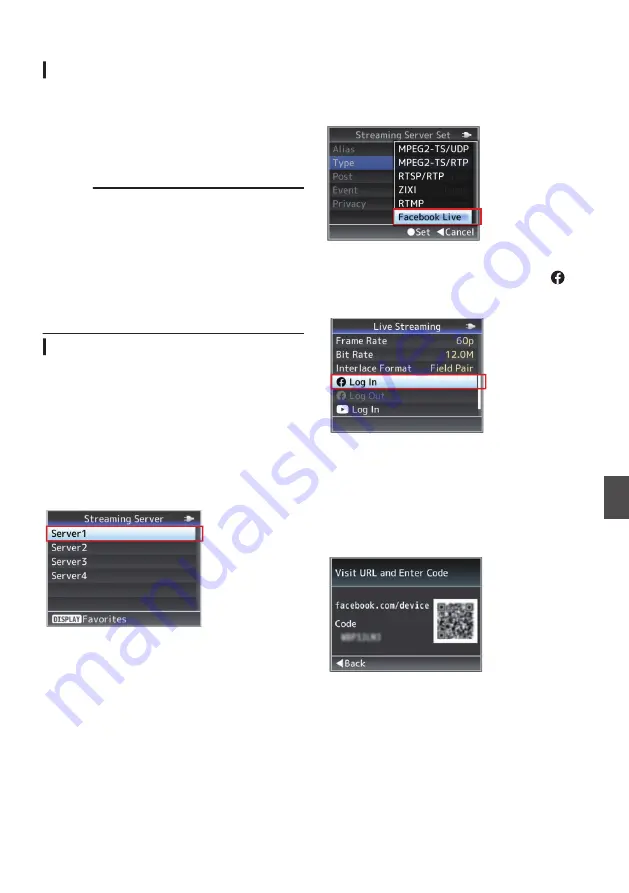
5
Access the device authentication website
and enter the code (PC/tablet/smartphone
operation)
Enter the URL displayed on the wizard screen
into the browser of your device (PC, etc.) or
scan the QR code to access the device
authentication website.
.
Enter the “Code” displayed on the wizard
screen on the device authentication website
and press “Next”.
Logging in to Facebook
221
Network
Summary of Contents for Connected Cam GY-HC500E
Page 2: ...2 ...
Page 267: ...267 ...

