Careful planning before starting an OCE will allow you to run other
background jobs at the same time, but with degraded performance. For example,
using a different array, you may start the following operations before you
begin an OCE on the selected array:
• Add or delete SAN LUN mapping
• Set or clear a dedicated or global spare drive
• Start or stop a manual rebuild
• Clear a failed drive status
• Start or stop a verify job process
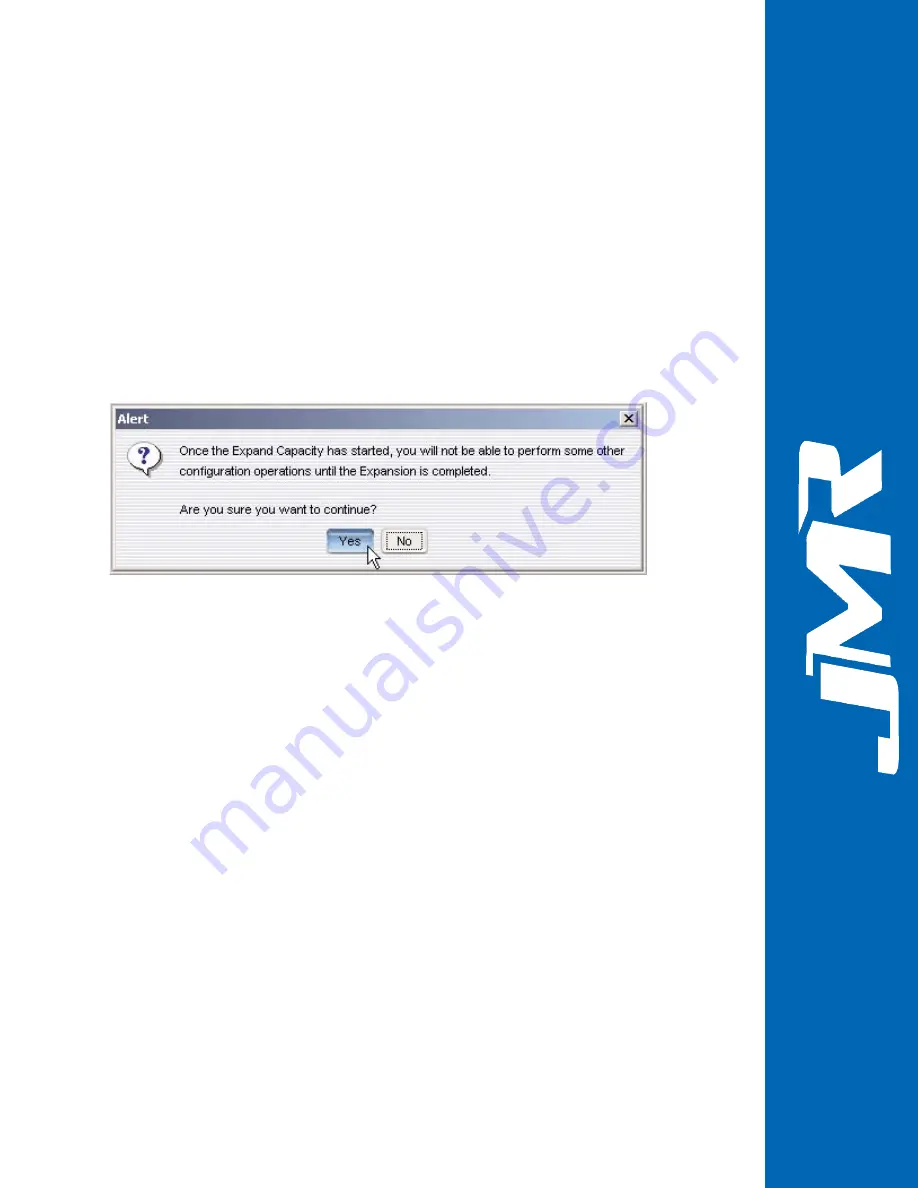
Please note however, that when you first request the Online Capacity Expansion,
you will get the following message.
Figure 25. Message for Online Capacity Expansion
This message is to caution you that there will be limitations such as not being able
to create a new array, delete a previous array, or work with logical volumes
WARNING:
You may consider backing up your data before using the OCE
process. If you accidentally or choose to delete the array that is
being expanded (stopping the OCE) there will be permanent data
loss of that array.
STEP 1
Figure 26. Select the Array for Expansion
You have now reached the Expand Capacity Window. This is the screen used to
select the number of drives and their location for the OCE operation. Under the
Select Additional Drives section, in the first column, there are two types of check
MARLIN
TM
3-14
M
MA
AR
RLLIIN
N
T
TM
M
16-Bay 4G FC-SATA300/SAS RAID Array Management Users Guide Rev B
Select (left-click) the array you want to be expanded in the Logical
Configuration Panel and click on the Expand Capacity button on the
toolbar (see Figure 26). This will launch the window to enable
expansion (see Figure 27), where you can select one or more drives
(maximum of 16 drives per array) by clicking in the blue check
box(es).


