14 - 4
Assembly
Clean each part in a suitable solvent and dry using
compressed air.
Inspect all parts and replace as required.
Care must be taken not to let dust or dirt adhere to parts after
cleaning and that parts do not become dented, scratched or
damaged.
Fit new 'O' rings, plugs, packing, oil seals and fastener seals.
Apply grease to all new oil seals and 'O' rings, and clean
hydraulic fluid to all sliding parts before installation.
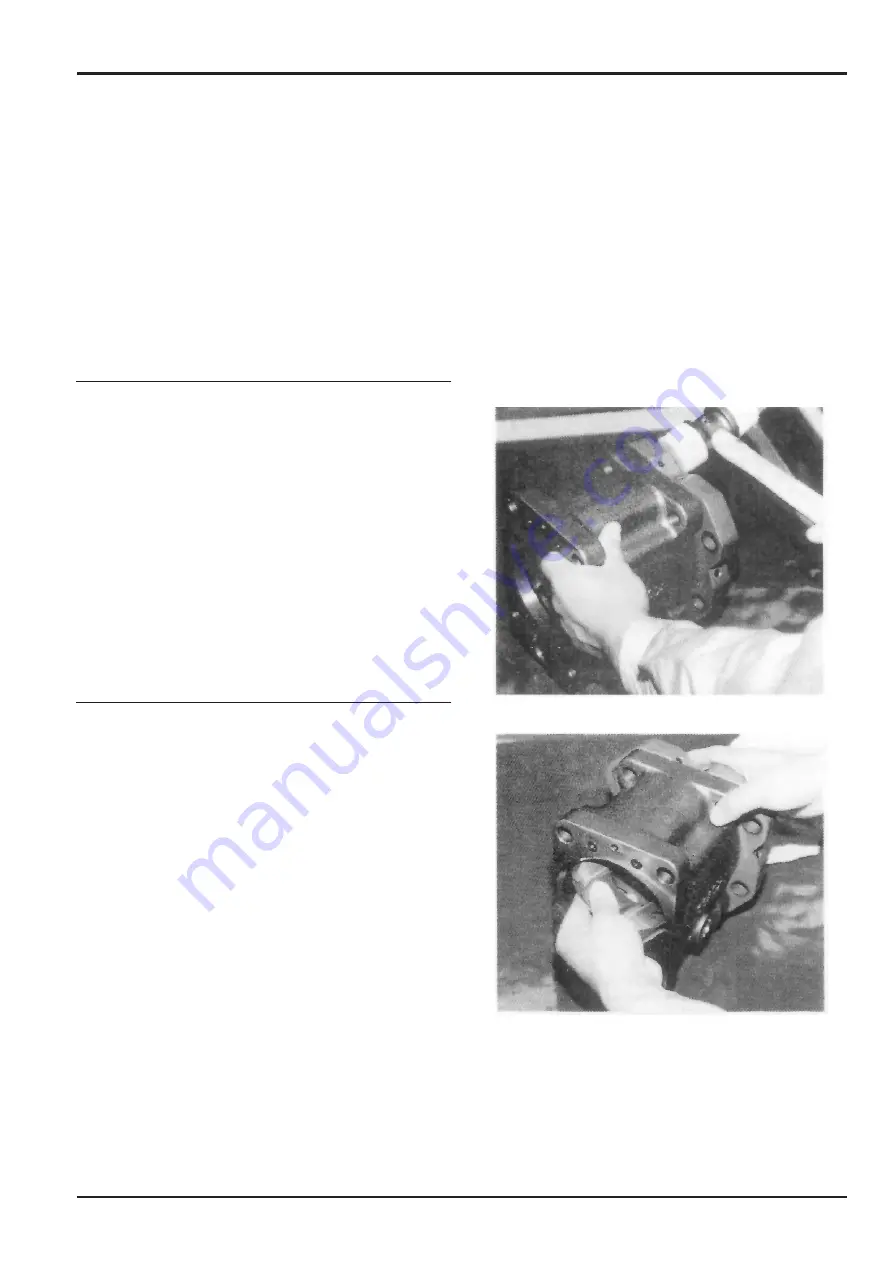
1.
By lightly tapping, install the swash plate support (251) to
the pump casing (271).
When the servo piston (532), tilting pin (531) stopper
(534), stopper (s) (544) are removed, install them in the
pump casing in advance.
Use a jig when tightening the servo piston (532) and
tilting pin (531) so as not to damage the tilting pin head
and feedback pin. Also, coat Loctite on the screw
threads when assembling.
2.
Place the pump casing with the regulator installation
surface facing down. Fit the swash plate tilting bush to
the tilting pin (531) and then mate the swash plate (212)
to the swash plate support (251).
Note:
Check with the fingertips that the swash plate moves
smoothly.
Apply grease to the moving parts of the swash plate (212)
and swash plate support (251) to aid the installation of the
drive shaft (113) (111).
All tapped holes and gasket faces should be thoroughly
degreased by washing as liquid packing and adhesive is
used on all gasket surfaces and threads.
Apply adhesive to the final few threads of a bolt or screw. Do
not apply excessive amounts of adhesive. Wipe off any
surplus.
Leave the pump for at least twelve hours after assembly to
allow the adhesive to fully dry.
Ensure that the pump controllers are fitted to the positions
from which they were removed.
Section E
Hydraulics
9803/6400
Section E
14 - 4
Issue 2*
Hydraulic Pump JS200, JS240
*
Summary of Contents for JS 200 Series
Page 57: ...9 1 Section 3 Routine Maintenance 9803 6400 Section 3 9 1 Issue 2 Component Location Diagram...
Page 113: ......
Page 137: ...5 3 Section C Electrics 9803 6400 Section C 5 3 Issue 2 Pump Control FLOW CHART...
Page 201: ...10 7 Section C Electrics 9803 6400 Section C 10 7 Issue 1 CAPs II Diagnostic system K C...
Page 215: ...Section E Section E Hydraulics 9803 6400 Issue 2 3 2 3 2 Schematics...
Page 217: ...Section E Section E 9803 6400 Issue 2 3 3 3 3 Hydraulics Schematics...
Page 218: ...3 5 Section E Hydraulics 9803 6400 Section E 3 5 Issue 1 Schematics Shuttle Block JS200 JS240...
Page 232: ...10 1 Section E Hydraulics 9803 6400 Section E 10 1 Issue 1 Hydraulic Pump JS200 JS240...
Page 233: ...10 2 Section E Hydraulics 9803 6400 Section E 10 2 Issue 1 Hydraulic Pump JS200 JS240...
Page 234: ...10 3 Section E Hydraulics 9803 6400 Section E 10 3 Issue 1 Hydraulic Pump JS200 JS240...
Page 263: ...30 2 Section E Hydraulics 9803 6400 Section E 30 2 Issue 1 Control Valve JS200 JS240...
Page 264: ...30 3 Section E Hydraulics 9803 6400 Section E 30 3 Issue 1 Control Valve JS200 JS240...
Page 265: ...30 4 Section E Hydraulics 9803 6400 Section E 30 4 Issue 1 Control Valve JS200 JS240...
Page 266: ...30 5 Section E Hydraulics 9803 6400 Section E 30 5 Issue 1 Control Valve JS200 JS240...
Page 267: ...30 6 Section E Hydraulics 9803 6400 Section E 30 6 Issue 1 Control Valve JS200 JS240...
Page 268: ...30 7 Section E Hydraulics 9803 6400 Section E 30 7 Issue 1 Control Valve JS200 JS240...
Page 327: ...51 12 Section E Hydraulics 9803 6400 Section E 51 12 Issue 1 Solenoid Valve 8 spool...
Page 328: ...55 1 Schematic Section E Hydraulics 9803 6400 Section E 55 1 Issue 1 Shuttle Valve...
Page 330: ...55 3 Schematic Section E Hydraulics 9803 6400 Section E 55 3 Issue 1 Cushion Valves...
Page 481: ...7 15 Section F Transmission 9803 6400 Section F 7 15 Issue 2 Motor...
Page 482: ...7 16 Section F Transmission 9803 6400 Section F 7 16 Issue 1 Motor...


