Selenio X100
Installation
22
Preparing for Remote Control via Control Panel
Control panels remotely control Selenio X100 units via broadcast. You will need to
configure the switchers and routers in your network accordingly.
Follow these steps to prepare your Selenio X100 models for remote control:
1
Reconfigure each Selenio X100 with unique IP addresses and other appropriate network
settings, including shared subnet mask addresses.
See
Setting IP and Subnet Mask Addresses
on page 17 for details.
2
Restart each Selenio X100, and then wait 20 seconds to allow for network detection.
3
Connect all Selenio X100 units to a TCP/IP-based network hub or switch using 10/
100Base-T Ethernet cable.
4
Discover all units found on the network, and then select the one you wish to control.
Selecting a Remote Unit to Control
You can remotely control all Selenio X100 units that share the same subnet. Follow these
steps:
1
Ensure all connections and network settings have been made.
2
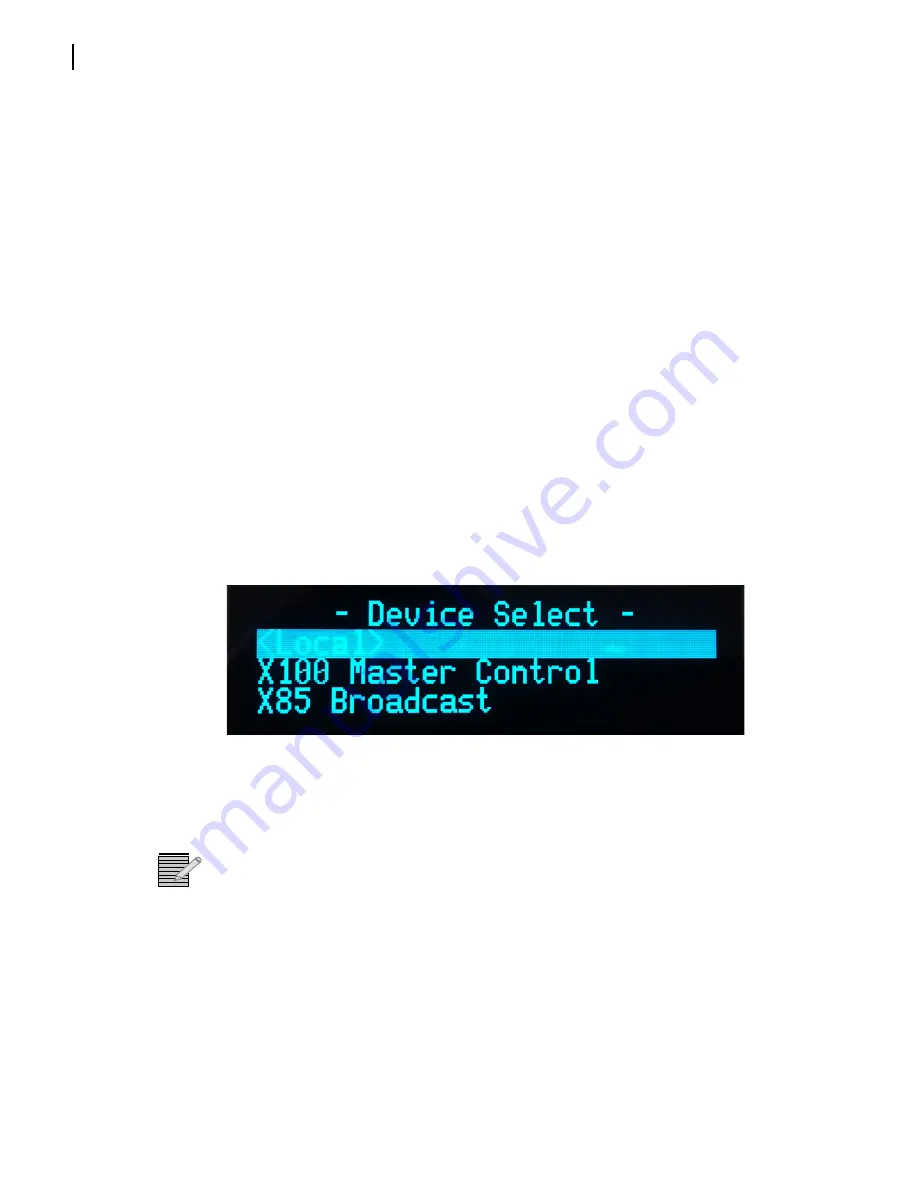
On the Selenio X100, press the
Remote
button to bring up a list of available units for
control (see
).
Figure 2-12
List of Systems Available for Remote Control
The
<local device >
option shown on-screen represents the unit you are using (the local
unit that is in front of you), and is always available on this list. An asterisk (*) beside the
name indicates that this is the remote system currently being controlled by the panel.
Note:
Instead of IP addresses, you can give alphabetical names to individual Selenio X100
units that will appear in the list. To do this, see the
Machine Name
parameter.
3
Use the control knob to scroll through the list of available Selenio X100 devices, highlight
the unit you wish to control, and then press
Enter
.
The Selenio X100 screen reads
Connecting...
4
Wait a few moments.
The menu of the selected Selenio X100 unit appears along with all of that unit’s settings.
5
Operate the selected unit as required.
Summary of Contents for Selenio X100
Page 8: ...Selenio X100 Installation and Operation Manual viii...
Page 21: ...Selenio X100 Installation and Operation Manual 9 Figure 1 5 X100 Signal Flow...
Page 22: ...Selenio X100 Installation and Operation Manual 10...
Page 38: ...Selenio X100 Installation 26...
Page 158: ...Appendix A Laser Safety Guidelines 146...
Page 178: ...166...


