Selenio X100
Installation and Operation Manual
19
Changing the PC Network Settings
In unusual situations, such as correcting a failed software upgrade, you may need to change
your PC network settings. Follow these steps to change the settings:
1
Change the IP Address of the PC to match that of the Selenio X100, by following theses
steps:
a
Click
Start > Settings
and then click
Control Panel
.
This opens the
Control Panel window.
b
Double-click
Network and Dial-up Connections,
and then double-click
Local Area
Connection.
c
Click the
General
tab, and then click
Properties
.
This opens a new
Local Area Connection Properties
window.
d
On the
General
tab, select
Internet Protocol (TCP/IP)
, and then click
Properties
...,
ensuring you are working on the correct Ethernet adapter for the CCS network.
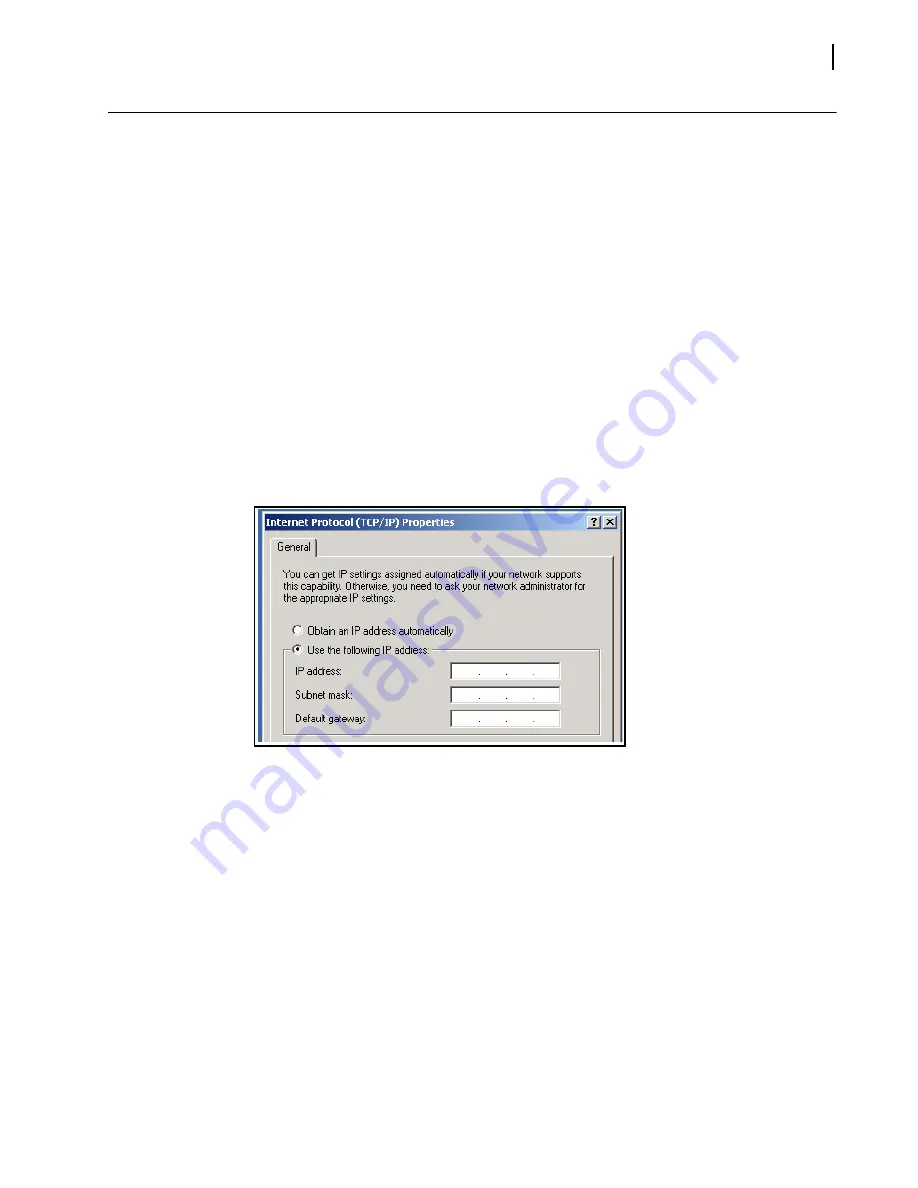
The IP Address of the
Internet Protocol TCP/IP Properties
box appears.
Figure 2-9
shows the portion of the Internet Protocol TCP/IP Properties box where you
enter the IP Address, Subnet Mask, and Default Gateway of your PC.
e
Note whether
Obtain an IP address automatically
is selected.
You may need to re-select this option later when you revert back to the original PC IP
Address.
f
Select
Use the following IP address
, and in the
IP address
box, type a new
computer IP Address to match the first three octets of the IP Address of the Selenio
X100, and then add a different fourth octet.
(For example, if the Selenio X100 IP Address is 192.168.100.50, you could type
192.168.100.181).
g
In the
Subnet Mask
field, type:
255.255.255.0
This value applies to Class C IP addresses; confirm the number with your network
administrator.
h
Enter the same
Default Gateway
number as the one on the Selenio X100, or leave
blank.
Summary of Contents for Selenio X100
Page 8: ...Selenio X100 Installation and Operation Manual viii...
Page 21: ...Selenio X100 Installation and Operation Manual 9 Figure 1 5 X100 Signal Flow...
Page 22: ...Selenio X100 Installation and Operation Manual 10...
Page 38: ...Selenio X100 Installation 26...
Page 158: ...Appendix A Laser Safety Guidelines 146...
Page 178: ...166...


