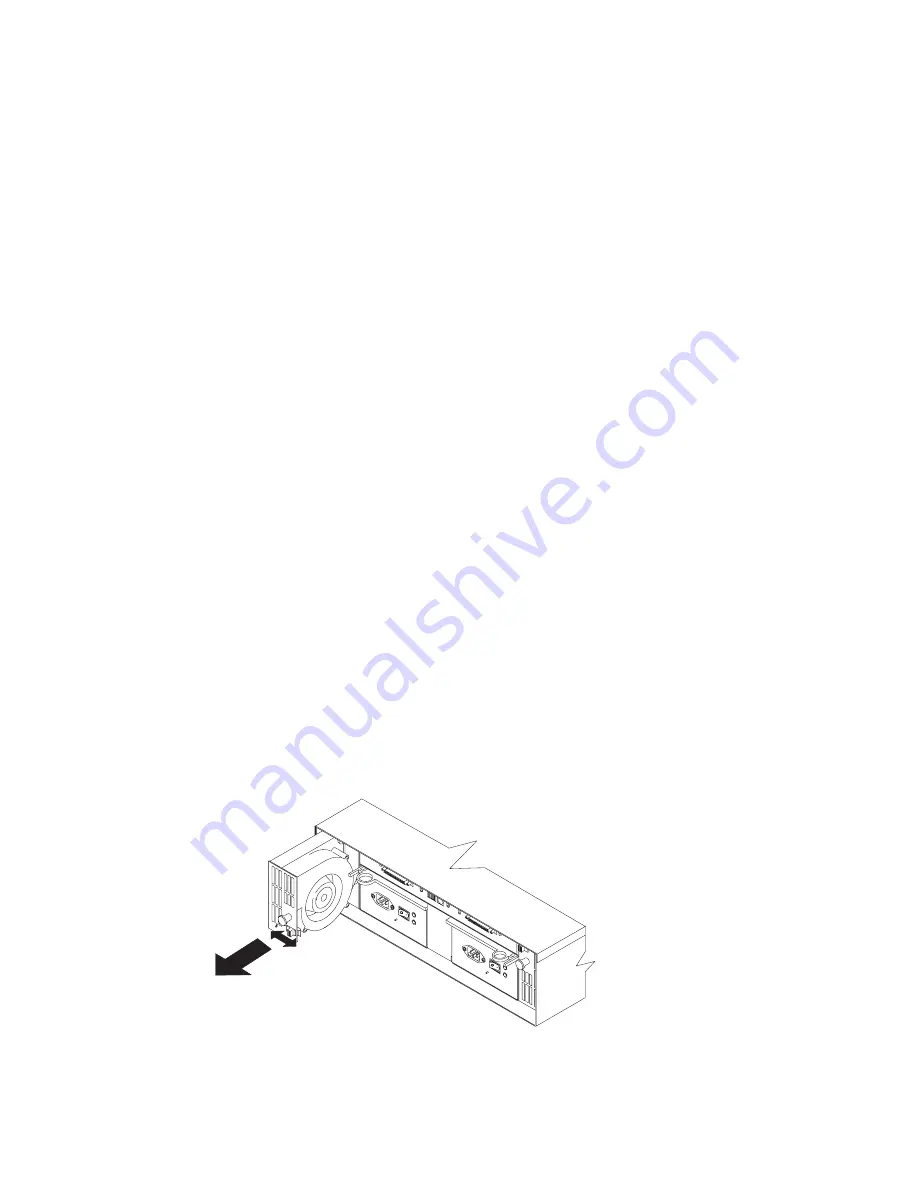
Replacing a Hot-Swap Fan
Use the following procedures to replace a hot-swap fan:
1. Check the LEDs on the back of the expansion unit.
2. If the amber Fault LED is on, remove the failed fan.
a. Slide the latch left or right to unlock the fan CRU.
b. Use the handle (black knob) to pull the fan from the
expansion unit.
3. Install the new fan.
a. Place the fan CRU in front of the fan slot.
b. Hold the latch open and slide the fan all the way into the
slot. If the fan does not go into the bay, rotate it. The latch
should always be on the side closest to the center of the
expansion unit.
c. Release the latch. If the lever remains open, pull back on
the fan slightly, then push it in again until the latch snaps
into place.
4. Check the LEDs.
The Fault LEDs should turn off after a few seconds; if they
remain on, refer to Table 2 on page 60.
Chapter 4. Installing and Replacing Devices
53
Summary of Contents for EXP15
Page 1: ...IBM Netfinity EXP15 Installation and User s Handbook...
Page 2: ......
Page 3: ...IBM Netfinity EXP15 Installation and User s Handbook IBM...
Page 8: ...vi IBM Netfinity EXP15 Installation and User s Handbook...
Page 13: ...Safety Information xi...
Page 19: ...Safety Information xvii...
Page 22: ...xx IBM Netfinity EXP15 Installation and User s Handbook...
Page 26: ...Welcome and Thank You xxiv IBM Netfinity EXP15 Installation and User s Handbook...
Page 118: ...92 IBM Netfinity EXP15 Installation and User s Handbook...
Page 124: ...IBM Part Number 24L7940 Printed in U S A September 1998 24L794...


