Using LXEConnect
1. Power up the MX7 Tecton.
2. Connect the MX7 Tecton to the host PC using the USB connection cable. Once connected, the ActiveSync dialog box
appears and the ActiveSync connection is automatically established.
3. Select “No” for partnership when prompted. Dismiss any ActiveSync dialog boxes warning a partnership is not set up. It
is not necessary to establish a partnership to use LXEConnect. However, if a partnership is desired for other reasons,
one may be established now.
4. Double-click the LXEConnect icon that was created on the PC desktop.
5. LXEConnect launches.
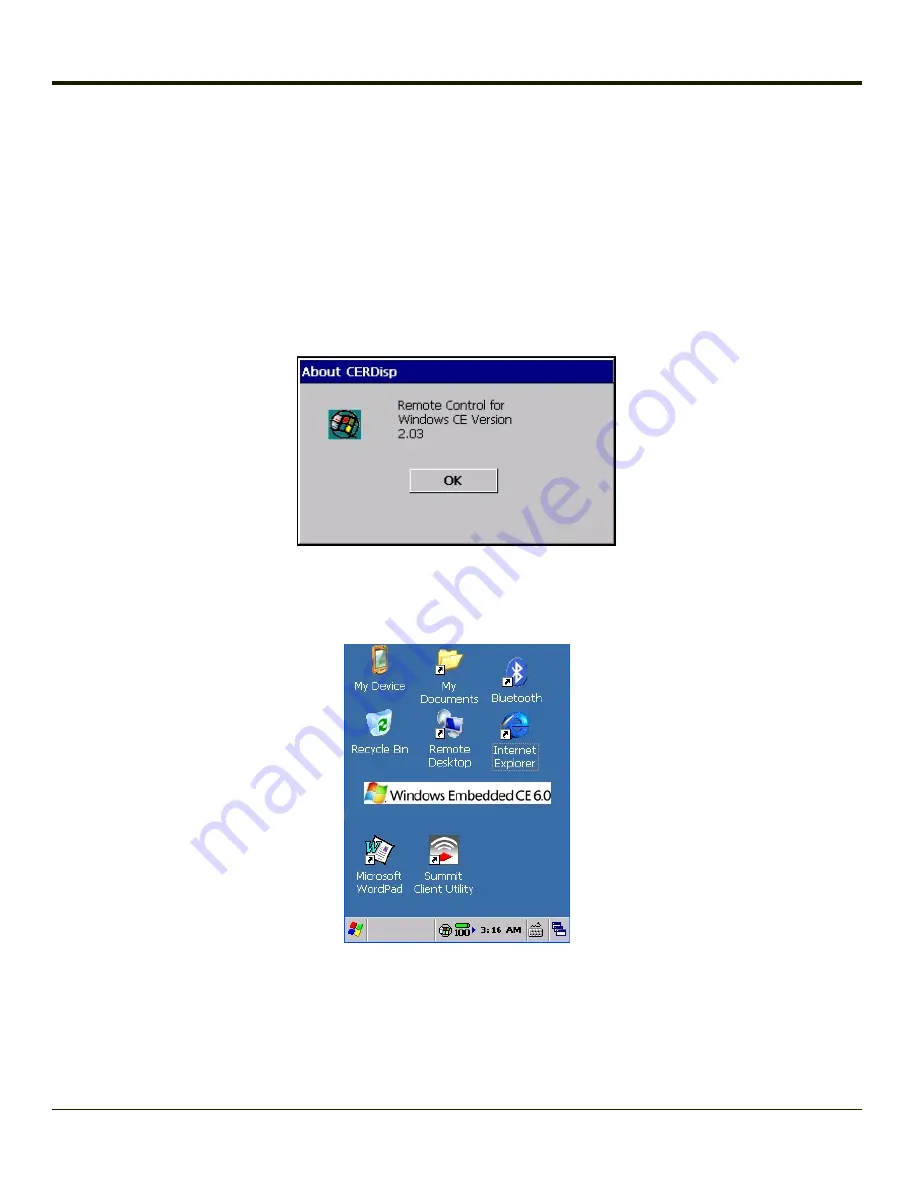
6. Click the OK button to dismiss the About CERDisp dialog box (see
Example LXEConnect Notice
image above) on the
MX7 Tecton desktop by clicking the OK button in the LXEConnect window on the PC desktop. The dialog box
automatically times out and disappears after approximately 20 seconds.
7. The MX7 Tecton can now be configured from the LXEConnect window. Input from the PC’s mouse and keyboard are
recognized as if they were attached to the MX7 Tecton.
8. When the remote session is completed, close the LXEConnect program by selecting File > Exit or clicking on the X in
the upper right hand corner to close it then disconnect the ActiveSync cable.
6-6
Summary of Contents for MX7 Tecton
Page 14: ...xiv ...
Page 24: ...1 10 ...
Page 38: ...3 4 ...
Page 166: ...Hat Encoding Hat Encoded Characters Hex 00 through AD 4 128 ...
Page 167: ...Hat Encoded Characters Hex AE through FF 4 129 ...
Page 176: ...4 138 ...
Page 177: ...4 139 ...
Page 202: ...Enter user name password and domain to be used when logging into network resources 4 164 ...
Page 209: ...4 171 ...
Page 240: ...5 22 ...
Page 276: ...7 30 ...
Page 320: ...8 44 ...
Page 325: ...Click the Request a certificate link Click on the advanced certificate request link 8 49 ...
Page 326: ...Click on the Create and submit a request to this CA link 8 50 ...
Page 334: ...8 58 ...
Page 358: ...9 24 ...
Page 362: ...10 4 ...
Page 365: ...11 3 ...


