Replacing parts
4–27
Hitachi AMS 2000 Family Storage System Service Guide
Replacing a control unit
This procedure describes how to replace a control unit under the following
conditions:
• When the Alarm LED on the control unit is ON
• When the Alarm LED and Reset LED on the base unit is OFF
Tool needed
Anti-static wrist strap.
Before you begin
Before replacing a control unit, read the following information.
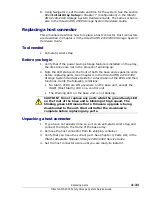
Unpacking a control unit
1. Remove the control unit from its static-protective container.
2. Verify that you have the correct model number. See
.
3. Return the control unit to the container until you are ready to install it.
Verifying a control unit failure
Verify that the control unit has failed. See
.
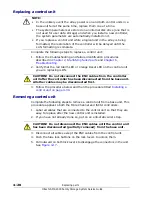
NOTE: Please contact Hitachi Data Systems Support Center before
replacing a control unit.
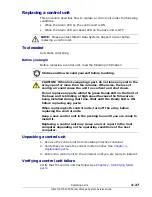
Static-sensitive. Ground yourself before touching.
CAUTION! When hot-swapping a part, do not leave any slot in the
array open for more than ten minutes. Otherwise, the loss of
cooling air could cause the unit to overheat and shut down.
Do not replace any parts while the green Ready LED on the front of
the base unit is blinking at high speed because the firmware is
being installed during that time. Wait until the Ready LED is ON
before replacing any parts.
When replacing both control units, turn off the array before
replacing the control units.
Keep a new control unit in the packing box until you are ready to
install it.
Replacing a control unit may cause an error report in the host
computer depending on the operating conditions of the host
computer.
Summary of Contents for AMS 2100
Page 8: ...viii Contents Hitachi AMS 2000 Family Storage System Service Guide ...
Page 98: ...3 6 Replaceable parts Hitachi AMS 2000 Family Storage System Service Guide ...
Page 158: ...5 10 Maintenance Hitachi AMS 2000 Family Storage System Service Guide ...
Page 182: ...7 8 Errors Hitachi AMS 2000 Family Storage System Service Guide ...
Page 191: ...Hitachi AMS 2000 Family Storage System Service Guide ...

