


4 – Front Panel Configuration & Operation
HD Link Installation & Operation Manual
Version 2, April 2010
Harris Corporation
4-45
Intraplex Products
If you change the test tone setting in this example, the field changes from white to yellow and text
indicates the change made (
Test tone is ON
or
Test tone is OFF
).
Back:
Select this command and press Enter to return to the previous screen.
Color Codes: White = test tone currently OFF; yellow = test tone currently ON.
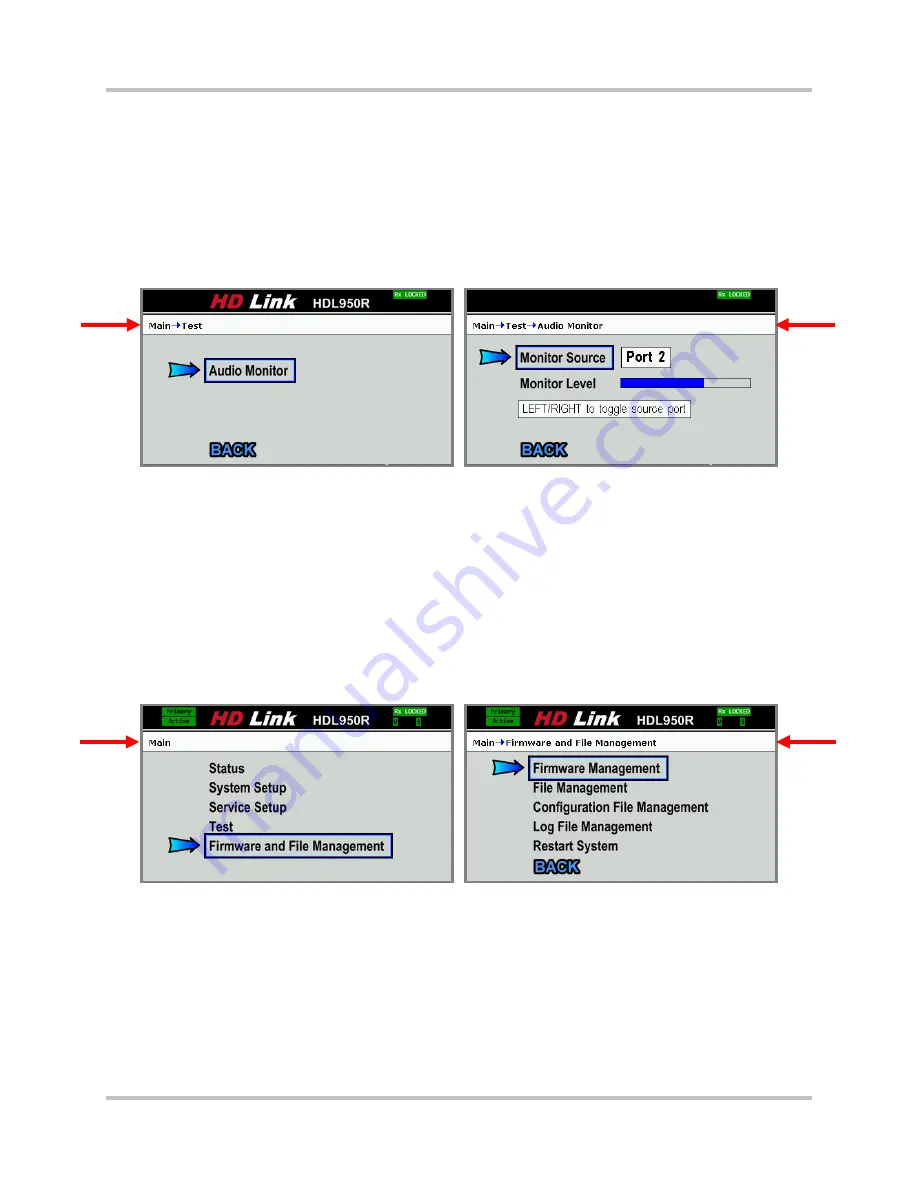
4.1.7.2 Audio Monitor
Select the
Audio Monitor
command on the
Test
screen to access the
Audio Monitor
screen (Figure
4-72), a receiver test.
Figure 4-72. Test
Audio Monitor – Receiver
Monitor Source:
Select this command and press the right or left arrow button
to change the
audio monitor test from
Port 1
to
Port 2
.
Monitor Level:
Select this command and press the right or left arrow button
to change the level.
Back:
Select this command and press Enter to return to the previous screen.
Plug a headphone set into the receiver front panel to test the audio quality on the selected port.
4.1.8
Firmware and File Management Screens
Select
Firmware and File Management
on the
Main
front panel screen to access the
Firmware
and File Management
menu screen (Figure 4-73).
Figure 4-73. Main
Firmware and File Management
Firmware Management:
Select this command and press Enter to access the
Firmware
Management
screen and
●
Upgrade or rollback the firmware.
●
Export files from an internal port or a USB device.
●
View firmware version information.
File Management:
Select this command and press Enter to access the
File
Management
screen and
delete files on an internal port or a USB device.