


Intraplex HD Link RF STL
Quick Start Guide
Version 2, April 2010
Harris Corporation
Intraplex Products
2.
Configure
LAN Port
parameters in a similar way to the
HD Port
parameters in Section D, Step 3.
F) Configure RF Profile Parameters
1.
On the
HD Link Main
page, select
Service Setup
and
press Enter to access the screen (Figure 5).
Figure 5. Service Setup
2.
On the
Service Setup
menu, press Enter with
RF
Profile
selected to access the screen (Figures 6 – 7).
Figure 6. RF Profile (Transmitter)
Figure 7. RF Profile (Receiver)
5.
Configure
RF
Profile
parameters in a similar way to the
HD Port
parameters in Section D, Step 3.
Note:
Set the RF bandwidth according to your FCC license.
When you set other service parameters, the bandwidth
does not change.
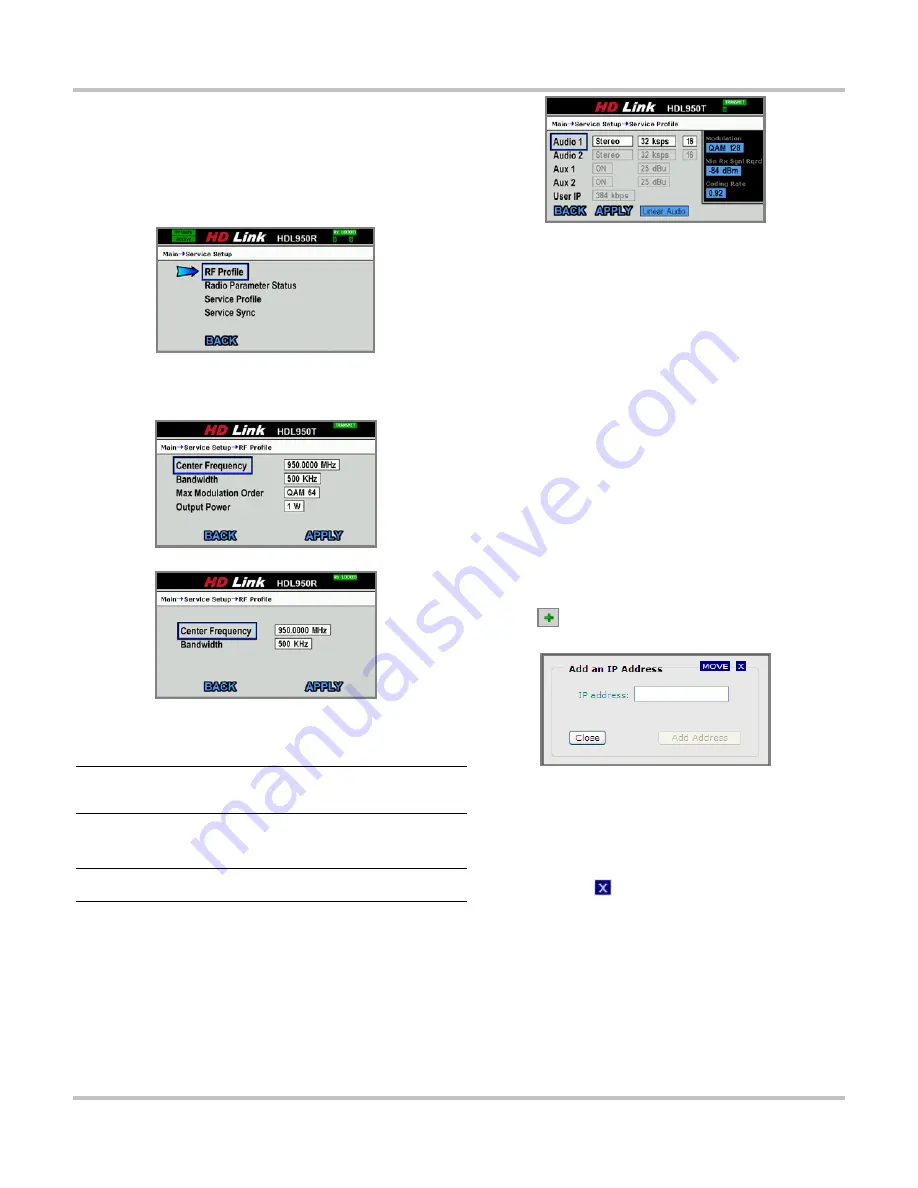
G) Configure Service Profile Parameters
Note:
Be sure to configure your transmitter and receiver
identically.
To configure the audio port and user IP rate parameters,
perform these steps:
1. On the
Service Setup
menu, select
Service Profile
and
press Enter to access the screen (Figure 8).
Figure 8. Service Profile
2.
Configure each
Service Profile
parameter in a similar
way to the
HD Port
parameters in Section D, Step 3.
H) Add ARP Proxy in Web Browser
Interface
To satisfy the needs of network stations trying to determine
Ethernet addresses for stations on the other side of the RF
link, the transmitter or receiver responds to ARP requests
with its own MAC address for any IP address added to the
Proxy ARP
table. To add an IP address to the Proxy ARP,
perform these steps:
1.
Plug your PC’s Ethernet cable into the back panel
LAN/WAN connector of the transmitter.
2.
On your Web browser interface, go to the IP address
you configured on the front panel for your LAN port
(Section E – Configure LAN Port).
3.
When prompted to log on, type the default
User name
(“admin”) and default
Password
(“admin”).
4.
On the Web browser interface, go to
Network
|
ARP/Proxy ARP
.
5.
Click
on the upper right of the
Proxy ARP Table
.
The
Add an IP Address
dialog box appears (Figure 9).
Figure 9. Add an IP Address Dialog Box
6.
Type the
IP address
to be added.
7.
Click
Add Address
to save this address to the
Proxy
ARP Table
.
8.
Repeat Steps 6-7 to add additional IP addresses.
9.
Click
Close
or
to exit the dialog box.
10.
Repeat Steps 1-9 with your PC’s Ethernet cable
plugged into the receiver to set up proxy IP addresses
for the receiver.