Section 4
♦
Operating the CMN-41
60
CMN-41 Series Installation and Operation Handbook
Copyright © 2009, Harris Corporation
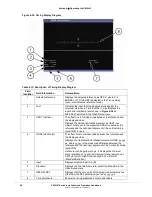
Things to Remember When Using the Timing Display
1.
The Timing Display measures the elapsed time between the vertical syncs of two
inputs. The elapsed time is expressed in units of microseconds and lines of the
selected input video, not of the reference.
2.
When referencing a standard definition video input to an external tri-level reference
input, the line number indication in the timing display represents standard
definition video lines. If the relative timing is adjusted in high definition video
lines, it may take an adjustment of two or more lines before the line number
changes in the timing display. This is due to the high definition video lines, which
are shorter than the standard definition video lines represented by the timing
display.
3.
When referencing a high definition video input to an external composite (BB)
reference input, the line number indication in the timing display represents high
definition video lines. If the relative timing is adjusted in standard definition video
lines, a single video line adjustment will cause a change of two or more lines in the
timing display. This is due to the standard definition video lines, which are longer
than the high definition video lines represented by the timing display.
4.
The information of the Timing Display should not be used when captured SDI
freeze data is displayed.
Timing Setup Menu
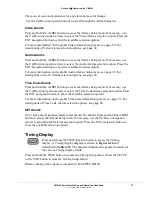
Press and hold the TIME function button to access the Timing Setup menu. For more
information on the global Timing Setup menu, see page 70. For descriptions of Timing
selection options, see page 81.
Option Display Selections
NOTE
: Only one option display can be shown at a time.
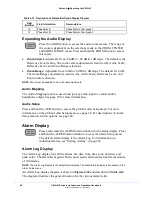
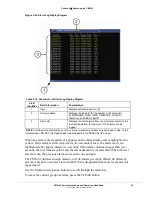
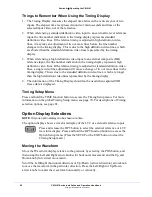
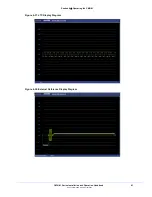
The option display shows a waveform display of the LTC or external reference inputs.
Press and release the OPT button to select the external reference or LTC
waveform display. Press and hold the OPT function button to access the
Option Setup menu. (Press the SETUP or the EXIT button to clear the
Timing Setup menu.)
Moving the Waveform
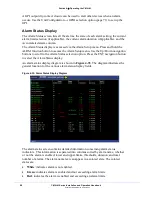
Move the Waveform display relative to the graticule by selecting the POS button, and
then using the Left and Right arrow knobs (for horizontal movement) and the Up and
Down knob (for vertical movement).
Scroll the Left/Right (horizontal direction) or Up/Down (vertical direction) arrow knob
to move the waveform in the particular direction. Press the Left/Right or Up/Down
arrow knobs to center the waveform horizontally or vertically.

