Programming Examples
for Fixed-Wing Models
48
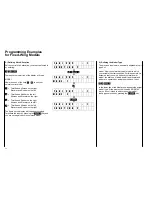
8.) Copying Adjustments
All that’s been input so far may be considered as
“pilot specific” programming, as these inputs depend
on the habits of the pilot and are alike for all models
(excepting the name of the model). In order not to
have to input these settings for each model memory,
you can now copy them first into the other model
memories. To this end input:
9
4
ENTER
1
ENTER
2
ENTER
ENTER
You have now copied the essential settings of
model 1 onto model 2. Repeat the same procedure
for the remaining models by:
9
4
ENTER
1
ENTER
3
ENTER
ENTER
9
4
ENTER
1
ENTER
4
ENTER
ENTER
…
9
4
ENTER
1
ENTER
7
ENTER
ENTER
…
(
9
4
ENTER
1
ENTER
3
0
ENTER
ENTER
)
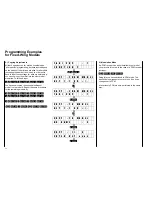
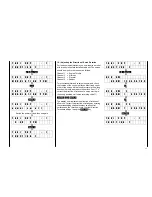
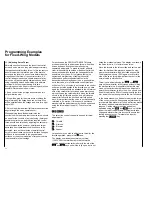
T A X I C U P : 1
F U N C T I O N ?
9
4
ENTER
↓↓
C O P Y : F R O M M O D E L
K E Y 1 - 7 O R + / -
1
↓↓
C O P Y : F R O M M O D E L
T A X I C U P : 1
ENTER
↓↓
C O P Y : T O M O D E L
K E Y 1 - 7 O R + / -
2
↓↓
C O P Y : T O M O D E L
N O N A M E : 2
ENTER
↓↓
C O P Y : 1 3
E N T E R K E Y e x e c
ENTER
9.) Modulation Mode
If a PCM receiver has been installed in your model
you may skip this step. In the case of a PPM receiver
just input:
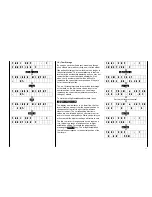
9
5
ENTER
INC
ENTER
Doing this you have switched to PPM mode, The
transmitter now requests you to turn it off so it can
change over to PPM.
A reversion to PCM mode is performed in the same
way.
Summary of Contents for mc-18
Page 1: ...1...
Page 10: ...Block Diagram NORMAL 10...
Page 11: ...Block Diagram NORMAL DIFF 11...
Page 12: ...Block Diagram DELTA DIFF 12...
Page 13: ...Block Diagram UNIFLY DIFF 13...
Page 14: ...Block Diagram Quadro Flap 14...
Page 15: ...Block Diagram F3B 3 wing servos 15...


