background image

USER MANUAL


POSITION CONTROLLER  THESI 320 


MT02_A41_A_TH320_GIVI_ENG      rev. E


Pag. 29/60


               n o

*


Press 


to confirm the selection and 
enter its settings 


 P 19  


            y E S

*


Press 


to choose the desired selection 


 P 19  


            y E S   

Press 


to confirm and go back to 
parameters selection


 P 19  


             5 0.0     

Press 


to quit configuration and go back 
to the positions display


          2 0 0.0   


Parameter 20

 – SELECTING “AUTOMATIC INERTIA CALCULATION” OPTION 


This parameter allows to enable/disable the possibility of automatically calculating the 
system inertia at low speed, during positioning. 

Note: the parameter setting will be applied on both axes. 

 
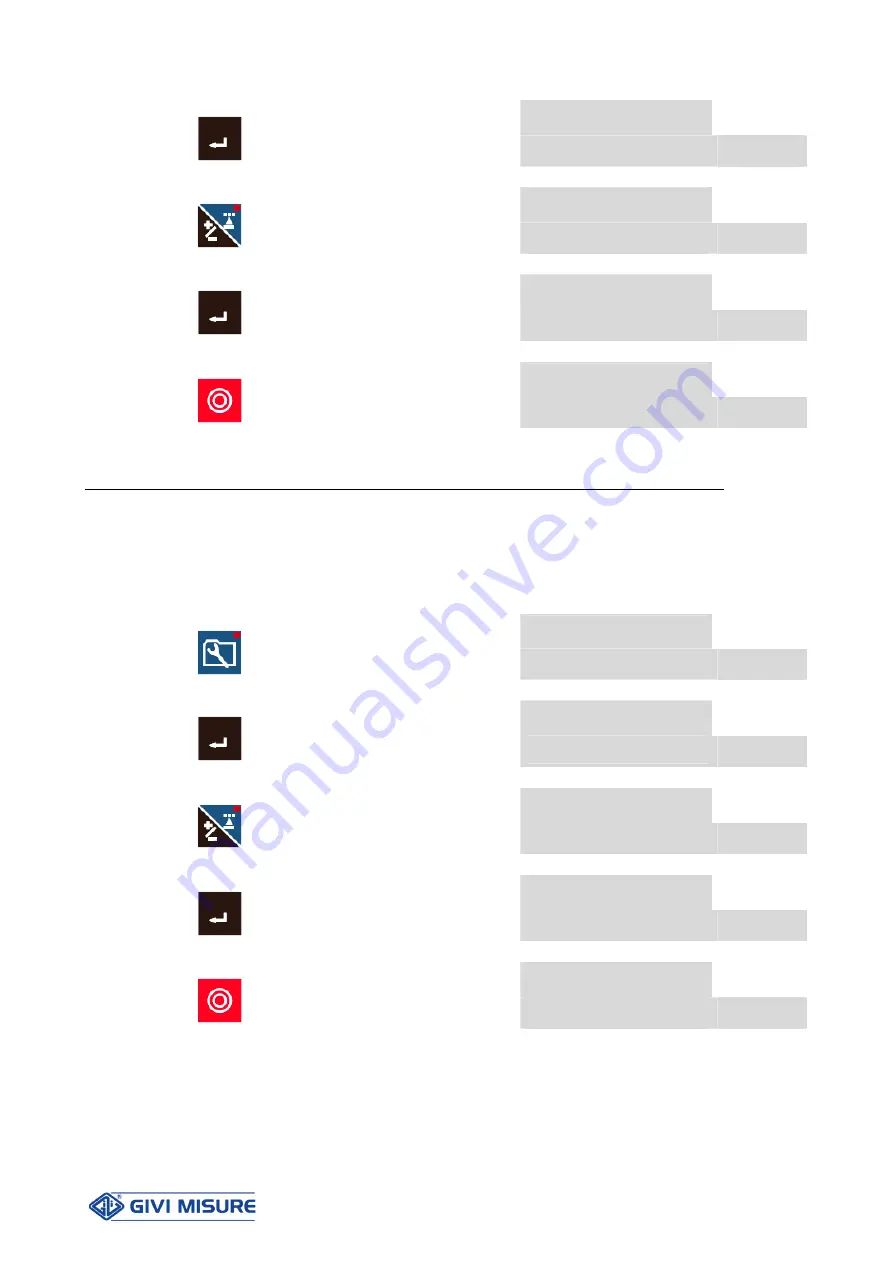
Example of selection: enabling 

               n o      

Press 


to select the parameter 
(see PARAM. SELECTION) 


 P 20  


               n o

*


Press 


to confirm the selection and 
enter its settings 


 P 20  


            y E S

*


Press 


to choose the desired selection 


 P 20  


            y E S   

Press 


to confirm and go back to 
parameters selection


 P 20  


             5 0.0     

Press 


to quit configuration and go back 
to the positions display


          2 0 0.0   


Summary of Contents for THESI 320

Page 1: ...User Manual Position Controller T TH HE ES SI I 3 32 20 0 www givimisure it...

Page 2: ...ONNECTIONS p 6 KEY MESSAGES AND SIGNALING p 9 DATA AND PROGRAMS RETENTION p 11 OPERATING INSTRUCTIONS CONFIGURATION PARAMETERS p 12 SETTING MACHINING PROGRAMS p 40 MANUAL OPERATION p 45 SEMI AUTOMATIC...

Page 3: ...le by keyboard PRELIMINARY REMARKS Disposal of waste electrical and electronic equipment WEEE European Council Directive 2002 96 EC The use of the WEEE symbol indicates that this product may not be tr...

Page 4: ...force positioned closed to the instrument GROUNDING The instrument is connected to the ground through the power supply terminal block To avoid discharges we recommend the use of a socket with a groun...

Page 5: ...0 CLEANING The front panel can be cleaned only after disconnecting power supply using a moist cloth The instrument is not protected against liquid penetration DO NOT USE SOLVENTS MAINTENANCE Not requi...

Page 6: ...LE INCREASE CYCLE input AUX 1 AUXILIARY input 1 AUX 2 AUXILIARY input 2 AUX 3 AUXILIARY input 3 COM Positive inputs common 12 Vdc X Y INPUT V Encoder power supply output 0 V V Encoder power supply out...

Page 7: ...ontact AUX AUXILIARY contact X Y OUTPUT EN MOV MOVEMENT ENABLE contact SLOW AV SLOW DI contact or 10 V analog output AN COM FS A0 FAST SLOW contacts common DI or 0 V analog output AN FAST FAST contact...

Page 8: ...USER MANUAL POSITION CONTROLLER THESI 320 MT02_A41_A_TH320_GIVI_ENG rev E Pag 8 60 N O RELAY CONTACTS 240 Vac MAX 1 A MAX 120 VA MAX 60 Vdc MAX 2 A MAX 60 W MAX CONNECTIONS...

Page 9: ...KEYS USED ALSO FOR FAST FEED BACK MOVEMENTS IN MANUAL OPERATION KEY USED TO SAVE MACHINING PROGRAMS KEY USED TO ENABLE AUTOMATIC OPERATION KEY USED TO STOP AXIS MOVEMENT KEY USED TO SELECT THE OPTIONS...

Page 10: ...the number of digits displayed is greater than the instrument counting capacity the error is shown on the display as _ _ _ _ _ _ To exit this situation enter a compatible position in the Position Pre...

Page 11: ...ent can also store the last axis counting position The instrument cannot consider shifts of the carriage made whenever the mains power supply is disconnected due to inertia manual manoeuvres or therma...

Page 12: ...ENCODER PULSE CORRECTION Parameter 04 COUNTING MODE x1 x2 x4 Parameter 05 DECIMAL POINT POSITION 0 1 2 3 Parameter 06 AXIS RESOLUTION Parameter 07 SETTING OF MINIMUM MEASURING LENGTH LIMIT Parameter...

Page 13: ...urrent password is the one set by the Manufacturer P or enter the selected password see parameter 80 4 0 0 Confirm with key the display will show the value of the first parameter e g 1 2 0 0 P 01 d i...

Page 14: ...arameter configuration following the instructions provided below in the manual d i r Press to confirm the value and go back to parameters selection d i r P 02 1 0 0 0 0 0 Press to select another param...

Page 15: ...axis setting 1 2 0 0 P 01 Enter the desired value and align it to the decimal point displayed 5 0 0 Press to confirm the value and enter the Y axis setting 0 0 0 0 0 0 P 01 Enter the desired value and...

Page 16: ...tor to adapt the machine linear shifting to the number of encoder pulses PPR For instance in a machine with linear shifting correlated to the screw pitch the correction factor CF is calculated by the...

Page 17: ...0 0 0 0 P 03 Enter the desired value and align it to the decimal point displayed 1 2 5 0 0 0 Press to confirm the value and go back to parameters selection 1 2 5 0 0 0 P 03 5 0 0 Press to quit configu...

Page 18: ...e 0 1 2 or 3 Example selecting 1 decimal on X and Y axes 0 0 0 Press to select the parameter see PARAM SELECTION 0 0 0 P 05 0 0 0 Press and to select both axes 0 0 0 P 05 0 0 0 Press to confirm the se...

Page 19: ...elect both axes 0 1 P 06 0 1 Press to confirm the selection and enter the X axis setting 0 1 P 06 0 0 1 Press to select the desired encoder resolution 0 1 P 06 0 0 1 Press to confirm the value and ent...

Page 20: ...0 0 P 07 0 0 Press to set a value with negative sign 0 0 0 0 0 0 P 07 Enter the desired value and align it to the decimal point displayed 0 0 Press to confirm the value and go back to parameters selec...

Page 21: ...ress to quit configuration and go back to the positions display 2 0 0 0 Parameter 09 SETTING OF PRESET POSITION The preset position is the value that is preset in the axis position when the correspond...

Page 22: ...h recovery is not required enter a value of 0 Example of value setting X axis 0 0 mm Y axis 5 0 mm 0 0 Press to select the parameter see PARAM SELECTION 0 0 P 10 0 0 Press and to select both axes 0 0...

Page 23: ...0 Press and to select both axes 0 0 P 11 0 0 0 0 0 0 Press to confirm the selection and enter the X axis setting 0 0 P 11 Enter the desired value and align it to the decimal point displayed 1 0 0 Pre...

Page 24: ...value and align it to the decimal point displayed 0 8 Press to confirm the value and go back to parameters selection 1 0 P 12 5 0 0 Press to quit configuration and go back to the positions display 2...

Page 25: ...ETTING OF POSITIONING TOLERANCE VALUE With this parameter it is possible to set the tolerance value within which positioning is accepted Example of value setting X axis 0 1 mm Y axis 0 1 mm 0 0 Press...

Page 26: ...nter the X axis setting 0 0 P 15 Enter the desired value and align it to the decimal point displayed 3 0 Press to confirm the value and enter the Y axis setting 0 0 0 0 0 0 P 15 Enter the desired valu...

Page 27: ...0 P 16 5 0 0 Press to quit configuration and go back to the positions display 2 0 0 0 Parameter 17 SETTING OF WAITING TIME FOR CHECKING POSITIONING With this parameter it is possible to set the waiti...

Page 28: ...eter setting will be applied on both axes Example of selection enabling n o Press to select the parameter see PARAM SELECTION P 18 n o Press to confirm the selection and enter its settings P 18 y E S...

Page 29: ...ATIC INERTIA CALCULATION OPTION This parameter allows to enable disable the possibility of automatically calculating the system inertia at low speed during positioning Note the parameter setting will...

Page 30: ...r its settings P 21 n o Press to choose the desired selection P 21 n o Press to confirm and go back to parameters selection P 21 5 0 0 Press to quit configuration and go back to the positions display...

Page 31: ...parameter it is possible to set the percentage value to be applied on the 10 V output optional for the axis movement at high speed The value is applied both in positive and negative direction Example...

Page 32: ...ss to confirm the selection and enter its settings P 24 I n c h Press to choose the desired selection P 24 I n c h Press to confirm and go back to parameters selection P 24 2 0 Press to quit configura...

Page 33: ...ramp is interrupted and positioning occurs abruptly If it is too long positioning occurs smoothly but much more slowly P19 speed change without stopping option This has to be set on Yes to allow the g...

Page 34: ...acceleration ramp used to move the axis The value is expressed in seconds The acceleration ramp starts from the output voltage value of 0 V up to the voltage value corresponding to the axis movement...

Page 35: ...igh speed up to the voltage value corresponding to the axis movement at low speed see parameter 22 The final positioning will be executed at low speed Example of value setting X axis 0 70 seconds Y ax...

Page 36: ...d S E t Press after having entered the value The following message will be displayed for 1 second P 80 Enter the new password to be used 0 0 0 0 0 0 Press to confirm and go back to parameters selectio...

Page 37: ...semiaut 701 X 404 7 102 0 402 F 702 Y 504 3 201 clr 501 autom 004 8 202 sel 502 start 104 Example C o d E Press the code of the pressed key will be displayed 1 0 1 P 89 C o d E Press the code of the p...

Page 38: ...s and auxiliary outputs test 0 0 0 0 0 0 Press to see the status of the inputs 1 active 0 0 0 0 0 0 P 89 according to the following tables X axis Y axis A U X X D E V X P R E S E T X I N C C Y C L E S...

Page 39: ...itch the END PROG output MACHINE OUTPUT Press to switch the OK POS output MACHINE OUTPUT Press to switch the M S A output MACHINE OUTPUT Press to switch the AUX output X OUTPUT Press to switch the AUX...

Page 40: ...100 0 mm repetitions 10 cycle 2 position X 250 0 mm Y 300 0 mm repetitions 8 cycle 3 position X 450 0 mm Y 500 0 mm repetitions 15 5 0 0 Press to enter program setting 2 0 0 0 01 01 Note the led of t...

Page 41: ...the program The ON OFF status has to be programmed on both AUX outputs regardless of the axes activation If required follow the instructions below otherwise go on setting the second cycle see point 1...

Page 42: ...decimal point displayed 0 0 03 02 4 5 0 0 Press to confirm the value and go on setting the Y axis 0 0 0 0 0 0 03 02 4 5 0 0 Enter the value of the Y axis position aligning it to the decimal point dis...

Page 43: ...ely its cycles Example displaying program 02 already stored 5 0 0 Press to enter program setting 2 0 0 0 01 01 Note the led of the P key is flashing to indicate that the instrument is in program edit...

Page 44: ...nter the program storage mode 5 0 0 0 03 02 Note the led of the P key is flashing to indicate that the instrument is in program edit mode Enter the new desired values and confirm them with the ENTER k...

Page 45: ...the following keys or TO SELECT THE AXIS TO BE MOVED SLOW FEED AXIS MOVEMENT SLOW BACK AXIS MOVEMENT FAST FEED AXIS MOVEMENT FAST BACK AXIS MOVEMENT TO DESELECT THE AXIS Note If during movement the pr...

Page 46: ...osition value aligning it to the decimal point displayed 100 0 1 0 0 0 Press to confirm the value and enter the Y axis setting 0 0 0 0 0 0 Enter the position value aligning it to the decimal point dis...

Page 47: ...occur considering the parameters settings e g speed change mechanical backlash recovery positioning tolerance waiting times etc Repetitions will be counted when the INCREASE CYCLE input closes 3 Exam...

Page 48: ...lution is set at 0 01 mm and the displayed resolution is set at 0 1 mm with a positioning tolerance of 0 1 mm When the position of 79 86 is reached the displayed position will be 79 9 mm however posit...

Page 49: ...RT key switches off and the OK POSITION output will be enabled 5 0 0 The display will show the positions reached 1 0 0 0 01 02 Positioning will occur considering the parameters settings e g speed chan...

Page 50: ...he programmed repetitions After positioning on the desired cycle press the FUNCTION key 3 A program can be run starting from any of its cycles Once the number of the program has been entered display t...

Page 51: ...at the end of the counting positioning of the next cycle will be executed until the end of the program If repetitions are not programmed single repetition counting ends at the first closure of the in...

Page 52: ...ncerned axis OK POSITION The OK POS output is used to signal that positioning has been performed correctly The output corresponds to a N O relay contact that opens during the axes movement and closes...

Page 53: ...ual semi automatic automatic The analog output is optional and alternative to the direction and speed relay outputs AUX X Y An AUX output used for special applications is available for each axis The s...

Page 54: ...ERY VALUE 11 SPEED CHANGE VALUE 12 NEGATIVE INERTIA VALUE 13 POSITIVE INERTIA VALUE 14 POSITIONING TOLERANCE VALUE 15 DEVIATION VALUE 16 WAITING TIME FOR DEVIATION 17 WATING TIME FOR CHECKING POSITION...

Page 55: ...s Power supply 90 Vac to 230 Vac 10 50 60 Hz 24 Vac 10 50 60 Hz Power 10 WMAX Current consumption 50 mAMAX 230 Vac 400 mAMAX 24 Vac Digital outputs N O relay contacts 240 VacMAX 1 AMAX 120 VAMAX 60 Vd...

Page 56: ...replacement of those parts that have been damaged by negligence or misuse improper installation or maintenance maintenance performed by unauthorized personnel transport or any other circumstance that...

Page 57: ...USER MANUAL POSITION CONTROLLER THESI 320 MT02_A41_A_TH320_GIVI_ENG rev E Pag 57 60 NOTES...

Page 58: ...USER MANUAL POSITION CONTROLLER THESI 320 MT02_A41_A_TH320_GIVI_ENG rev E Pag 58 60 NOTES...

Page 59: ...USER MANUAL POSITION CONTROLLER THESI 320 MT02_A41_A_TH320_GIVI_ENG rev E Pag 59 60 NOTES...

Page 60: ...RIGHE OTTICHE OPTICAL SCALES SISTEMI MAGNETICI MAGNETIC SYSTEMS ENCODER ROTATIVI ROTARY ENCODERS VISUALIZZATORI DIGITAL READOUTS POSIZIONATORI POSITION CONTROLLERS GIVI MISURE S r l A SOCIO UNICO Via...

Reviews: