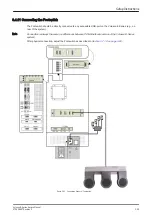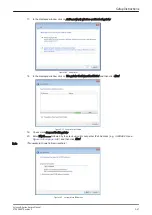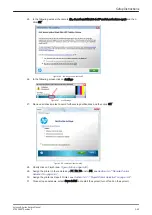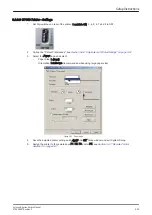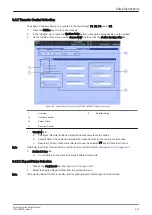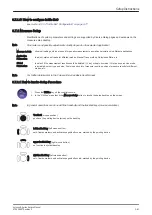
25. In the following window check mark
No, do not send this info to HP and do not ask me again
and then
click
OK
.
Figure 3-46 No, do not send info the HP
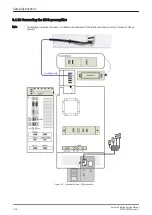
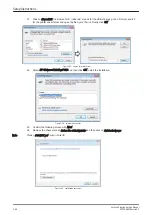
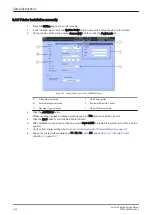
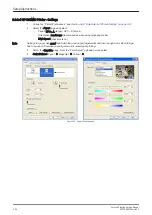
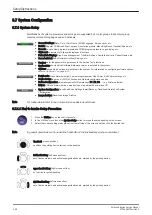
26. In the following screen click on
Settings
.
Figure 3-47 click Settings
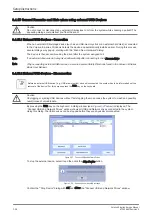
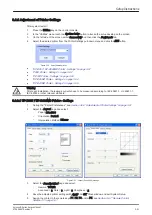
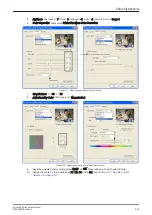
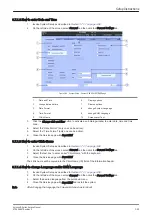
27. Remove all check marks to avoid further setup notifications and then click
OK
.
Figure 3-48 remove all check marks
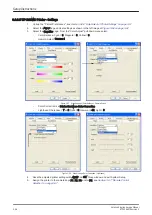
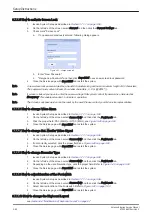
28. Finally click on Finish (see:
).
29. Assign the printer to the remote keys P1, P2, P3 and/or P4; see
30. Assign the printer as Report Printer, see
Section 3.6.7.1 "Report Printer Selection" on page 3-57
31. Close all open windows, select
Save & Exit
and restart the system (turn off and on the system).
Setup Instructions
Voluson E-Series Service Manual
KTD106657 Revision 2
3-49
Summary of Contents for H48681XB
Page 11: ...Introduction Voluson E Series Service Manual KTD106657 Revision 2 1 3 ...
Page 12: ...Introduction 1 4 Voluson E Series Service Manual KTD106657 Revision 2 ...
Page 13: ...Introduction Voluson E Series Service Manual KTD106657 Revision 2 1 5 ...
Page 14: ...Introduction 1 6 Voluson E Series Service Manual KTD106657 Revision 2 ...
Page 15: ...Introduction Voluson E Series Service Manual KTD106657 Revision 2 1 7 ...
Page 16: ...Introduction 1 8 Voluson E Series Service Manual KTD106657 Revision 2 ...
Page 17: ...Introduction Voluson E Series Service Manual KTD106657 Revision 2 1 9 ...
Page 365: ......
Page 366: ...GE Healthcare Austria GmbH Co OG Tiefenbach 15 4871 Zipf Austria www gehealthcare com ...

