Printer Connection and Software Installation
90
• For Windows XP, Windows XP 64-bit Edition, Windows Server 2003, and
Windows Server 2003 x64 Edition
1
On the Windows desktop of the client computer, double-click
My Network Places
.
2
Locate the host name of the server computer, and then double-click the host name.
3
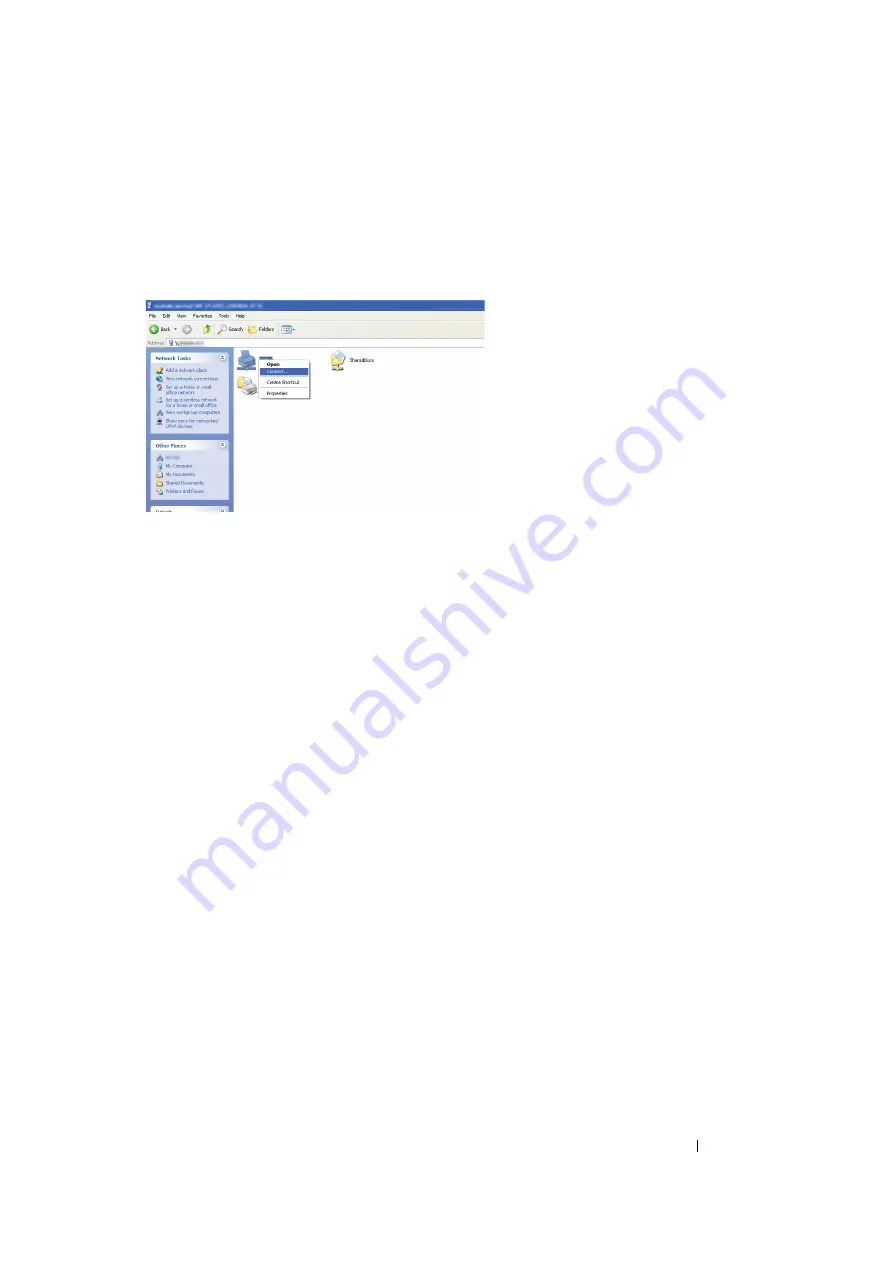
Right-click the shared printer name, and then click
Connect
.
Wait for the driver information to be copied from the server computer to the client computer, and
for a new printer object to be added to the
Printers and Faxes
folder. The time taken to copy
varies based on the network traffic.
Close
My Network Places
.
4
Print a test page to verify installation.
a
Click
start
(
Start
for Windows Server 2003/Windows Server 2003 x64 Edition)
→
Printers
and Faxes
.
b
Select the printer you have installed.
c
Click
File
→
Properties
.
d
On the
General
tab, click
Print Test Page
.
When a test page is printed successfully, installation is complete.
Summary of Contents for DocuPrint M105 ab
Page 9: ...8...
Page 39: ...Specifications 38...
Page 55: ...Basic Operation 54...
Page 67: ...Printer Management Software 66...
Page 180: ...179 Scanning See also Express Scan Manager on page 64...
Page 277: ...Faxing DocuPrint M105 f Only 276...
Page 323: ...Using the Operator Panel Menus and Keypad 322...
Page 331: ...Troubleshooting 330...
Page 381: ...Troubleshooting 380...
Page 385: ...Maintenance 384 5 Close the document cover...
Page 390: ...389 Maintenance 6 Place the toner cartridge slowly on the sheets of paper spread in step 3...
Page 411: ...Contacting Fuji Xerox 410...


