Scanning
178
Scanning From the Operator Panel
The following procedure uses Microsoft
®
Windows
®
XP as an example.
NOTE:
•
Ensure that the printer is connected to the computer using the USB cable.
•
You must use Express Scan Manager on your computer to configure the output destination of the scanned
image files.
1
For the DocuPrint M105 f/M105 ab, load the document(s) face up with top edge in first into the
ADF or place a single document face down on the document glass, and close the document
cover.
For the DocuPrint M105 b, place a single document face down on the document glass, and close
the document cover.
See also:
• "Making Copies From the ADF (DocuPrint M105 f/M105 ab Only)" on page 158
• "Making Copies From the Document Glass" on page 156
2
Press the
(
Scan
) button.
3
Select
Scan to Computer(USB)
, and then press the
button.
4
Configure the scanning settings as necessary.
5
Press the
(
Start
) button.
The scanned image file is generated.
NOTE:
•
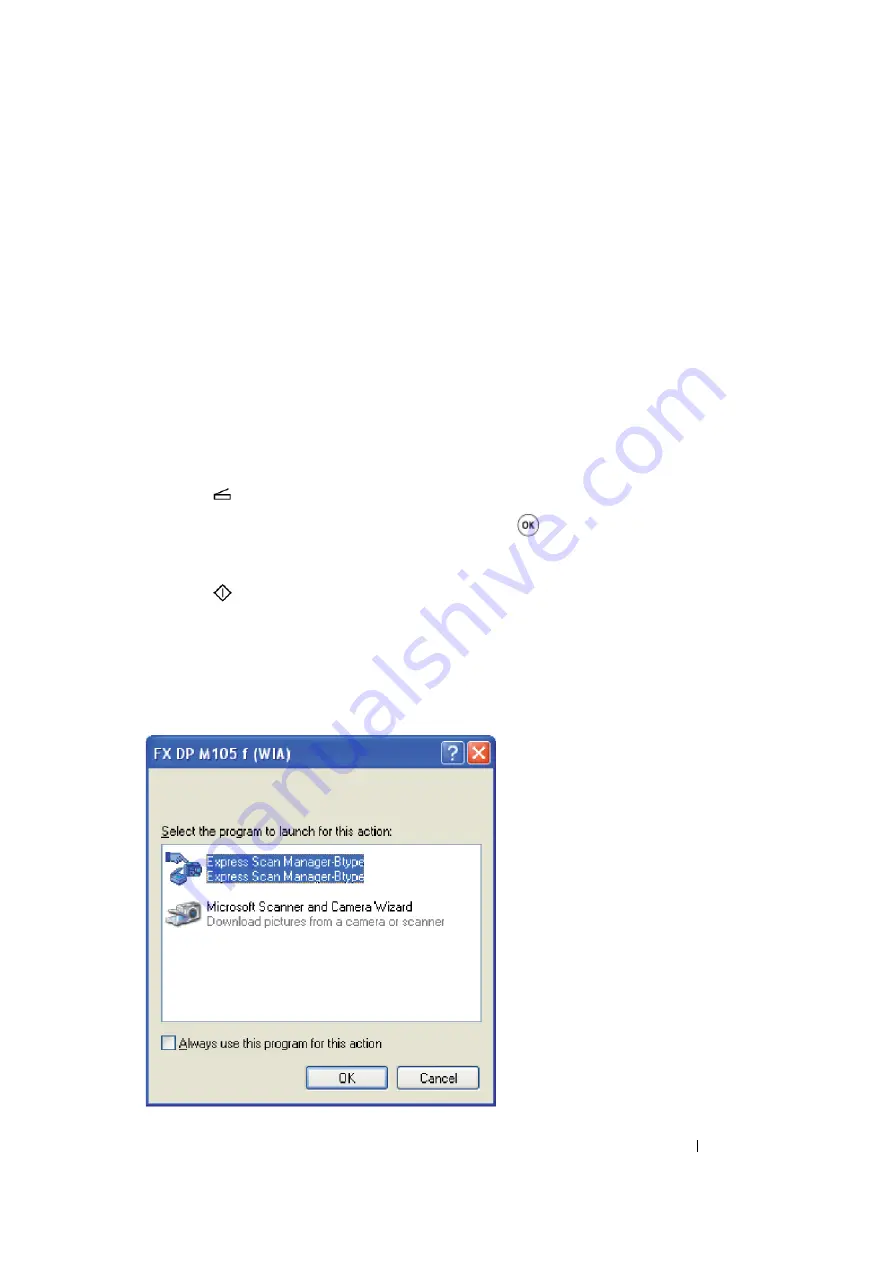
If the following dialog box appears on your computer, select
Express Scan Manager-Btype
, and then
click
OK
. Once you select the
Always use this program for this action
check box when selecting
Express Scan Manager-Btype
, the selected application is automatically used without displaying the
program selection window.
Summary of Contents for DocuPrint M105 ab
Page 9: ...8...
Page 39: ...Specifications 38...
Page 55: ...Basic Operation 54...
Page 67: ...Printer Management Software 66...
Page 180: ...179 Scanning See also Express Scan Manager on page 64...
Page 277: ...Faxing DocuPrint M105 f Only 276...
Page 323: ...Using the Operator Panel Menus and Keypad 322...
Page 331: ...Troubleshooting 330...
Page 381: ...Troubleshooting 380...
Page 385: ...Maintenance 384 5 Close the document cover...
Page 390: ...389 Maintenance 6 Place the toner cartridge slowly on the sheets of paper spread in step 3...
Page 411: ...Contacting Fuji Xerox 410...


