Image Quality
71
Co
py
3
1
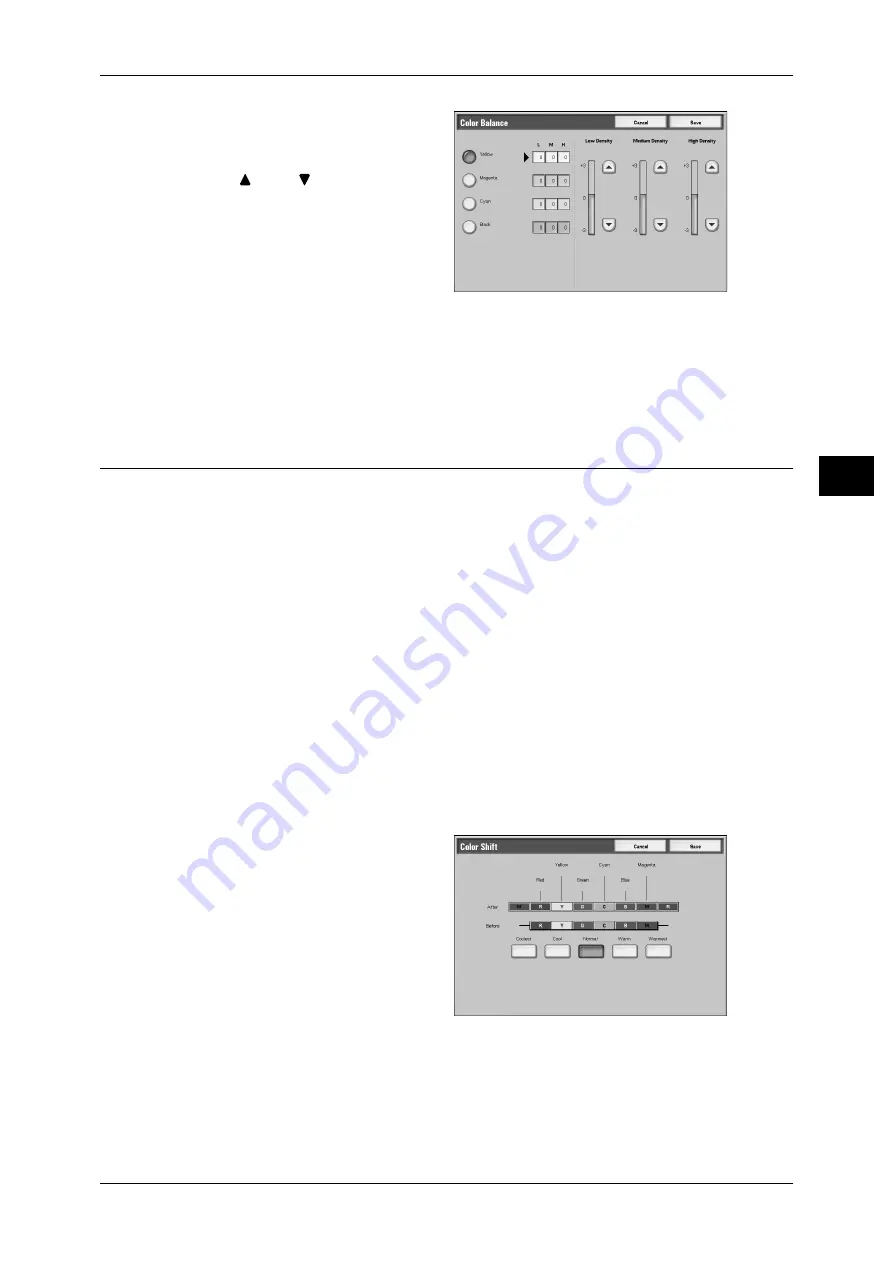
Select [Color Balance].
2
Select a color.
3
Use [
] and [
] to adjust the color
balance for each density.
Low Density
Allows you to adjust the color
strength of low-density areas.
Medium Density
Allows you to adjust the color strength of medium-density areas.
High Density
Allows you to adjust the color strength of high-density areas.
Color Shift (Adjusting the Color Tone)
This feature allows you to adjust the tone of the colors to be reproduced in copies, by
a maximum of two levels in two directions.
On the screen, the [Before] slider represents the color tone of the original document,
and the [After] slider represents the color tone of output copies. Selecting a button on
the screen moves the [Before] slider to adjust the tone of the colors.
When the [Before] slider is moved to the left, the Y (yellow) cell on the [Before] slider
becomes closer to the R (red) cell on the [After] slider, and thus a yellow fruit appears
more reddish and riper-looking. At the same time, the tone of all the other colors
changes. The red color appears more magentish, and the green color appears more
yellowish.
Conversely, when the [Before] slider is moved to the right, the Y (yellow) cell on the
[Before] slider becomes closer to the G (green) cell on the [After] slider, and thus a
yellow fruit appears more greenish. At the same time, the tone of all the other colors
changes. The magenta color appears more reddish, and the red color appears more
yellowish.
Note
• Ensure that [Color] has been selected in [Output Color] on the [Copy] screen. The Color
Shift feature is not available when [Output Color] is set to [Black].
• If [Color Shift] is set, the Color Effects setting will be cleared.
1
Select [Color Shift].
2
Select a button to adjust the color
tone.


