Service Manual_AVA1_ENG-20220922_I
18
Heat Roller
Overview
Primarily transferred film is transferred to the card using a Heat Roller.
Temperature control
The Transfer Film on which print data is formed and the leading edge of the card are pressed by a Heat
Roller heated to a required temperature in advance and Card Feed Roller 3. The card and the Transfer
Film are fed until the trailing edge of the card passes through the Heat Roller, thereby transferring print
data formed on the Transfer Film to the card.
The heat roller temperature changes according to the ambient temperature and card type. After the
secondary transfer, the Heat Roller maintains a temperature necessary for transfer.
In addition, when one hour has passed in the standby state, it stops the temperature control of the
Heat Roller, or turns off the printer's main power supply according to user mode's [Power Save Mode]
setting.
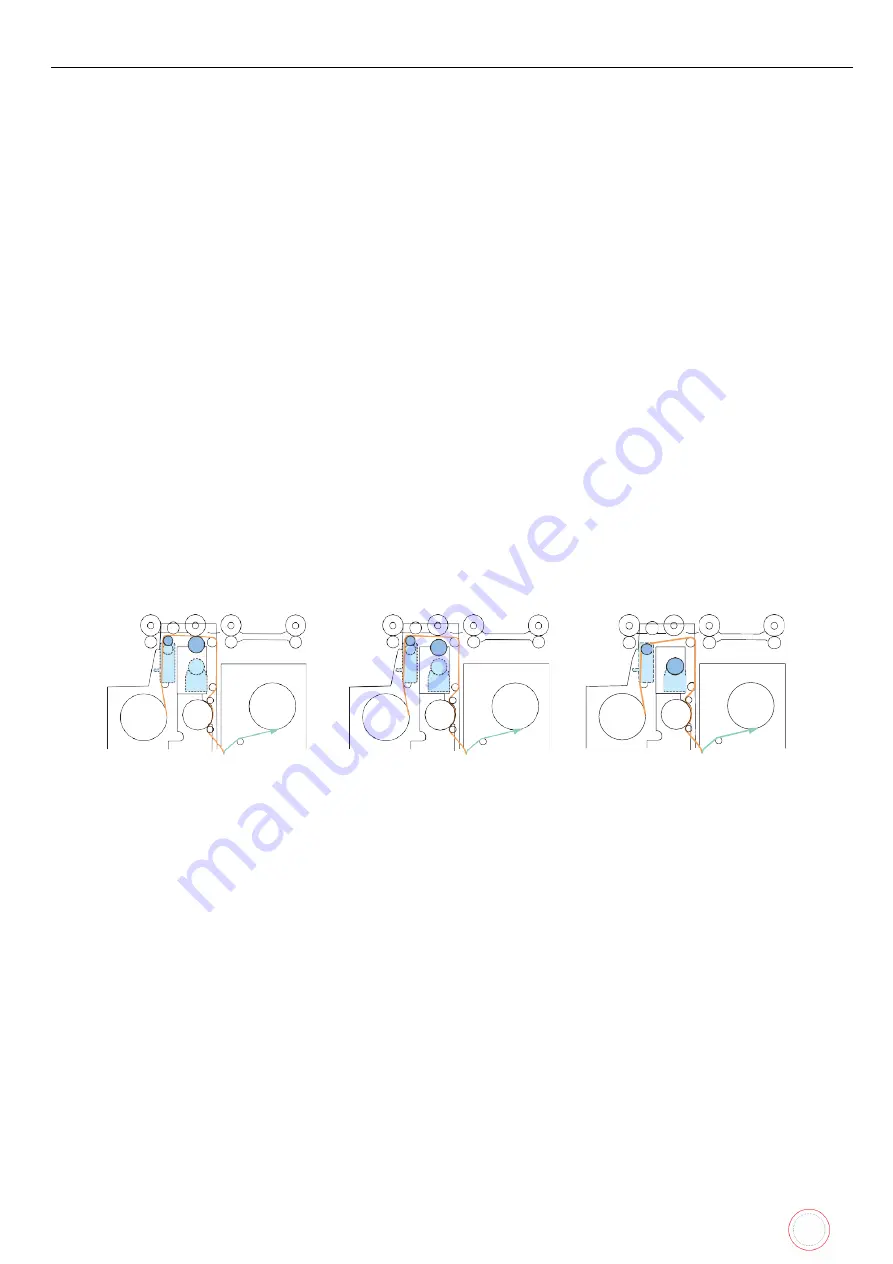
Up/down operation control
The up and down operation is controlled by the Heat Roller Lift Motor (DM6).
In addition to the Heat Roller, the Heat Roller Lift Motor (DM6) also controls the up and down operation
of the Peeling Shaft.
1.
Up position: Heat Roller upward (pressure), Peeling Shaft upward (card lifting position).
2.
Intermediate position: Heat Roller upward (release (Intermediate position)), Peeling Shaft upward
(card lifting position).
3.
Home position: Heat Roller downward (release (cover close)), Peeling Shaft downward (release).
[1]
[2]
[3]
Summary of Contents for AV1H0000BD
Page 1: ...Service Manual_AVA1_ENG 20220922_I 1 AVANSIA SERVICE MANUAL...
Page 73: ...Service Manual_AVA1_ENG 20220922_I 73 Drawing 9 HEAT ROLLER CP011845 HEAT ROLLER MODULE S10248...
Page 74: ...Service Manual_AVA1_ENG 20220922_I 74 Drawing 10 DECURL MODULE CP011976 DECURL SPRING CP011978...
Page 76: ...Service Manual_AVA1_ENG 20220922_I 76 Drawing 12 PACKAGING BOX AND FOAM S10205...
Page 109: ...Service Manual_AVA1_ENG 20220922_I 109 Tools required...
Page 118: ...Service Manual_AVA1_ENG 20220922_I 118 6 Move the hinge outwards 7 Remove the two screws...
Page 133: ...Service Manual_AVA1_ENG 20220922_I 133 8 Unplug the two sensors 9 Remove the three screws...
Page 135: ...Service Manual_AVA1_ENG 20220922_I 135 12 Remove the heat roller horizontally...
Page 139: ...Service Manual_AVA1_ENG 20220922_I 139 6 Remove the V ring 7 Remove the axis...
Page 158: ...Service Manual_AVA1_ENG 20220922_I 158 7 Remove the two screws...
Page 167: ...Service Manual_AVA1_ENG 20220922_I 167 13 Unplug these cables 14 Open the cables holder...
Page 221: ...Service Manual_AVA1_ENG 20220922_I 221 8 Close the front cover...
Page 275: ...Service Manual_AVA1_ENG 20220922_I 275 Printer details Ribbon details...
Page 286: ...Service Manual_AVA1_ENG 20220922_I 286 BLOCK PLAN FOR ELECTRIC PARTS...
Page 287: ...Service Manual_AVA1_ENG 20220922_I 287...
Page 288: ...Service Manual_AVA1_ENG 20220922_I 288...
Page 289: ...Service Manual_AVA1_ENG 20220922_I 289...
Page 290: ...Service Manual_AVA1_ENG 20220922_I 290...
Page 291: ...Service Manual_AVA1_ENG 20220922_I 291 MAIN BOARD PLAN...
Page 293: ...Service Manual_AVA1_ENG 20220922_I 293 www evolis com...


