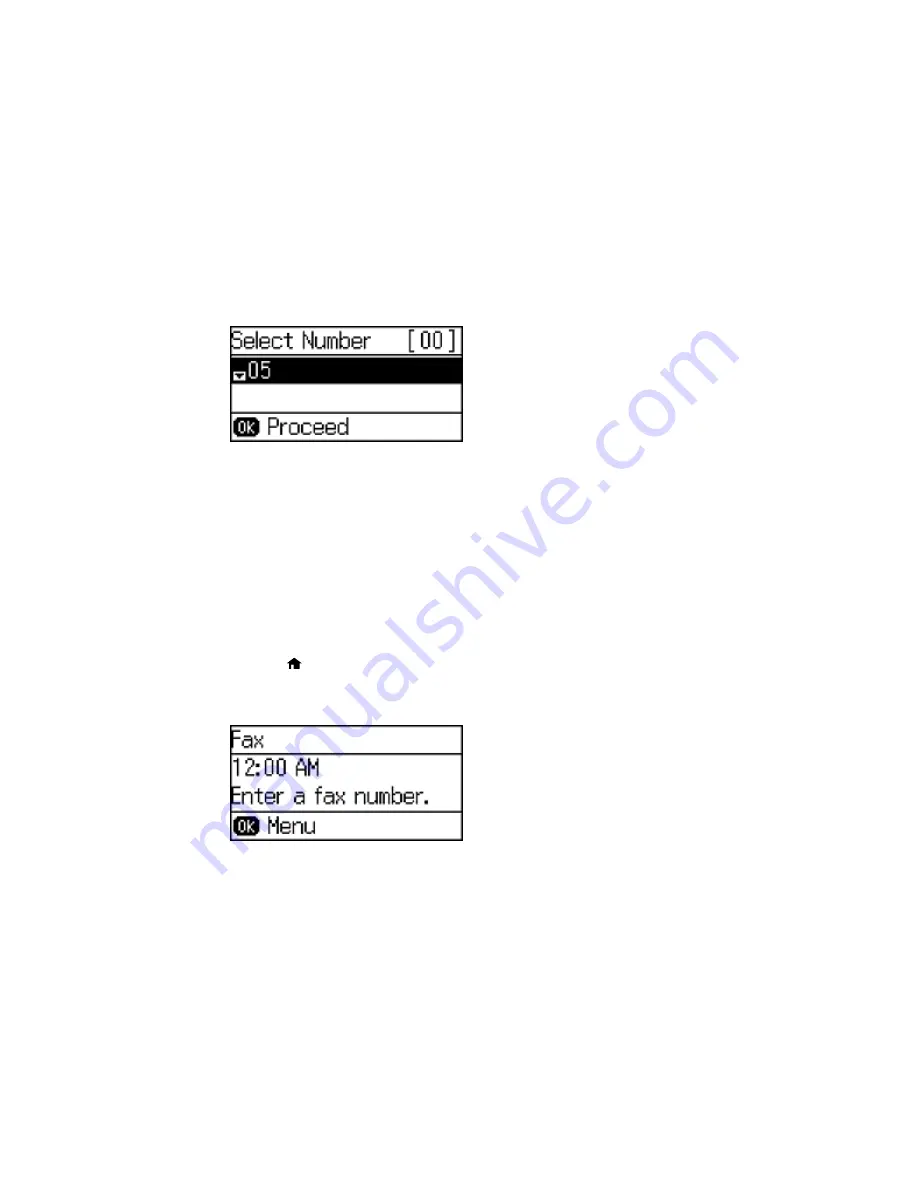
You see a screen like this:
6.
Select the number you want to use for the group, such as
1
. Then press the
OK
button.
7.
Use the numeric keypad to enter the group name (up to 30 characters), and press the
OK
button.
You see your contacts list.
8.
Press the
*
button on the numeric keypad for each contact you want to include in your group.
A
*
symbol appears next to each selected contact.
9.
Press the
OK
button to save the group.
Parent topic:
Setting Up Contacts Using the Product Control Panel
Editing or Deleting a Group
You can edit an existing group to add or delete entries. You can also delete the entire group.
1.
Press the
home button, if necessary.
2.
Press the up or down arrow button, select
Fax
, and press the
OK
button.
You see a screen like this:
165
Summary of Contents for WF-2650
Page 1: ...WF 2650 User s Guide ...
Page 2: ......
Page 12: ......
Page 20: ...1 Document cover 2 Scanner glass 3 Control panel Parent topic Product Parts Locations 20 ...
Page 31: ...Related topics Wi Fi Networking 31 ...
Page 67: ...Related topics Faxing Scanning Copying 67 ...
Page 122: ...You see this window 122 ...
Page 142: ...DSL connection 1 Telephone wall jack 2 DSL filter 3 DSL modem 142 ...
Page 143: ...ISDN connection 1 ISDN wall jack 2 Terminal adapter or ISDN router 143 ...
Page 168: ...You see this window 4 Select Speed Dial Group Dial List 168 ...
Page 202: ...You see a window like this 4 Click Print 202 ...
Page 216: ...Print Head Alignment 216 ...
Page 234: ...5 Carefully remove any jammed paper stuck inside 6 Reattach the duplexer 234 ...
Page 236: ...4 Carefully remove any jammed pages 236 ...
Page 237: ...5 Close the ADF cover then open the document cover 237 ...
Page 238: ...6 Carefully remove any jammed pages in the direction shown 7 Close the document cover 238 ...


