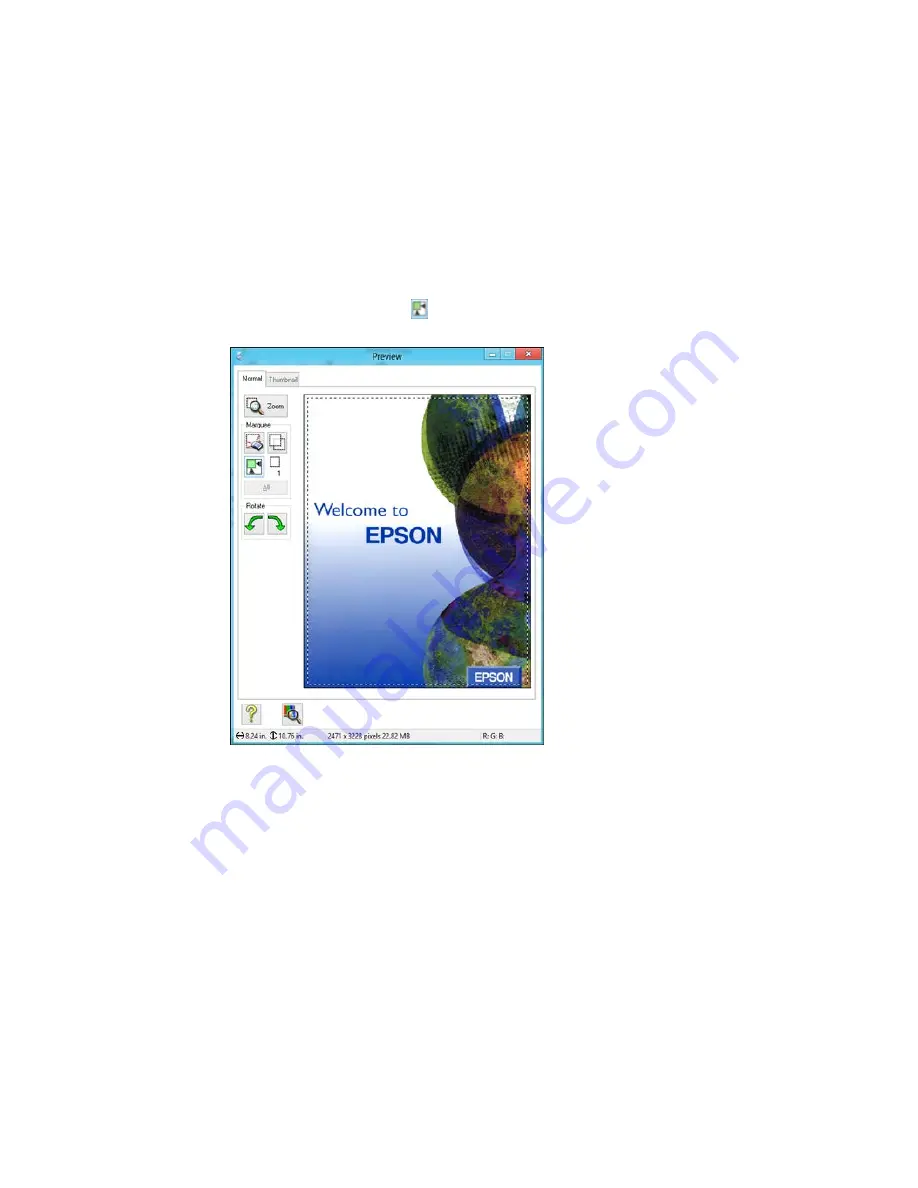
1.
In the Preview window, click the
Auto Locate icon to create a marquee (dotted line) on the
preview image.
2.
Do the following, as necessary, to work with the selected scan area:
• If the marquee is correct, continue with the next step.
• To move the marquee, click inside the scan area and drag the marquee where you want it.
118
Summary of Contents for WF-2650
Page 1: ...WF 2650 User s Guide ...
Page 2: ......
Page 12: ......
Page 20: ...1 Document cover 2 Scanner glass 3 Control panel Parent topic Product Parts Locations 20 ...
Page 31: ...Related topics Wi Fi Networking 31 ...
Page 67: ...Related topics Faxing Scanning Copying 67 ...
Page 122: ...You see this window 122 ...
Page 142: ...DSL connection 1 Telephone wall jack 2 DSL filter 3 DSL modem 142 ...
Page 143: ...ISDN connection 1 ISDN wall jack 2 Terminal adapter or ISDN router 143 ...
Page 168: ...You see this window 4 Select Speed Dial Group Dial List 168 ...
Page 202: ...You see a window like this 4 Click Print 202 ...
Page 216: ...Print Head Alignment 216 ...
Page 234: ...5 Carefully remove any jammed paper stuck inside 6 Reattach the duplexer 234 ...
Page 236: ...4 Carefully remove any jammed pages 236 ...
Page 237: ...5 Close the ADF cover then open the document cover 237 ...
Page 238: ...6 Carefully remove any jammed pages in the direction shown 7 Close the document cover 238 ...


