12.
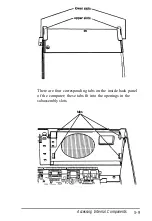
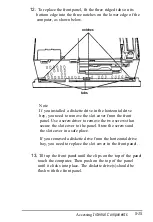
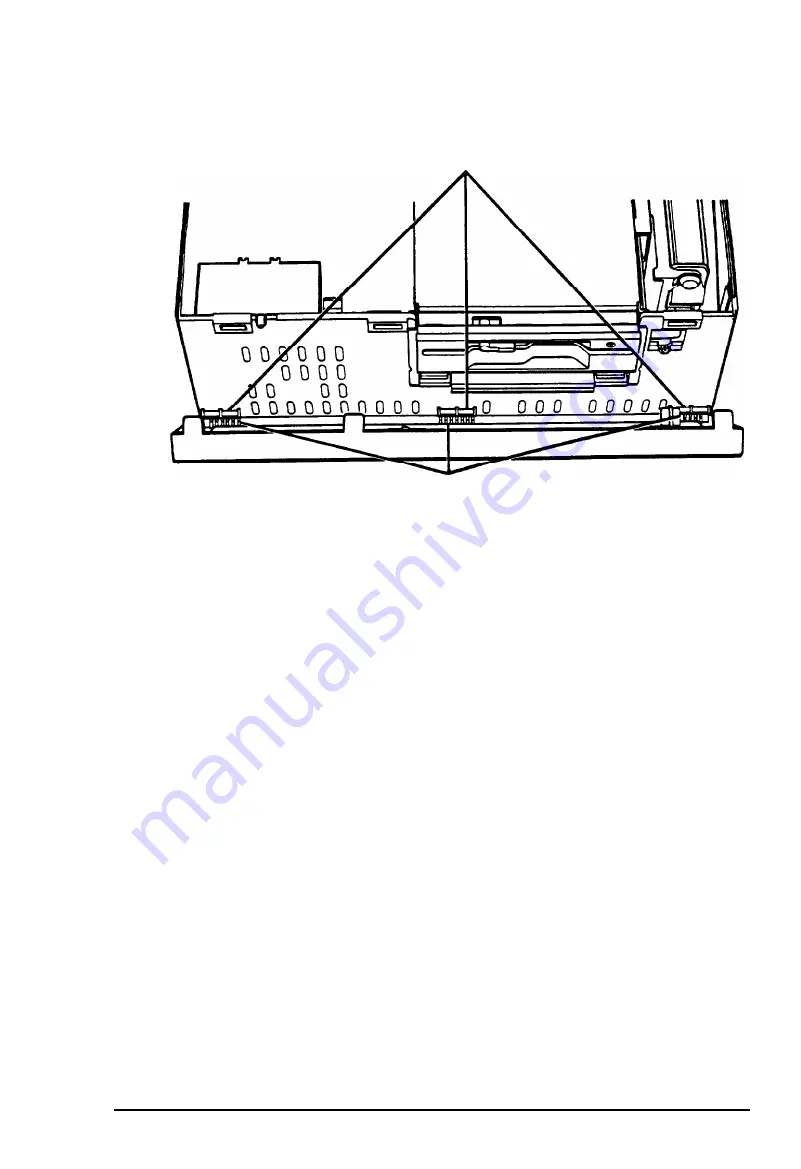
To replace the front panel, fit the three ridged tabs on its
bottom edge into the three notches on the lower edge of the
computer, as shown below.
notches
tabs
Note
If you installed a diskette drive in the horizontal drive
bay, you need to remove the slot cover from the front
panel. Use a screwdriver to remove the two screws that
secure the slot cover to the panel. Store the screws and
the slot cover in a safe place.
If you removed a diskette drive from the horizontal drive
bay, you need to replace the slot cover in the front panel.
13.
Tilt up the front panel until the clips on the top of the panel
touch the computer. Then push on the top of the panel
until it clicks into place. The diskette drive(s) should be
flush with the front panel.
Accessing
Internal Components
5-15
Summary of Contents for EQUITY 3865X/20 PLUS
Page 1: ...EPSON E Q U I T Y 3 8 6 5 X 2 0 P L U S U s e r s G u i d e ...
Page 2: ...EPSON E Q U I T Y 3 8 6 S X 2 0 P L U S USER S GUIDE X EQ386 20PLUS ...
Page 136: ......
Page 266: ...E Q U I T Y 3 8 6 S X 2 0 P L U S U s e r s G u i d e ...
Page 269: ...Epson America Inc 20770 Madrona Avenue Torrance CA 90503 ...

