Overview of NetSight Element Manager
2-14
Customizing NetSight Element Manager
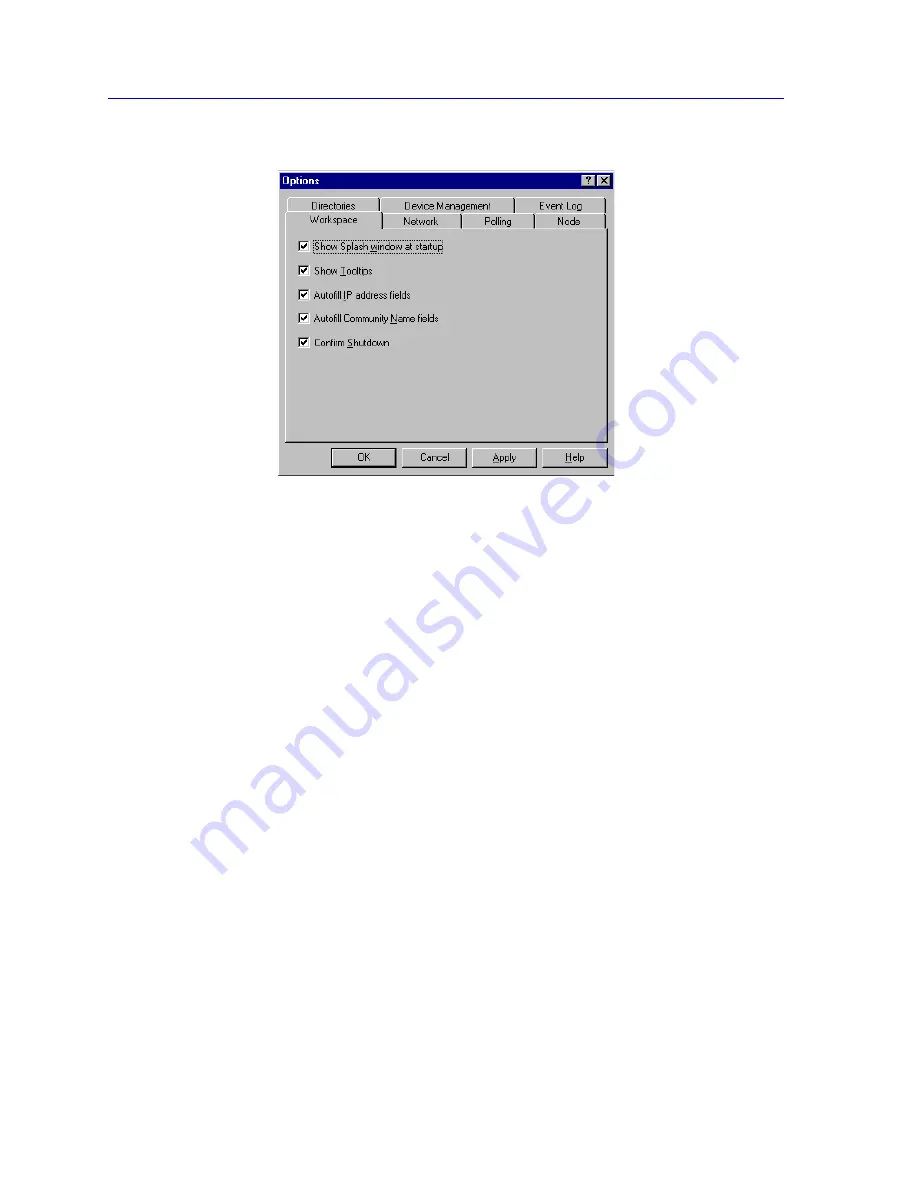
Figure 2-7. The Options Window (with Workspace Options Selected)
Workspace Options
The Workspace options (displayed by default, as illustrated in
Figure 2-7
) control various
settings for the NetSight Element Manager interface. You select or deselect each option by
clicking the associated checkbox. A checked box indicates that the associated option is
selected; a blank box indicates that option is deselected.
Show Splash window at startup
The Splash window is an identifying screen that will briefly appear when you initialize
NetSight Element Manager. Selecting this option will cause the screen to be displayed;
deselecting it will suppress the screen.
Show Tooltips
Tooltips are small pop-up windows that provide user assistance by identifying controls
such as toolbar buttons. Selecting
Show Tooltips
will cause these to be displayed when
the mouse cursor is dragged over a toolbar icon; deselecting the option will suppress them.
You may want to leave this option selected until you are comfortable visually identifying
all the toolbar options by their icons.
Autofill IP address fields
When this option is selected, the dotted decimal IP address octets set via the Network
options (or via the Welcome Wizard) will be automatically entered in any field that
requires an IP address.
Summary of Contents for Netsight
Page 1: ...User s Guide...
Page 2: ......
Page 12: ...Contents xii...
Page 52: ...Overview of NetSight Element Manager 2 36 Backing Up Data Files...
Page 82: ...Discovering Nodes 3 30 Using the Subnets Window...
Page 130: ...List Views 4 48 List Views and Maps...
Page 148: ...Tree Views 5 18 Tree Views and Maps...
Page 212: ...Creating Network Maps 6 64 Managing Maps and Folders...
Page 220: ...Node Management Overview 7 8 PING...
Page 234: ...Batch Customization via AddTool AddImage and AddDevType A 14 Viewing the Log File...


