


Settings
EFORT INTELLIGENT EQUIPMENT CO.,LTD
148
3
1
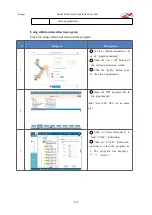
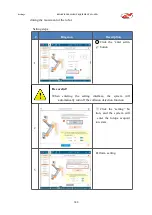
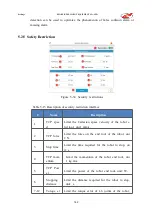
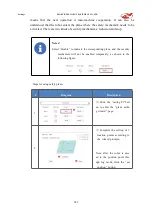
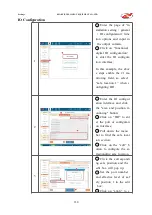
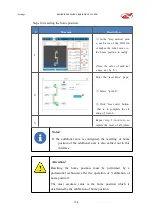
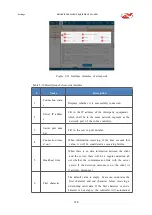
Click the “set position” b
utton to set the last position
point;
2
Click the “finish” button.
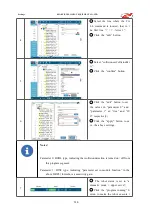
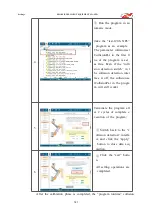
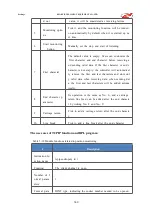
4
The “success” prompt box p
ops up, indicating that the pl
ane setting is completed.
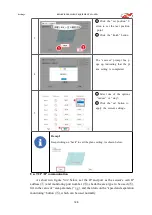
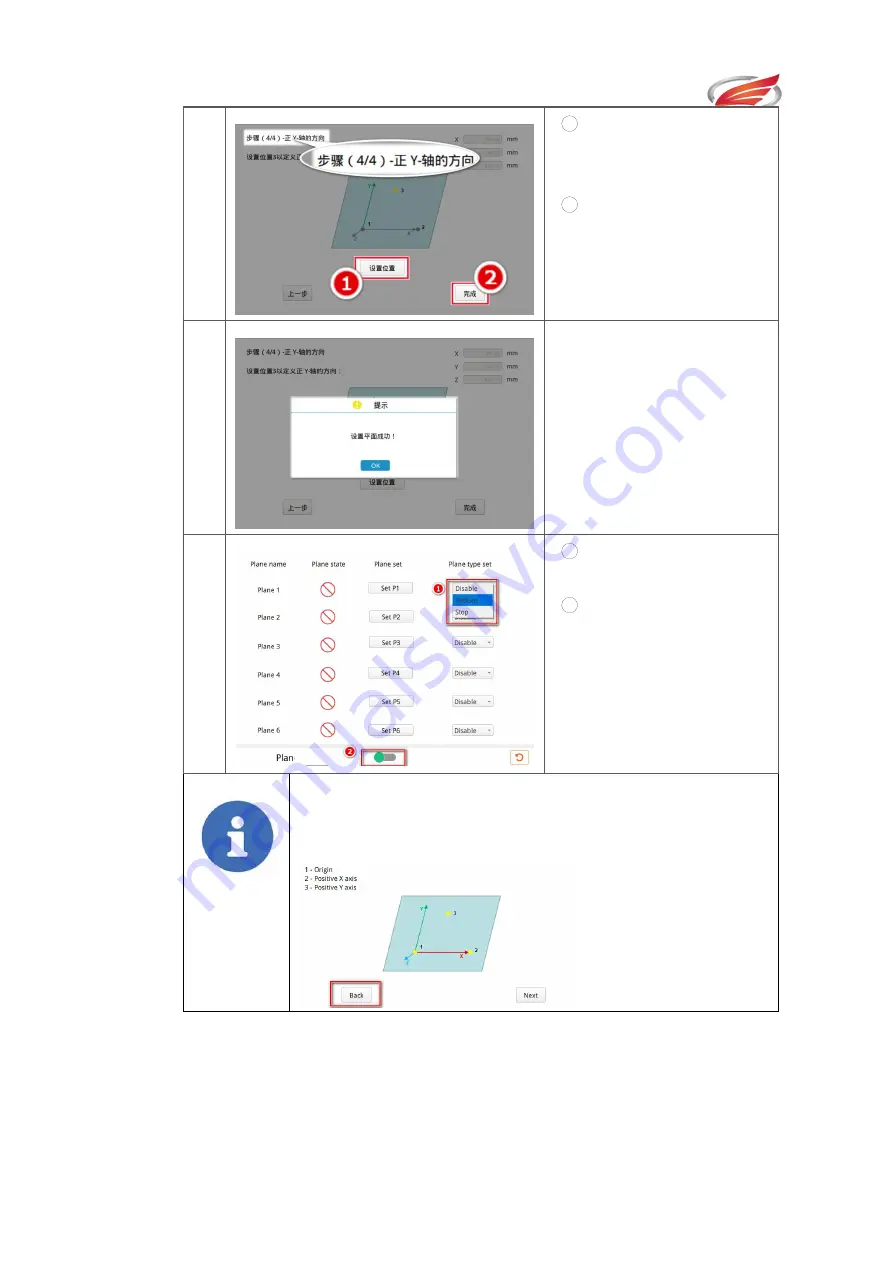
5
1
Select one of the options
“reduce” or “stop”;
2
Click the “on” button to
apply the current settings.
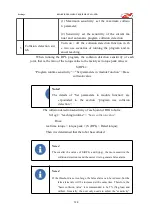
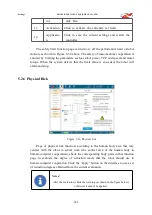
Prompt!
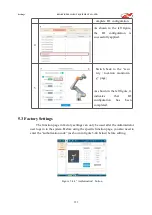
Keep clicking on “back” to exit the plane setting. As shown below:
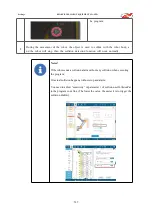
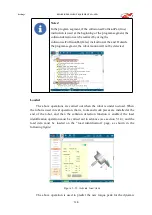
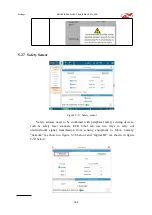
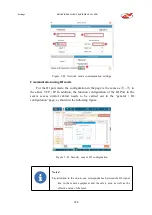
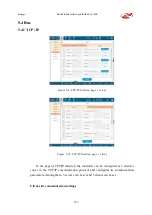
Use TCP / IP communication
As shown in figure 5-42 below, set the IP and port as the sensor’s own IP
address (
①
) and monitoring port number (
②
), check the area type to be used (
③
),
fill in the value of “area parameter” (
④
), and then turn on the “speed and separation
monitoring” button (
⑤
), which can be used normally.


