74
Operation
1.
Press the eject button on the DV-7PR front panel to open the tray of the CD-ROM drive.
2.
Place the disc containing the material on the disc tray and press the eject button to close the
tray.
3.
After the sound of the disk motor of the CD-ROM drive stops,
right-click
on the Materials list,
and select [Import material from disks] from the context menu.
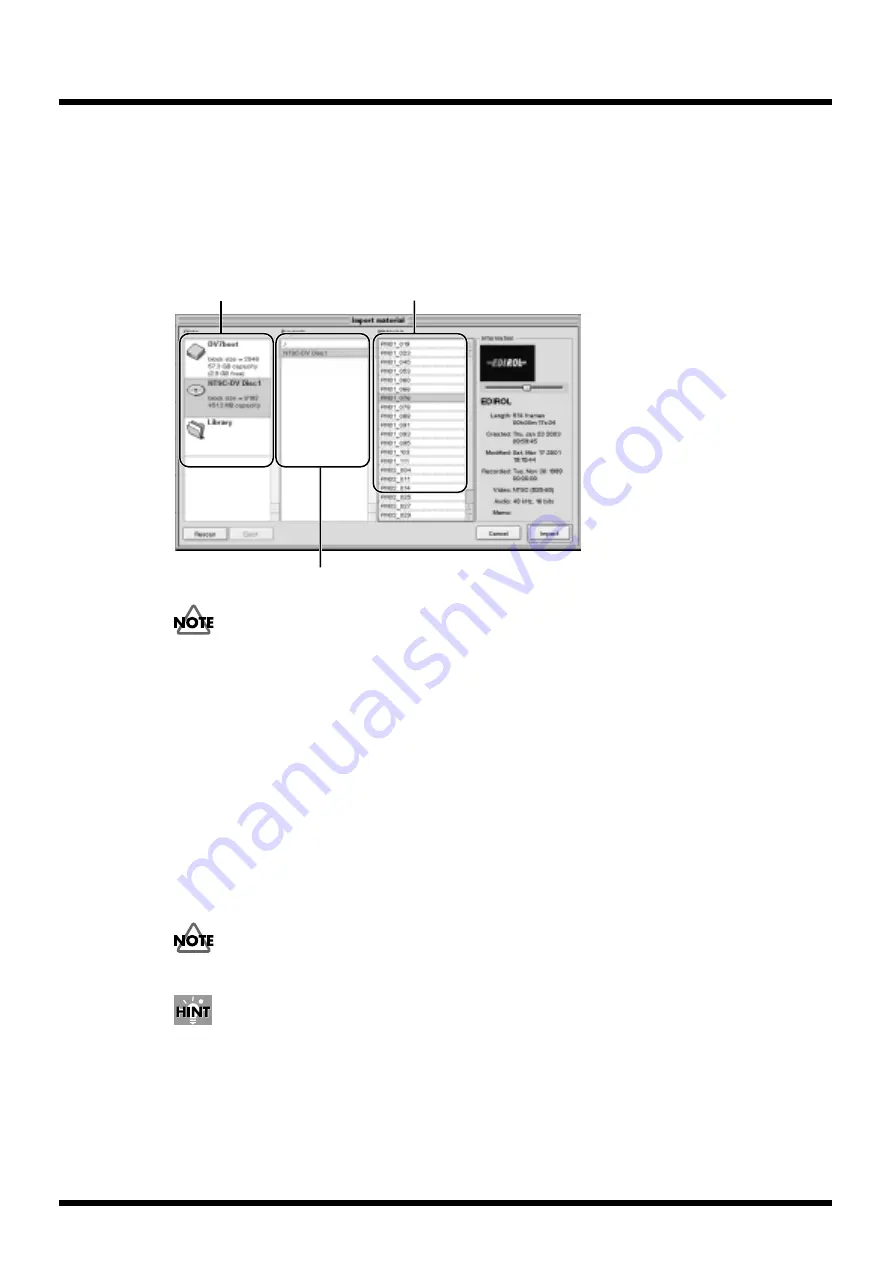
The “Import material” dialog box appears.
fig.play.default
If no disk appears, click the [Rescan] button in the dialog box.
4.
Select the CD-ROM disc in the Disks list.
5.
Select the material to import in the Materials list and click the [Import] button.
To select more that one material, hold down the [Shift] key while selecting.
6.
Select the CD-ROM disk in the Disks list, and click the [Eject] button.
When the disk tray opens, remove the disk.
7.
If you wish to continue to import materials from other disks, follow the above 1 and 2
instructions to insert the disk, and click the [Rescan] button after the sound of the disk motor of
the CD-ROM drive stops.
8.
If you finish importing materials, follow the above 6 instruction to eject the disk, and click the
[Cancel] button to close the window.
When ejecting the CD-ROM disk, be sure to click the [Eject] button. If you failed to do this and pressed the
EJECT button on the unit, click [Cancel] to shut down the dialogue box.
By
right-clicking
on the Clips list and choosing [Import material to here] from the menu that appears, you
can import the material. Then click on the desired location to assign the material.
The Editor has a special warehouse called Library, where materials are stored for common use between
projects. For more information regarding the library, refer to the DV-7 Instruction manual.
Select disk
Select directory
Select material
Summary of Contents for DV-7PR
Page 120: ...02902189 02 6 B2 11KS ...


