5-2
Diagnostics and Troubleshooting Guide
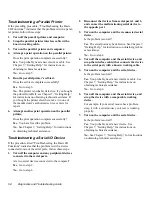
Do the tests complete successfully?
Yes. You have fixed the problem.
No. Go to step 6.
6.
Turn off the system and disconnect it from alter-
nating current (AC) power. Swap the monitor
with one of the same type that is working, and
reconnect the system to AC power.
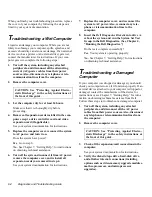
7.
Insert the Dell Diagnostics Diskette into drive A,
reboot the system, and run the Video Test Group
again.
Do the tests complete successfully?
Yes. You probably need a new monitor. See
Chapter 7, “Getting Help,” for instructions on
obtaining technical assistance.
No. If you have a video expansion card installed in
your computer, see “Troubleshooting Expansion
Cards” in Chapter 6.
T
roubleshooting the Keyboard
This procedure determines what kind of keyboard prob-
lem you have. If a system error message indicates a
keyboard problem when you start up the computer sys-
tem or during the Dell Diagnostics, complete the
following steps:
1.
Look at the keyboard and the keyboard cable for
any signs of damage. Press and release each key
on the keyboard.
Do the keyboard and its cable appear to be free of
physical damage, and do the keys work?
Yes. Go to step 3.
No. Go to step 2.
2.
Swap the faulty keyboard with a working
keyboard.
To swap a faulty keyboard, unplug the keyboard
cable from your computer’s back panel and plug in a
working keyboard.
Is the problem resolved?
Yes. You probably need a new keyboard. See Chap-
ter 7, “Getting Help,” for instructions on obtaining
technical assistance.
No. Go to step 3.
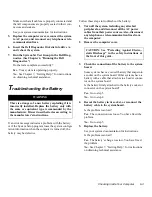
3.
Insert the Dell Diagnostics Diskette into drive A,
reboot the system, and run the Keyboard Test
Group in the Dell Diagnostics. (See Chapter 4,
“Running the Dell Diagnostics.”)
Can you use the keyboard to select the Keyboard
Test Group?
Yes. Go to step 4.
No. Go to step 5.
4.
Does the Keyboard Interactive Test complete
successfully?
Yes. Go to step 6.
No. Go to step 5.
5.
Swap the faulty keyboard with a working
keyboard.
6.
Does the Keyboard Controller Test complete
successfully?
Yes. You need a new keyboard. See Chapter 7, “Get-
ting Help,” for instructions on obtaining technical
assistance.
No. See Chapter 7, “Getting Help,” for instructions
on obtaining technical assistance.
T
roubleshooting I/O Ports
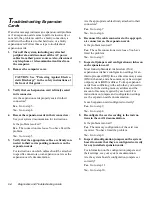
This section provides a procedure for troubleshooting the
ports on your computer’s I/O panel and the equipment
connected to them, such as a printer, scanner, or other
peripheral device.
You can also use this procedure to test I/O ports on
expansion cards. However, you should first complete the
procedures in “Troubleshooting Expansion Cards” in
Chapter 6 to verify that the card is configured and
installed correctly.
If a system error message indicates a port problem or
if equipment connected to a port seems to perform
Summary of Contents for OptiPlex HUB
Page 1: ... 1267 6 1 7528 6 227 1 8 ...
Page 2: ......
Page 3: ... 1267 6 1 7528 6 227 1 8 ...
Page 10: ...x ...
Page 18: ...xx DELL CONFIDENTIAL Preliminary 2 10 98 ...
Page 20: ...xxii DELL CONFIDENTIAL Preliminary 2 10 98 ...
Page 38: ...2 14 Diagnostics and Troubleshooting Guide ...
Page 42: ...3 4 Diagnostics and Troubleshooting Guide ...

