21
1. Introduction
Installing the driver locally
A locally connected machine is a machine directly attached to your computer
using the cable. If your machine is attached to a network, skip the following
steps below and go on to installing a network connected machine’s driver (see
"Installing driver over the network" on page 120).
•
If you are a Macintosh, Linux, or Unix OS user, refer to the "Software
Installation" on page 109.
•
The installation window in this
User’s Guide
may differ depending on the
machine and interface in use.
•
Selecting
Custom Installation
allows you to choose which programs to
install.
•
Only use a USB cable no longer than 3 meters (118 inches).
14
Windows
1
Make sure that the machine is connected to your computer and
powered on.
If the “
Found New Hardware Wizard
” appears during the installation
procedure, click
Cancel
to close the window.
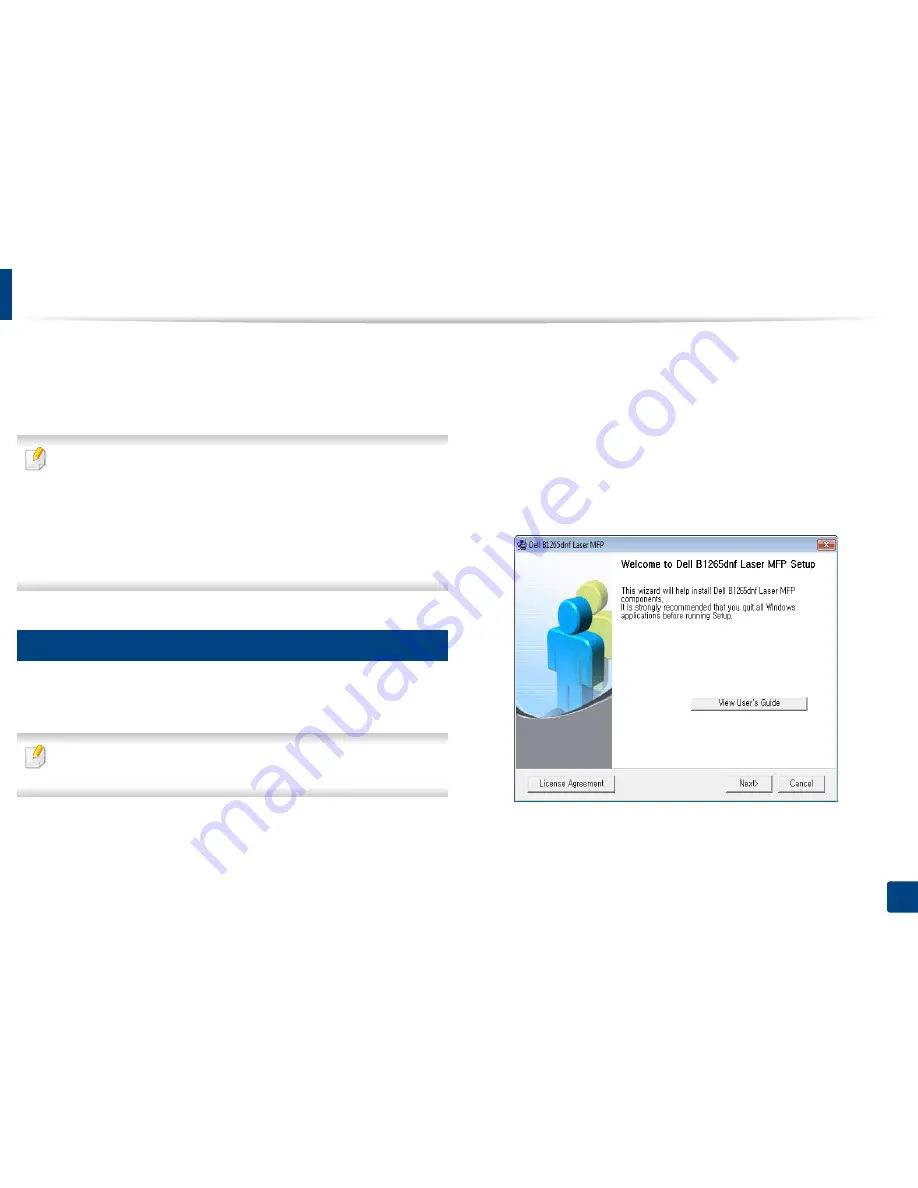
2
Insert the supplied software CD into your CD-ROM drive.
The software CD should automatically run and an installation window
will appear.
If the installation window does not appear, click
Start
>
All programs
>
Accessories
>
Run
.
X:\
Setup.exe
replacing “X” with the letter, which represents your CD-
ROM drive and click
OK
.
3
Select
Next
.
Summary of Contents for B1265DNF
Page 20: ...20 1 Introduction Turning on the machine Connect the machine to the electricity supply first ...
Page 35: ...Media and tray 35 2 Menu overview and basic setup ...
Page 77: ...Clearing original document jams 77 4 Troubleshooting 1 Original paper jam in front of scanner ...
Page 78: ...Clearing original document jams 78 4 Troubleshooting 2 Original paper jam inside of scanner ...
Page 81: ...Clearing paper jams 81 4 Troubleshooting 5 In the manual tray ...
Page 83: ...Clearing paper jams 83 4 Troubleshooting 7 In the exit area ...
Page 84: ...Clearing paper jams 84 4 Troubleshooting 8 In the duplex unit area 1 2 1 2 ...


