59
5
When the installation is complete, you may print a test page. Click
Finish
to complete
the installation and close the wizard. You are now ready to print.
Network Installation
Assigning an IP Address
Before using the printer on the network, you must set an IP address, subnet mask, and gateway
for the printer. If you want DHCP or BOOTP to automatically set the IP address, a DHCP or
BOOTP server must exist on the network.
If the network is using DHCP/BOOTP, an IP address is automatically assigned after
connecting the network cable to the printer. In case no DHCP or BOOTP the printer will
automatically assign a legacy IP address 192.0.0192 or local link address 169.254.xxx.xxx.
To configure the IP address manually, you can use the supplied "Installing Software in
Microsoft® Windows® Operating System" CD. Print the Configuration page of the printer to
see the current network configuration and MAC address. You will need this information to
configure the printer for the network.
1
Ensure that the printer is connected to your network and powered on. Close all programs.
2
Insert the "Installing Software in Microsoft® Windows® Operating System" CD.
NOTE:
For Windows Vista/Windows 7/Server 2008 R2, click Continue when the User Account
Control screen appears.
NOTE:
If user has disabled auto continue, then please open setup.exe from CD root folder.
3
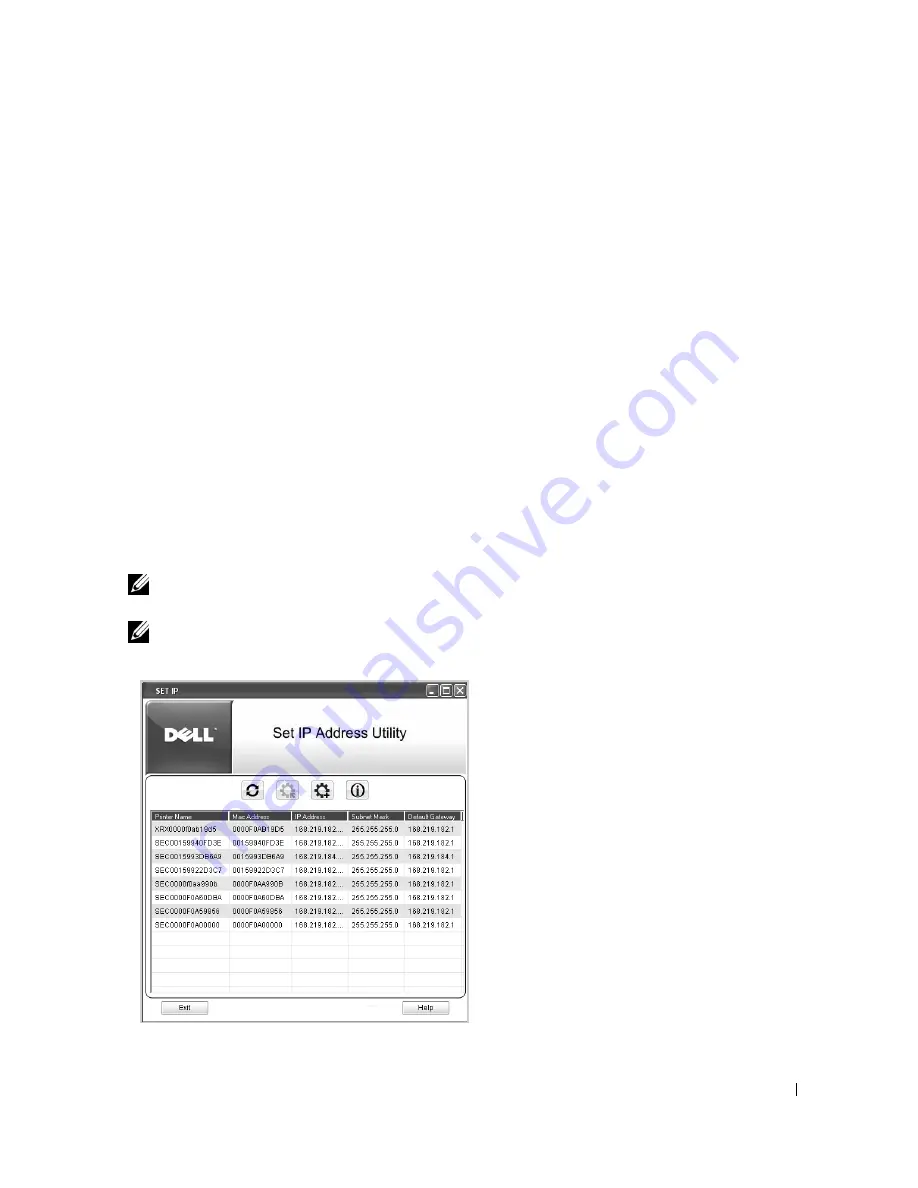
Select
Set IP Address
. The list of printers is available on the network displays.
Summary of Contents for 2355 Mono Laser
Page 1: ...Dell 2355dn Laser MFP User s Guide ...
Page 17: ...16 ...
Page 31: ...30 4 Close the front cover ...
Page 72: ...71 5 Click Update Firmware ...
Page 99: ...98 ...
Page 127: ...126 ...
Page 181: ...180 ...
Page 213: ...212 ...
Page 214: ...Macintosh Installing Software for Macintosh Setting Up the Printer Printing Scanning ...


