14
Now that you have powered up the DVR and connected it to a TV or monitor you are ready to begin setting
up and using the DVR. You will notice the coaching Smart Menu information bubbles at the bottom of
the screen describing the settings that you will find in the menu. As an added convenience the DVR will
automatically begin recording once it is powered on as long as at least one camera is connected. First
thing that is recommended is to configure the date and time. Instructions for this can be found on page 47.
Using the Mouse
The included USB mouse makes using the DVR simple and efficient. Using the mouse will make controlling
the DVR very similar to using a computer. It will allow you to easily click on items to select them and make
desired changes.
Access the MENU or Use of the Mouse
If you are unable to access the MENU or use the mouse, the DVR display settings may be stuck on an
incorrect display format. To resolve this follow these steps:
1. Reboot your DVR (Unplug for at least 10 seconds
and plug back in)
2. Wait for the HDD light on the front of the DVR to
start flashing
3. Aim the remote directly at your DVR and press "0"
4. You will hear a loud beep from the DVR and will
regain control of the mouse.
Screen Viewing
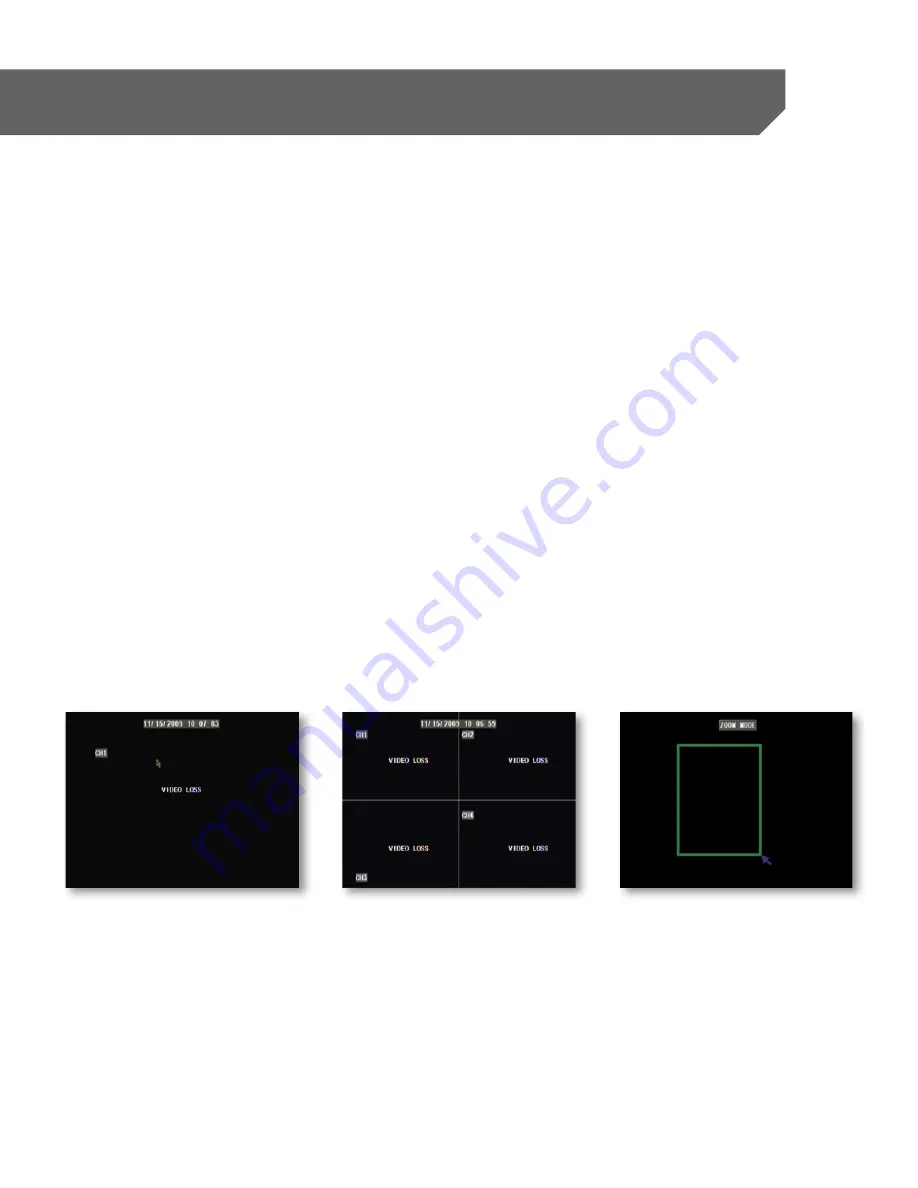
By double clicking one of the camera screens, the viewing mode will switch to full screen mode. Double
clicking again will bring you back to the all camera screen mode. From full screen mode you can zoom into
an area of the screen. For more information on zooming in, please see ZOOM in FUNCTION TOOLBAR.
BUTTONS AND CONNECTIONS


