89
7.
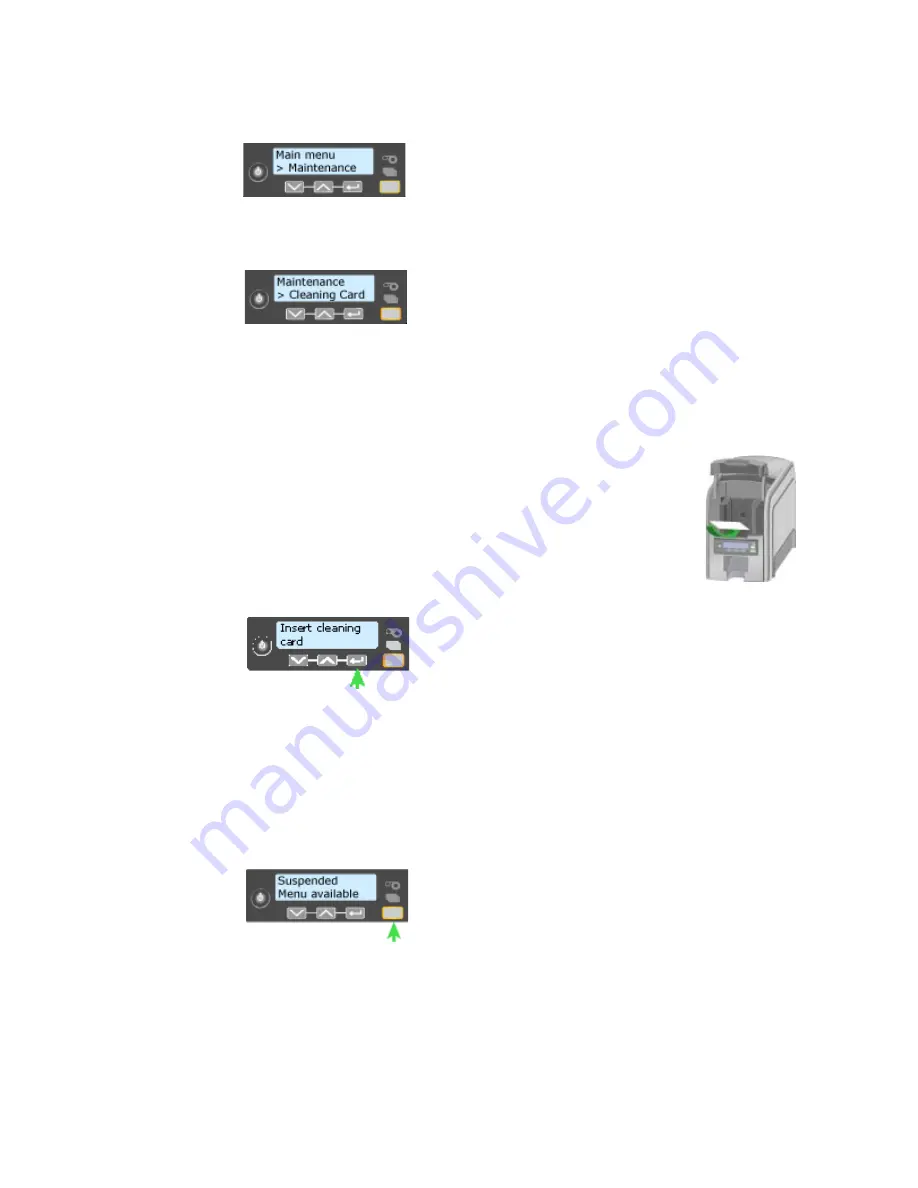
Press the E
NTER
key to enter the menu system.
8.
Press the E
NTER
key to enter the Maintenance menu.
9.
Press the E
NTER
key to choose Cleaning Card.
10.
With Cleaning Card displayed on Line 2, press the E
NTER
key to display Start
on Line 2.
11.
Press the E
NTER
key to display “Insert Cleaning Card” in the LCD panel. The
U
SER
button and the Card light blink.
12.
Open the cleaning card package. Place the cleaning card in
the input area and press the U
SER
button to start the cleaning
cycle.
The printer moves the card through the printer several times
and ejects it in the output stacker.
13.
Remove the used cleaning card. Wait a few minutes for the rollers to dry.
14.
Replace the cards in the input hopper.
15.
Replace the cleaning sleeve with a new sleeve, and remove the protective
cover. See
“Load Cleaning Roller”
for the steps to follow.
16.
Replace the ribbon cartridge and close the printer. The printer is ready to
print cards again.
17.
Discard the used cleaning card and cleaning sleeve.
HINTS & TIPS
•
Use the cleaning card and cleaning sleeve one time only.
Summary of Contents for SD260
Page 1: ...Datacard XPS Card Printer Installation and User Guide October 2011 Part No 539957 001 Rev B...
Page 13: ...3 Printer with Input Hopper Inside a single feed or hopper equipped printer...
Page 18: ...8 Welcome to Card Printer Information...
Page 45: ...35 10 Plug in and power on the printer...
Page 102: ...92 Using the Printer...
Page 124: ...114 Printer Driver...
Page 130: ...120 Removing a Printer from a Windows PC...
Page 148: ...138 Troubleshooting...
Page 158: ...148 Supplies and Parts...
Page 216: ...206 Legal Notices...


