199
7.
Verify the encoding success by passing the card through a card reader.
H
INTS
& T
IPS
•
Do not use character formatting, such as kerning.
•
Do not use smart quotes.
•
Use an application in which you can enter and save text, and then edit it after
saving.
•
Use a R
ETURN
or E
NTER
keystroke to end a line.
•
Use a small font size to shorten lines of text to encode.
•
Keep text to print on a different line from text to encode.
•
When the driver adds lines of text for the same track, the sequence is
determined by the application. Test your application with the driver to make
sure the data is in the correct order.
•
Magnetic stripe data sent by the driver is always encoded on side 2 of the
card.
•
Magnetic stripe data will be converted to uppercase (capital) letters if needed.
•
If not-allowed characters are sent within the magnetic stripe data, the printer
displays a message.
•
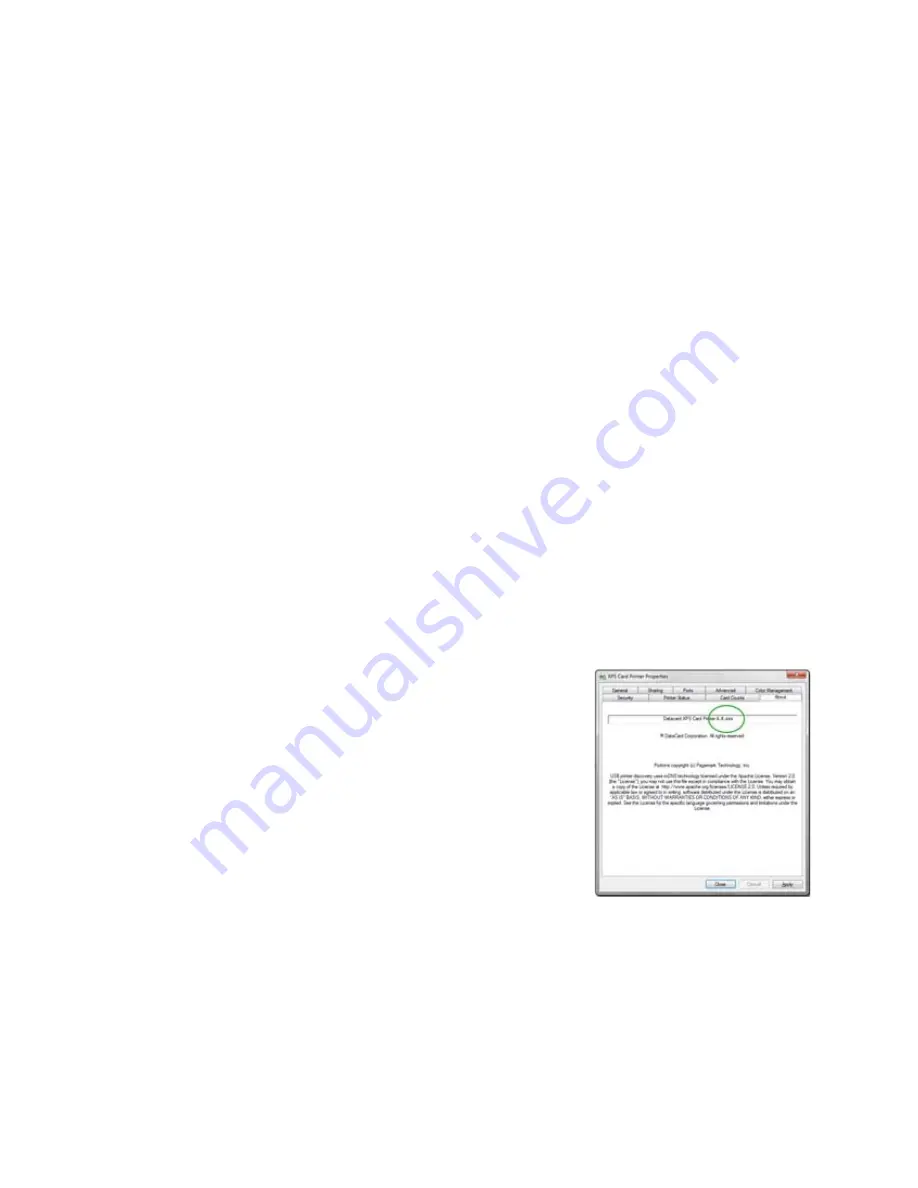
View the Driver Version
1.
Open Printer Properties. See
“Open Printer
Properties”
.
2.
Click the About tab.
3.
The About tab shows the driver version.
4.
Click
Close
to close the Printer Properties
dialog.
View Network Information
When the printer and PC using the XPS Card Printer Driver are connected using a
network, the network settings on the PC and the printer must match.
The driver Printer Properties dialog includes the Ports tab for specifying or
viewing the printer IP Address being used. See the “Port Type” section of
“View
Printer Status”
to view the setting.
Summary of Contents for SD260
Page 1: ...Datacard XPS Card Printer Installation and User Guide October 2011 Part No 539957 001 Rev B...
Page 13: ...3 Printer with Input Hopper Inside a single feed or hopper equipped printer...
Page 18: ...8 Welcome to Card Printer Information...
Page 45: ...35 10 Plug in and power on the printer...
Page 102: ...92 Using the Printer...
Page 124: ...114 Printer Driver...
Page 130: ...120 Removing a Printer from a Windows PC...
Page 148: ...138 Troubleshooting...
Page 158: ...148 Supplies and Parts...
Page 216: ...206 Legal Notices...


