38
System Maintenance
C.
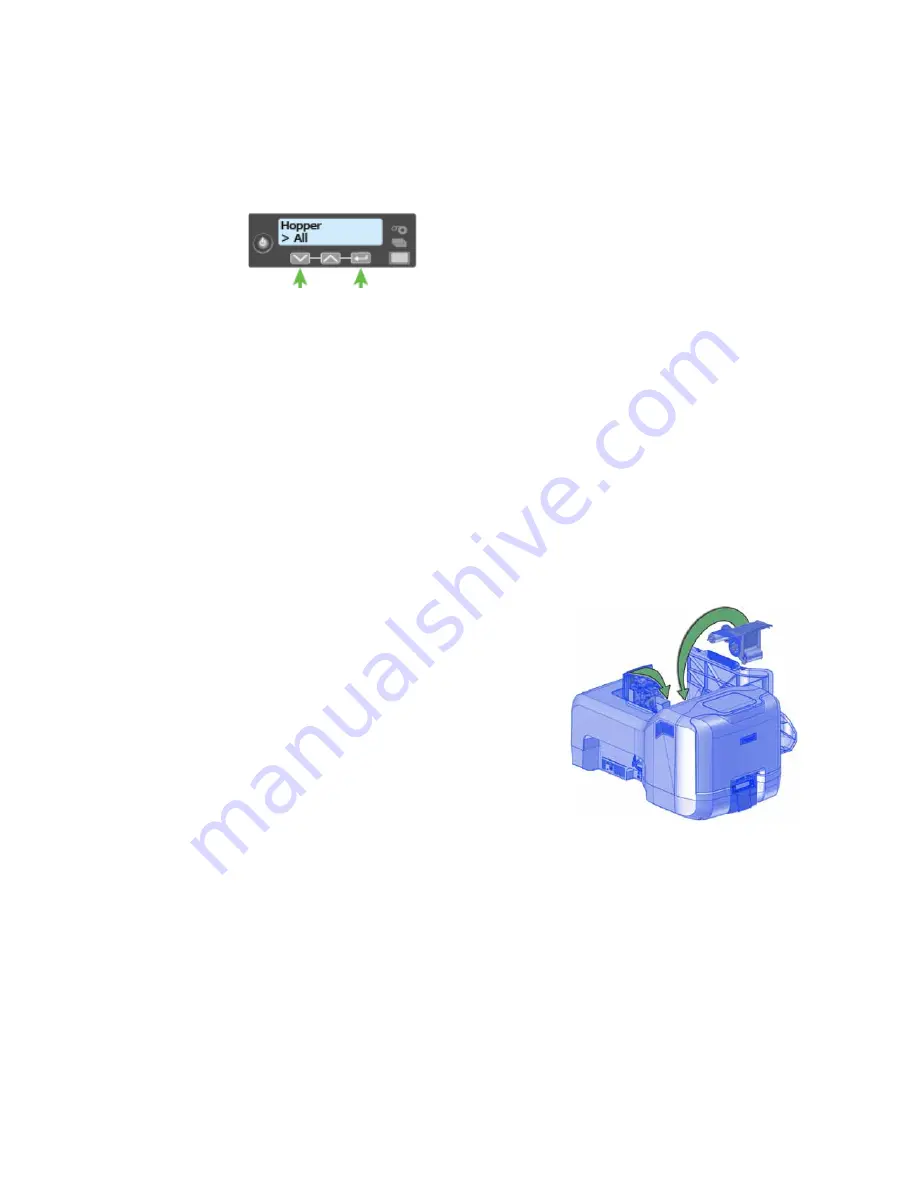
Press
the
down
arrow
key
and
choose
All
to
clean
hoppers
H1,
H3,
H4,
H5,
and
H6.
(Or,
continue
pressing
down
to
select
hoppers
1 through 6
to
clean
a
hopper
individually.)
3.
Press
the
E
NTER
key
to
start
the
cleaning
process.
The
printer
moves
the
cleaning
cards
back
and
forth
across
the
hopper
rollers
several
times
and
then
ejects
the
cleaning
cards
back
into
the
hoppers.
The
printer
returns
to
Ready
when
the
cleaning
cycle
completes.
To
complete
the
cleaning
process,
refer
to
Prepare
the
Printer
for
Use
.
Prepare the Printer for Use
1.
Unlock
the
printer
and
open
the
multi
‐
hopper
door.
2.
Remove
the
used
cleaning
cards
from
the
hoppers.
3.
Replace
the
unprinted
cards
in
the
input
hoppers.
4.
Open
the
printer
supplies
access
door
and
the
printer
cover.
Remove
the
ribbon
cartridge.
5.
Install
a
new
cleaning
sleeve
on
the
ribbon
cartridge
and
remove
the
protective
cover.
Refer
to
“Load
the
Cleaning
Sleeve”
on
page
23
for
the
steps
to
follow.
6.
Replace
the
ribbon
cartridge.
7.
Close
the
printer
cover.
Press
down
on
the
ridges
on
the
front
of
the
cover
to
latch
it
properly.
8.
Close
the
printer
supplies
access
door.
9.
Open
the
reject
card
tray
and
remove
the
used
cleaning
card.
Summary of Contents for CD800
Page 1: ...Datacard CD800 Card Printer User s Guide March 2014 Part No 527443 001 Rev A ...
Page 8: ...viii ...
Page 14: ...xiv ...
Page 16: ...2 Introduction ...
Page 25: ...CD800 Card Printer User s Guide 11 ...
Page 26: ...12 About the Printer ...
Page 42: ...28 Printing Cards ...
Page 54: ...40 System Maintenance ...
Page 114: ...A 16 CLM Laminator ...


