26
Printing Cards
Print Cards
Make
sure
that
cards
are
loaded
in
the
printer
or
available
to
insert
when
prompted.
For
the
steps
to
follow,
refer
to
“Load
Cards”
on
page
21
.
Print from ID Software
1.
From
the
ID
software,
use
the
template
or
design
for
the
card.
2.
Select
the
printer
if
you
use
more
than
one
printer.
3.
Enter
the
data
for
the
card.
Follow
the
instructions
for
your
software.
4.
Capture
the
photo
for
the
card,
if
necessary.
5.
Click
the
button
to
send
the
card
to
the
printer.
6.
At
the
printer,
insert
a
card
in
the
single
‐
feed
slot,
if
necessary.
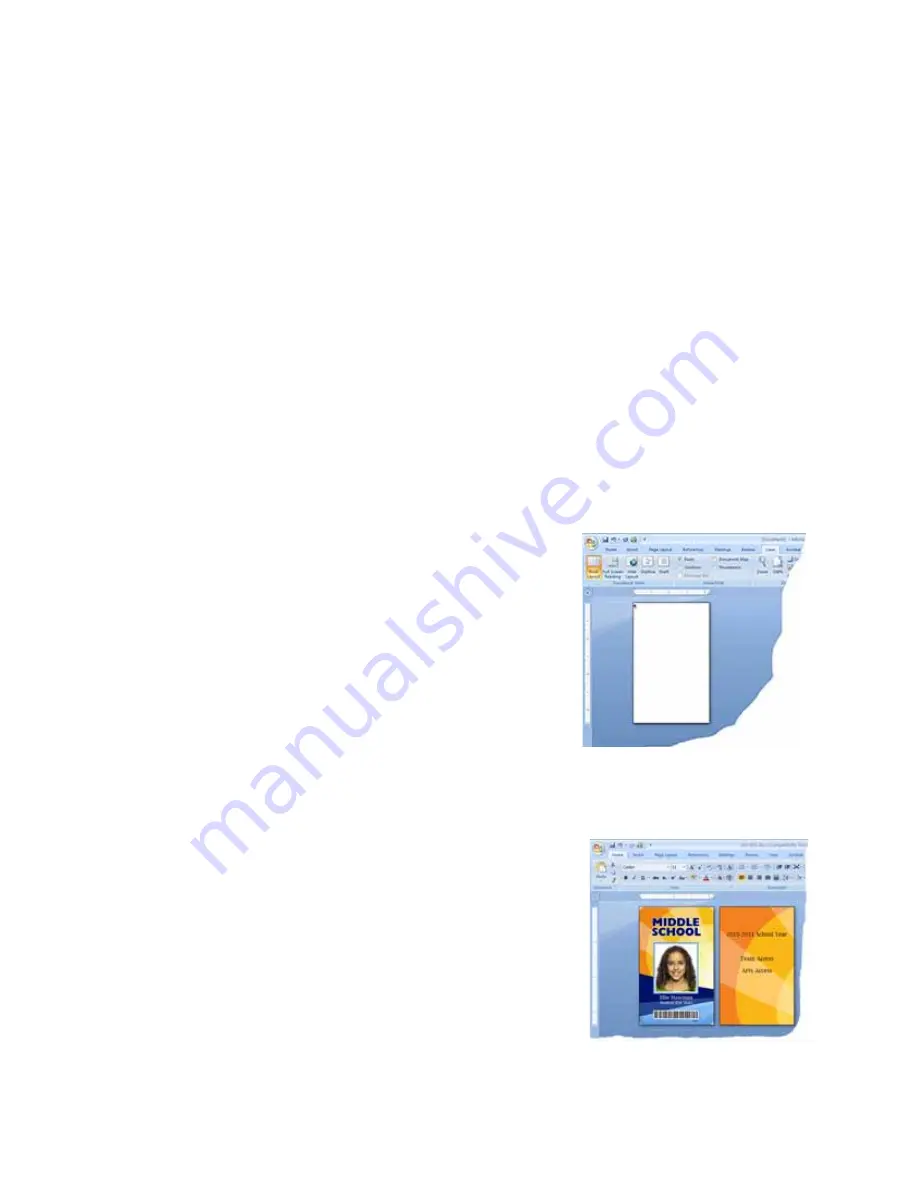
Print from Other Software
1.
Open
the
software
application
and
select
the
card
printer
as
the
current
printer.
2.
Use
the
applications
setup
page
to
select
the
ISO
ID
‐
1
page
size,
or
set
the
page
size
to
2.13
x
3.38
in.
3.
Set
the
margins
to
0
(zero).
4.
Select
an
orientation—portrait
or
landscape.
5.
Create
the
card
design:
A.
Add
graphics,
such
as
a
company
logo
or
background.
B.
Add
a
photo.
C.
Add
text
information,
such
as
name,
address,
or
employee
number.
For
information
about
additional
card
features,
refer
to
“Elements
of
Card
Design”
in
your
printer’s
Installation
and
Administrator’s
Guide
.
Summary of Contents for CD800
Page 1: ...Datacard CD800 Card Printer User s Guide March 2014 Part No 527443 001 Rev A ...
Page 8: ...viii ...
Page 14: ...xiv ...
Page 16: ...2 Introduction ...
Page 25: ...CD800 Card Printer User s Guide 11 ...
Page 26: ...12 About the Printer ...
Page 42: ...28 Printing Cards ...
Page 54: ...40 System Maintenance ...
Page 114: ...A 16 CLM Laminator ...


