Appendix A
131
A.7.13 Firmware Upgrade
Occasionally,
CTC Union
will release new firmware for their products. If new functions are added through
software modification or if programming errors are uncovered and resolved, those items will be listed in the
firmware
release note
which is included in an 'upgrade package' along with a detailed upgrade procedure and the
firmware image code.
The
System Configuration
menu is where new firmware may be applied to the
10/100A
. The firmware is
uploaded to the agent using Trivial File Transfer Protocol. Once the TFTP server's IP is configured and the image
file name matches the update image placed in the TFTP root or path, item #7 will start the upload process. Once
the image has been uploaded into memory (approximately 20 seconds), and the check-sum and image ID
confirmed, the flash memory will be erased and the image written to the flash memory (non-volatile memory).
Following successful flash writing (approximately 50 seconds), the
10/100A
will automatically reboot.
WARNING:
Never allow any power disruption during the flash erasing and writing process.
Prerequisites:
1.
FRM220-10/100AS-2
or
FRM220-10/100A
in
FRM220-CH20
Chassis with
NMC
or in
FRM220-CH1
stand-alone single
slot.
2. Cat 5e or above Ethernet patch cable
3. Laptop or PC, TCP/IP ready
4. Telnet client software (PuTTY or HyperTerminal)
5. TFTP server (or
CTCU TFTP Server
for Windows)
6. Upgrade firmware, for version 3.xxxx, released as 'bootpImage' image file.
Procedure:
Step 1. Connect the
10/100A
Ethernet to the desktop's or laptop's Ethernet port with 1:1 UTP patch cable.
Step 2. If the IP address in unknown, power on
10/100A
and wait until fully booted (minimum 20 seconds). With pen or pencil
point, press and hold the 'DEFAULT' switch, located on the lower-right face of converter, for 6-10 seconds. Allow to fully
boot again (about 30 seconds). This will restore the converter to factory default and known parameters.
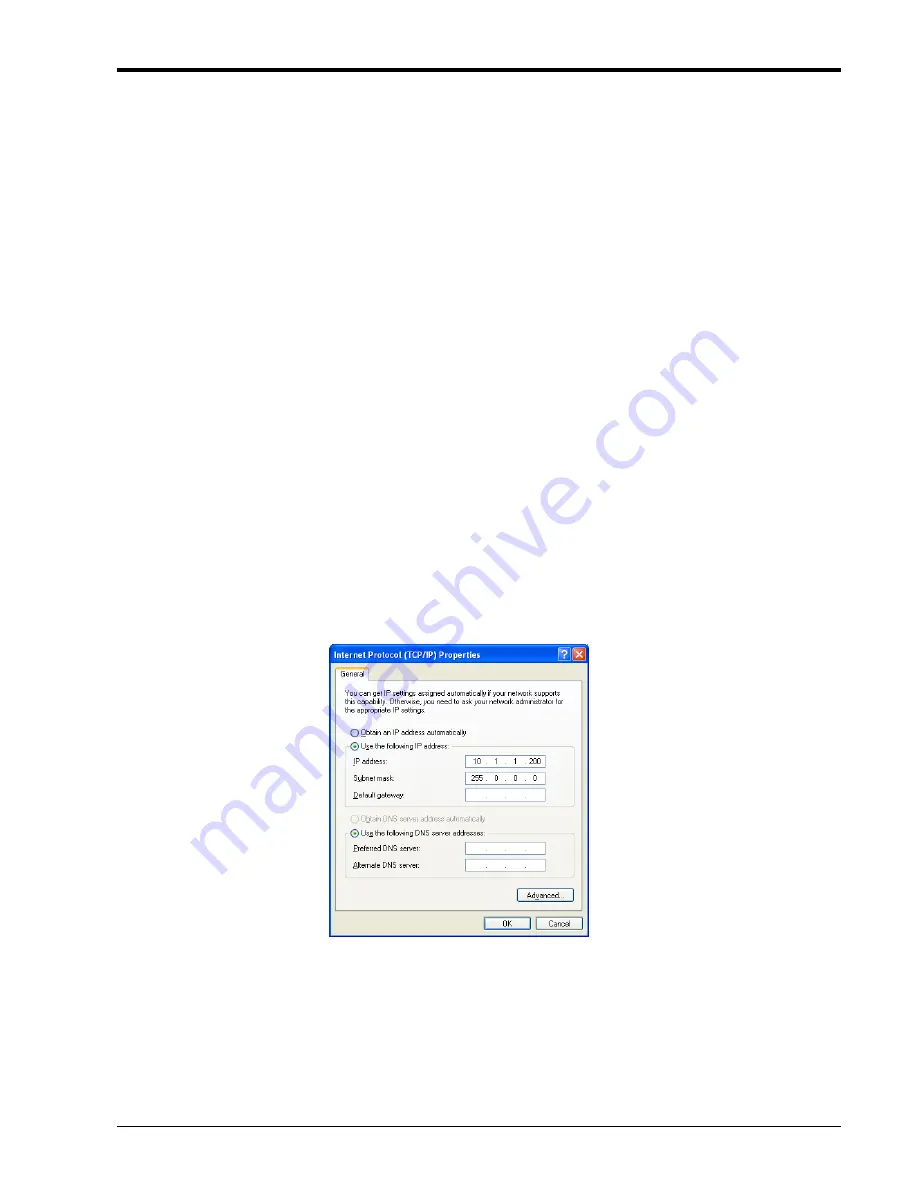
Step 3. Configure TCP/IP settings on the desktop or Laptop's Ethernet LAN port for:
a. static IP 10.1.1.200
b. subnet mask 255.0.0.0
c. gateway not necessary
Summary of Contents for FRM220-NMC
Page 1: ...FRM220 NMC Network Management Controller...
Page 2: ......
Page 7: ...Table of Contents iii...
Page 8: ......
Page 104: ...Appendix A 102 A 3 FRM220 FXO FXS In band Managed POTS PSTN Fiber Converter...
Page 105: ...Appendix A 103...
Page 180: ......
Page 181: ......
Page 182: ......


