c) Remove the top cover from the server as described in
Removing the Server Top Cover, on page 37
.
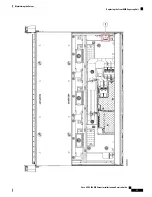
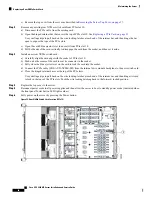
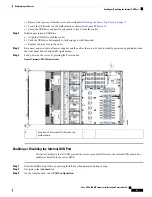
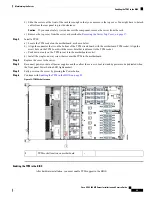
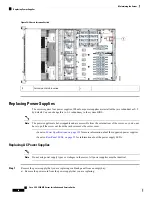
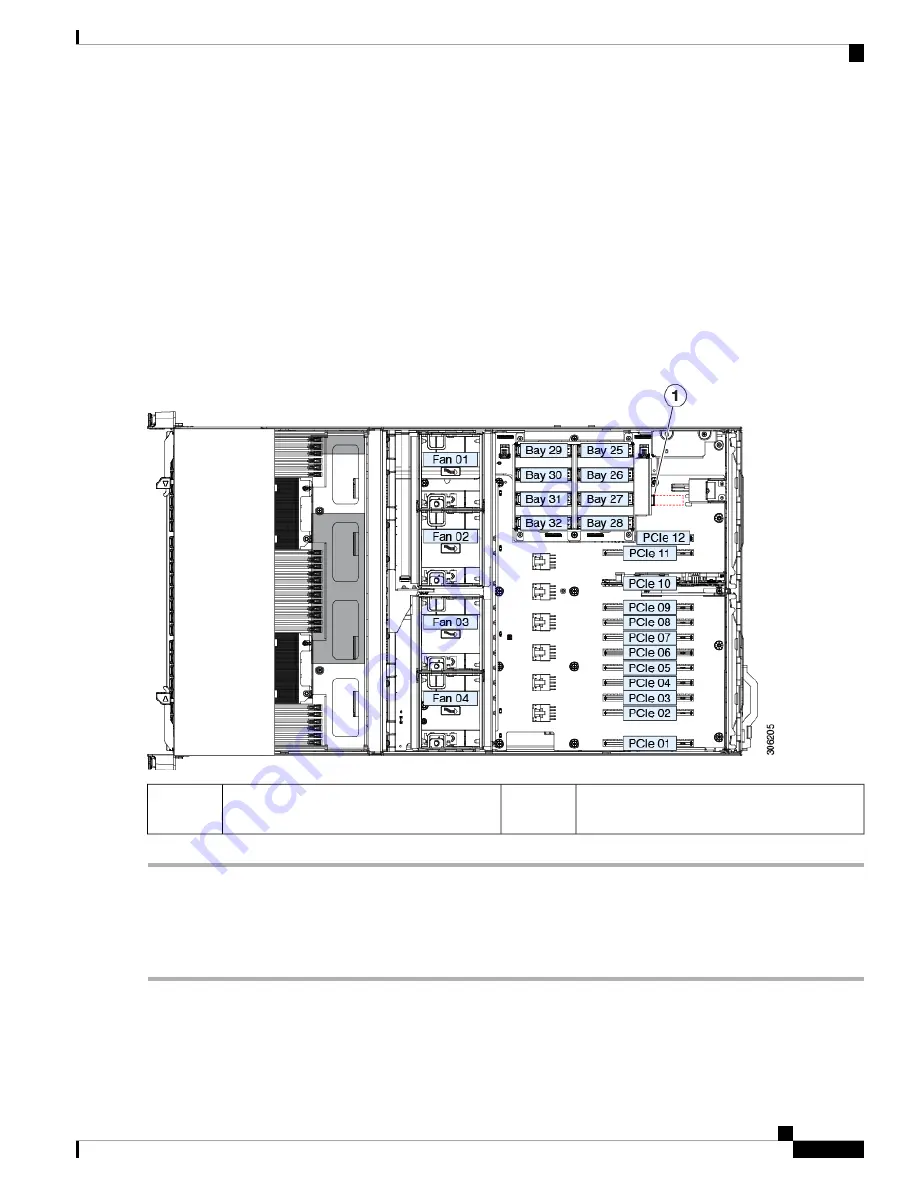
d) Locate the USB socket on the motherboard as shown below, near PCIe slot 12.
e) Grasp the USB drive and pull it horizontally to free it from the socket.
Step 2
Install a new internal USB drive:
a) Align the USB drive with the socket.
b) Push the USB drive horizontally to fully engage it with the socket.
c) Replace the top cover to the server.
Step 3
Reconnect power cords to all power supplies and then allow the server to boot to standby power mode (indicated when
the front panel Power button LED lights amber).
Step 4
Fully power on the server by pressing the Power button.
Figure 37: Internal USB 2.0 Socket Location
-
Location of horizontal USB socket on
motherboard
1
Enabling or Disabling the Internal USB Port
The factory default is that all USB ports on the server are enabled. However, the internal USB port can be
enabled or disabled in the server BIOS.
Step 1
Enter the BIOS Setup Utility by pressing the
F2
key when prompted during bootup.
Step 2
Navigate to the
Advanced
tab.
Step 3
On the Advanced tab, select
USB Configuration
.
Cisco UCS C480 M5 Server Installation and Service Guide
83
Maintaining the Server
Enabling or Disabling the Internal USB Port

