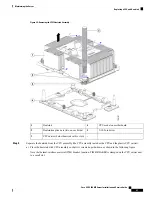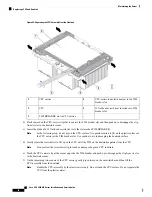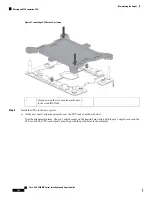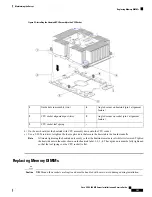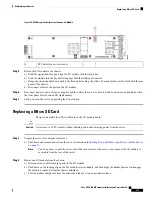
Figure 49: Removing the CPU/Heatsink Assembly
CPU socket on motherboard
4
Heatsink
1
T-30 Torx driver
5
Heatsink captive nuts (two on each side)
2
-
CPU carrier (below heatsink in this view)
3
Step 2
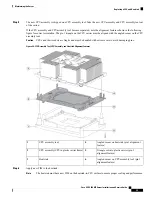
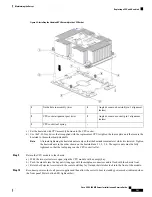
Transfer the CPU socket covers from the new system to the system that you are returning:
a) Remove the socket covers from the replacement system. Grasp the two recessed finger-grip areas marked "REMOVE"
and lift straight up.
Keep a firm grasp on the finger-grip areas at both ends of the cover. Do not make contact with the CPU
socket pins.
Note
Cisco UCS C480 M5 Server Installation and Service Guide
104
Maintaining the Server
Moving an M5 Generation CPU


