6-12
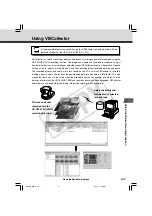
Using VBCollector
Installing VBCollector
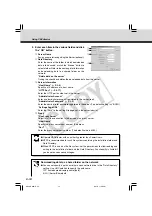
As described in “Install the Software” in Chapter 2 “Setting up” (
→
P.2-11), select Custom Installation
to install VBCollector.
Select “Programs” from the Start menu, then “WebView Livescope” and a shortcut will be created.
Note
When Using Older Versions of VBCollector
●
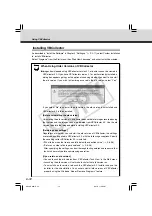
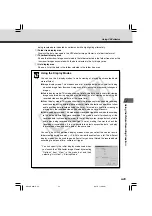
Images downloaded using VBCollector version 2.1 or earlier cannot be viewed in
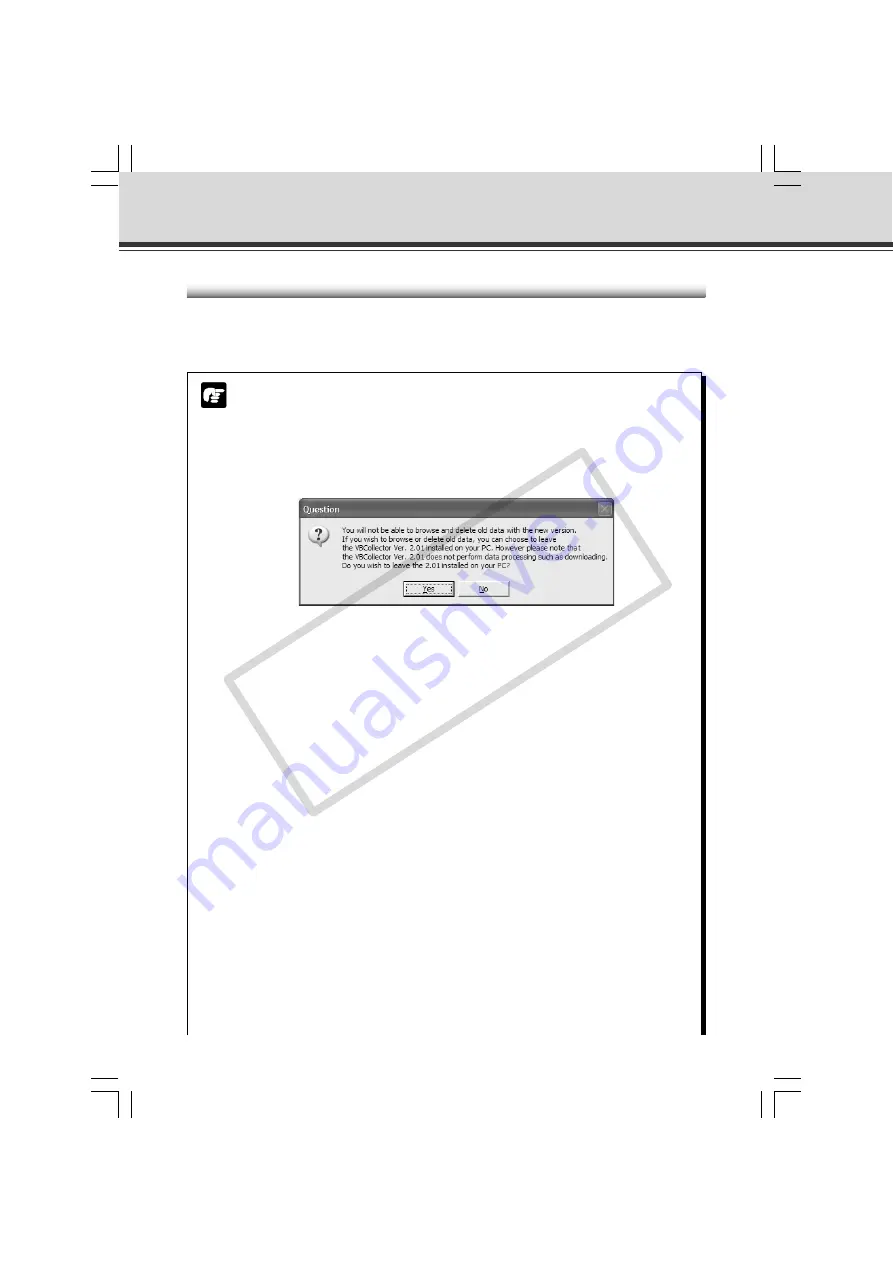
VBCollector 3.0. If you have VBCollector version 2.1 or earlier already installed, a
dialog box appears giving you the option of choosing whether you want to uninstall
the old version. If you wish to view images saved in the old version, select “Yes”.
If you select “No” to uninstall the old version, the old version is uninstalled and
VBCollector 3.0 is then installed.
[Before uninstalling the old version]
Uninstalling the old version of VBCollector does not delete images recorded using
that version and the images cannot be deleted from VBCollector 3.0. Use the old
version to delete the images before installing VBCollector 3.0.
[Retaining your settings]
Regardless of whether you uninstall the old version of VBCollector, the settings
are retained and applied in VBCollector 3.0, with the following exceptions. Specify
these settings after VBCollector 3.0 is installed.
• “What to do when the free space falls below the specified value” (
→
P.6-36)
• “Set max. number of data per download” (
→
P.6-36)
After specifying the settings, conduct thorough testing beforehand to ensure that
tasks run normally before commencing operation.
[If you retain an old version]
• You can launch the old version from “VBCollector Task View” in the Start menu.
• Launching the old version will not make tasks for that old version run.
• To uninstall an old version, relaunch the VBCollector 3.0 Installer and use the
Installer for the uninstallation. You cannot uninstall old versions of VBCollector
properly using the Windows “Add or Remove Programs” feature.
006-VBC50i-E-US
06.7.6, 11:40 AM
12
CO
PY

