4-30
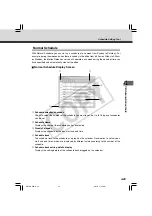
Setting Up a Normal Schedule
○ ○ ○ ○ ○ ○
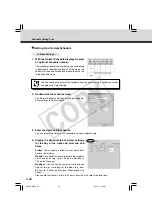
To Make Settings...
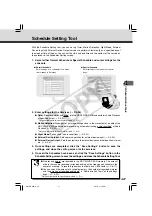
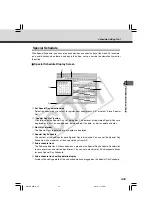
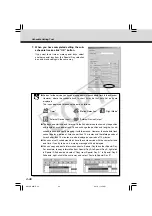
1. With the Normal Schedule displayed, select
an optional schedule number.
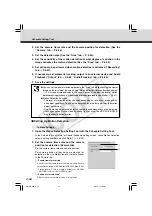
The schedule track for the number you have selected
is displayed in the weekly calendar. At this stage, the
correct start and end time and services are not set up
in the schedule track.
Schedule Setting Tool
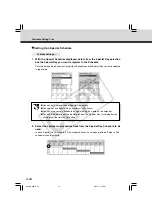
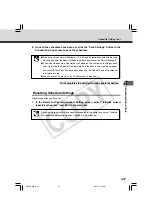
2. Double-click the schedule track.
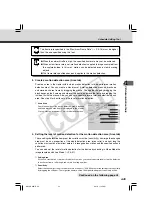
The Normal Schedule Settings dialog box appears.
Enter settings for the schedule.
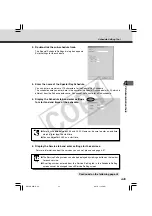
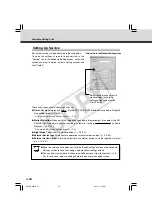
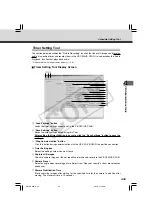
3. Enter the name of the schedule.
You can enter a maximum of 15 characters for the schedule name.
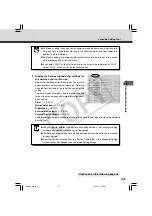
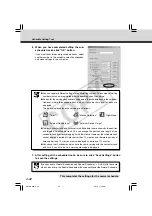
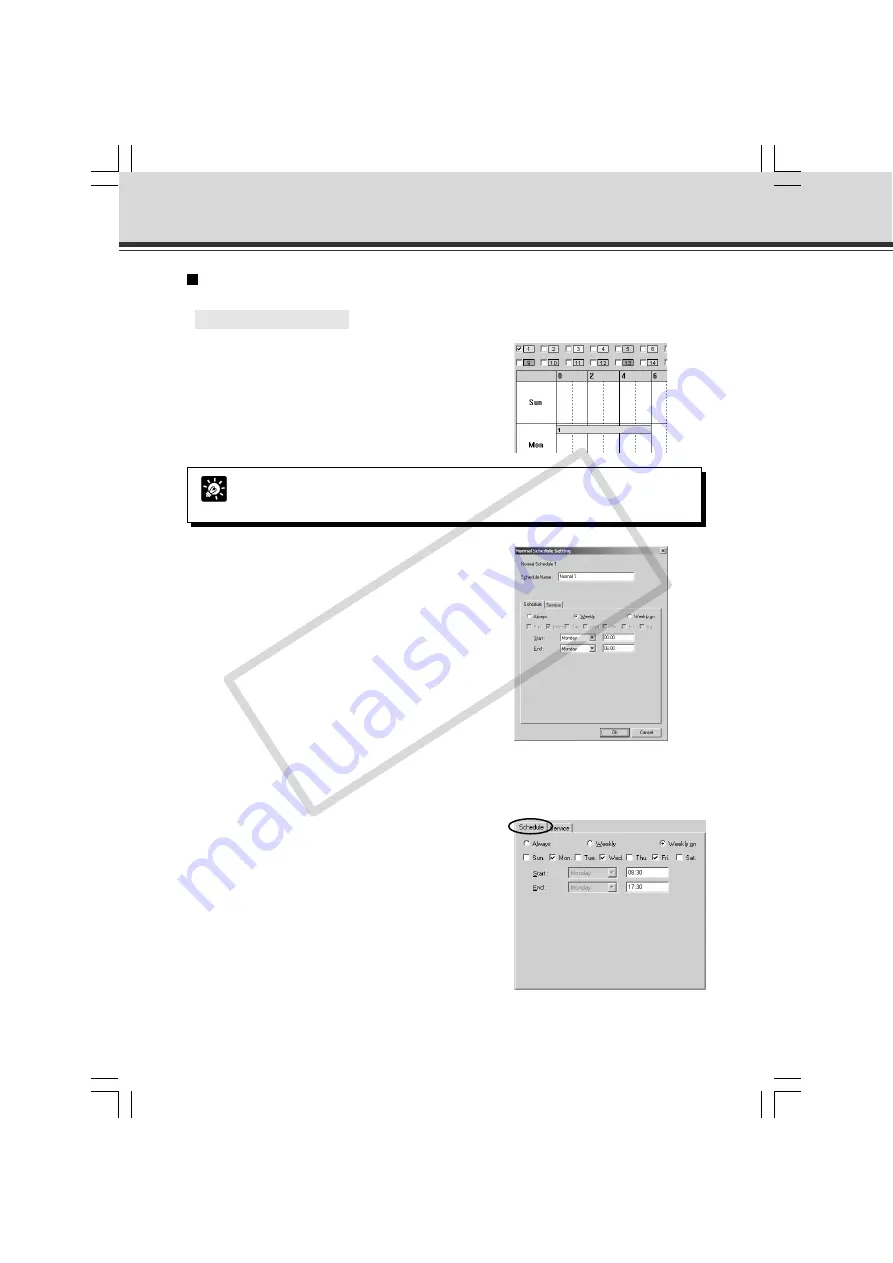
4. Display the Schedule tab and enter settings
for the day of the week and start and end
times.
Always
: The schedule is effective at all times from
Sunday to Saturday.
Weekly
: You can set the day and the time the schedule
starts and ends (e.g. from 1:00pm on Monday to
7:00am on Tuesday).
Weekly on
: You can set the same start time and end
time for two or more days of the week (e.g. from
8:30am to 5:30pm on Monday, Wednesday and
Friday).
Please note that there is a limit of 24 hours from the start time to the end time.
Tip
You can change the color of the schedule track by right-clicking a schedule number
and selecting “Color Setting”.
004-VBC50i-E-US
06.7.6, 11:35 AM
30
CO
PY

