4-43
VB Administration
T
ools
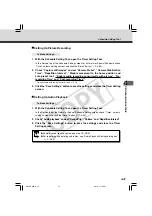
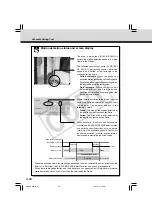
Flow of Motion Detection Settings
A summary of the procedures for motion detection is given below. Please refer to each reference
page for information about detailed setting content.
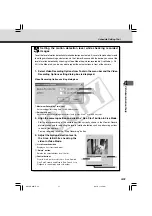
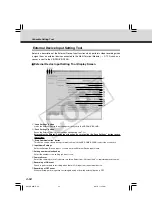
1. Open the Motion Detection Tool.
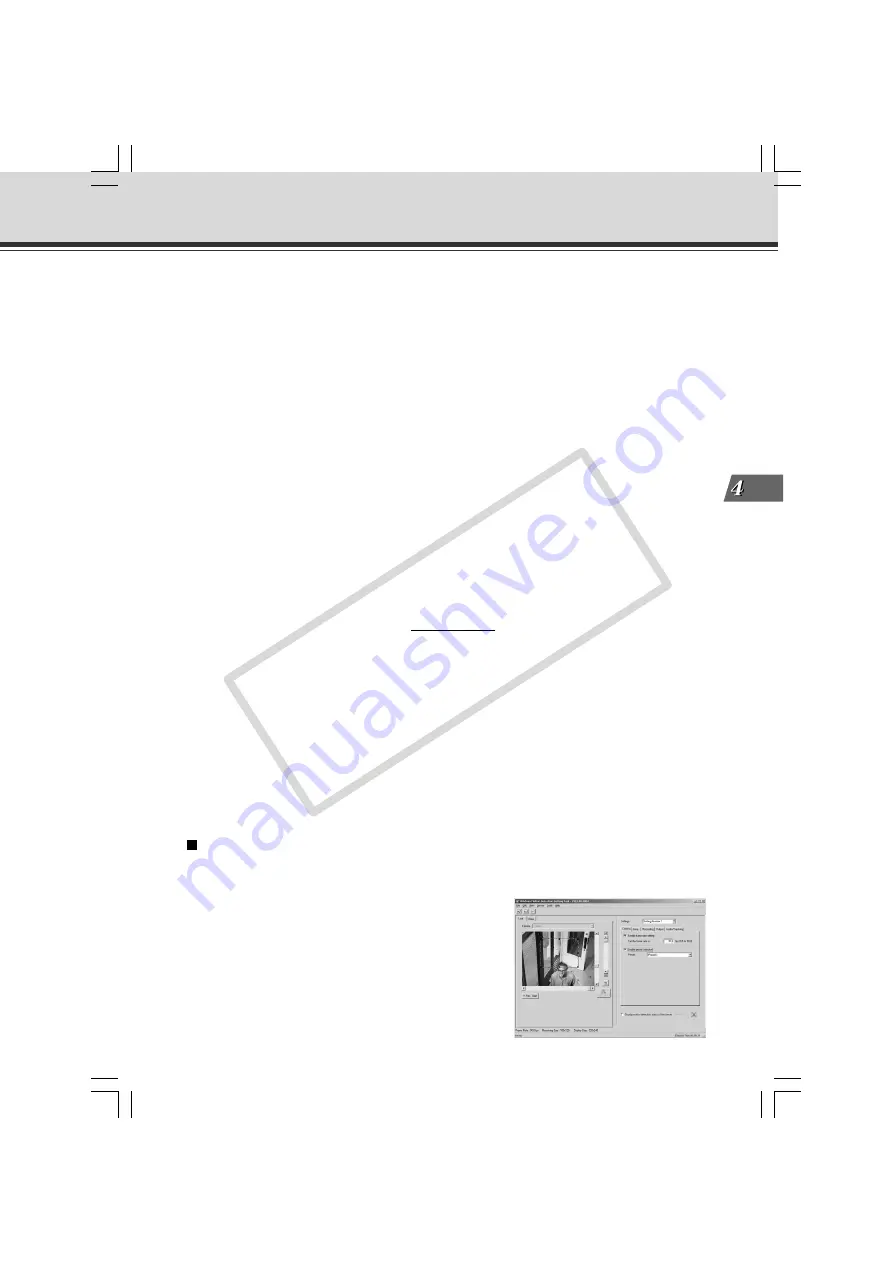
The Motion Detection Tool Setting screen appears (
→
P.4-42 “Motion Detection Setting Tool Display
Screen”).
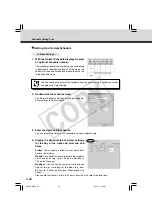
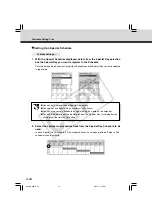
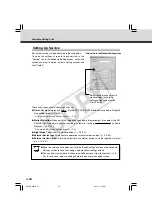
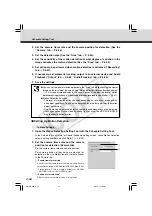
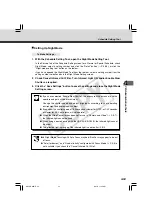
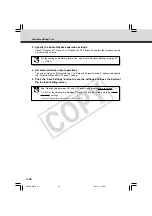
Enter settings for motion detection in the Settings tabs
on the right of the screen. There are 5 Settings tabs -
“Camera”, “Area”, “Recording”, “Output” and “Audio/
Tracking”.
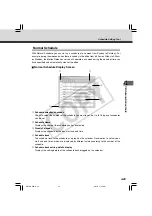
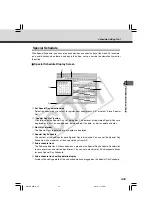
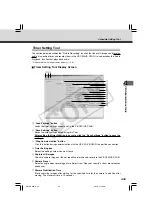
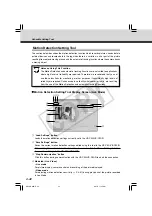
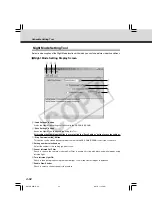
Schedule Setting Tool
t
Camera Selection box
For selecting a camera.
y
Viewer
For picture display and camera control in the same way as a normal viewer.
u
Motion detection area frame
Displays with a dotted frame the area within which motion is to be detected. The frame can be
reshaped and moved by dragging the mouse.
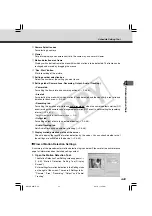
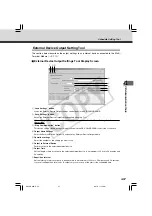
i
“Rec. Start” button
Starts recording of the picture.
o
Setting number selection box
Select the number of the setting you want to use.
!0
Settings tabs (Camera, Area, Recording, Output, Audio / Tracking)
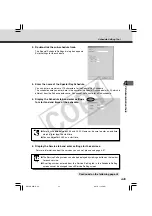
• Camera tab
For setting the frame rate and camera positions (
→
P.4-44).
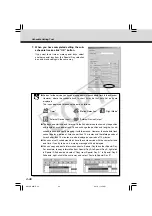
• Area tab
For selecting the area within which motion is to be detected and the sensitivity, area ratio and
duration for each area (
→
P.4-45).
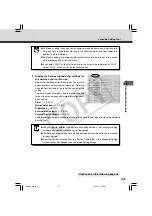
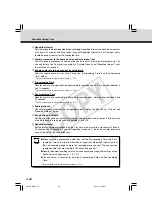
• Recording tab
For setting the duration of picture and audio recording* when the camera detects motion (ON
event) or when the camera can no longer detect motion (OFF event), and for setting the recording
interval (
→
P.4-47).
*
Only available with two particular models (
→
P.iii)
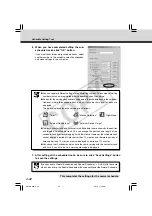
• Output tab
For setting output of data to an external device (
→
P.4-48).
• Audio/Tracking tab
Sets Audio Playback and automatic tracking (
→
P.4-48).
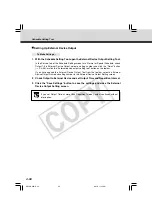
!1
Display motion detection status of the server
Check to display the results of motion detection by the server. You can check whether or not
the settings are activated in the device (
→
P.4-49).
004-VBC50i-E-US
06.7.6, 11:35 AM
43
CO
PY

