xxii
- Never open covers other than those instructed in this manual.
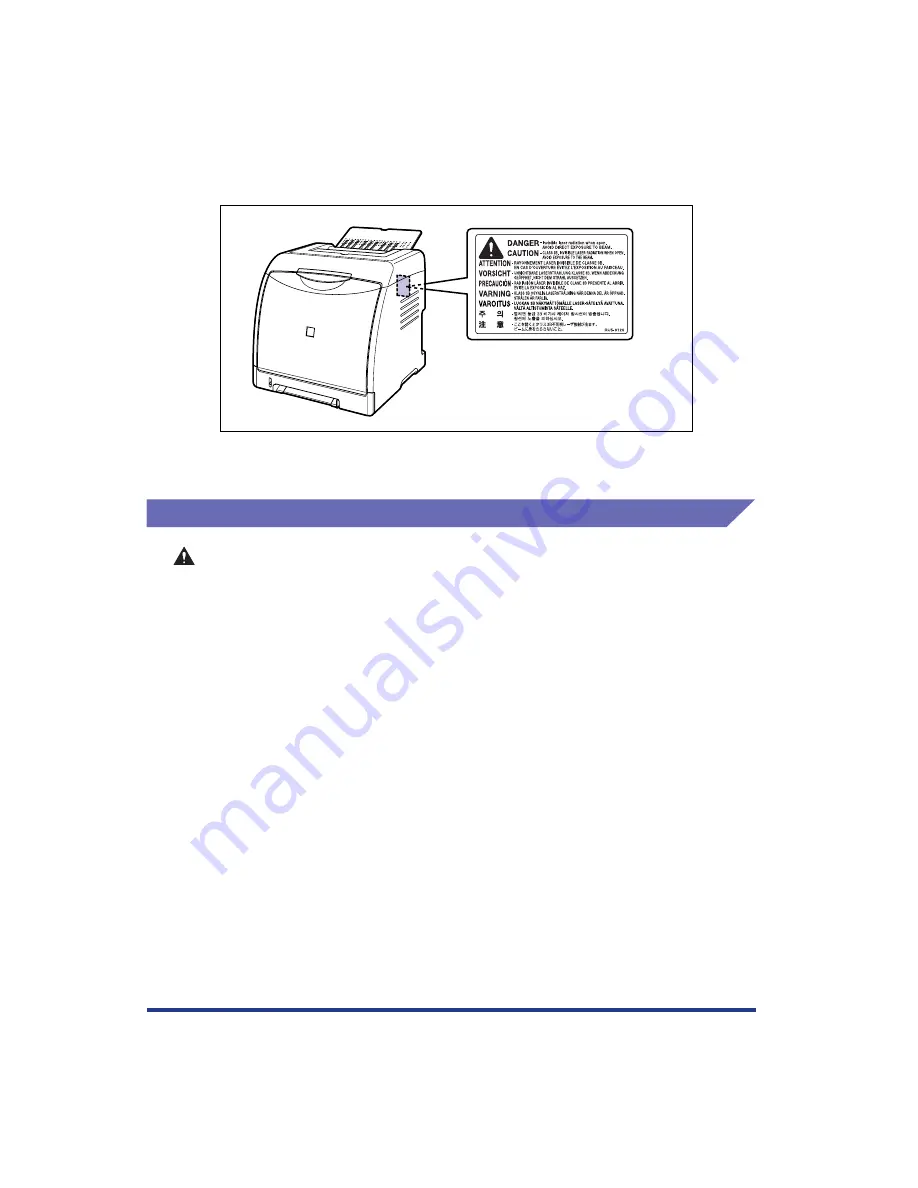
- Do not remove the caution label attached to the cover of the laser scanner unit.
- If the laser beam escapes from the printer, exposure may cause serious damage to
your eyes.
Maintenance and Inspections
WARNING
•
When cleaning the printer, turn OFF the main power switch, remove the USB cable,
and then unplug the power plug. Failure to observe these steps may result in a fire or
electrical shock.
•
Unplug the power plug from the AC power outlet regularly, and clean the area around
the base of the power plug's metal pins and the AC power outlet with a dry cloth to
ensure that all dust and grime is removed. If the power plug is plugged for a long
period of time in a damp, dusty, or smoky location, dust can build up around the
power plug and become damp. This may cause a short circuit and result in a fire.
•
Clean the printer using a slightly dampened cloth with water or a mild detergent
diluted with water. Do not use alcohol, benzene, paint thinner, or other flammable
substances. If flammable substances come into contact with electrical parts inside
the printer, it may result in a fire or electrical shock.
•
There are some areas inside the printer which are subject to high-voltages. When
removing jammed paper or when inspecting the inside of the printer, do not allow
necklaces, bracelets, or other metal objects to touch the inside of the printer, as this
may result in burns or electrical shock.
•
Do not throw a used toner cartridge into open flames, as this may cause the toner
remaining inside the cartridge to ignite, resulting in burns or a fire.
Summary of Contents for Laser Shot LBP-5100
Page 2: ...LBP5100 Laser Printer User s Guide ...
Page 79: ...Turning the Printer ON OFF 2 40 Installing the Printer 2 ...
Page 159: ...3 80 2 sided Printing Loading and Outputting Paper 3 ...
Page 337: ...5 100 Printing a Document 5 Printer Status Window ...
Page 377: ...6 40 Routine Maintenance 6 Handling the Printer ...
Page 435: ...7 58 Troubleshooting 7 Confirming the Printer Features ...
Page 473: ...9 6 Appendix 9 Dimensions of Each Part PAPER FEEDER PF 92 410 407 mm 125 118 Front Surface ...
Page 493: ...9 26 Appendix 9 Location of the Serial Number ...


