COPYRIGHT © 2001 CANON INC.
2000 2000 2000 2000
CANON CLC5000 REV.0 JAN. 2001
CHAPTER 3 INSTALLATION
3-23
Step
Work
Remarks
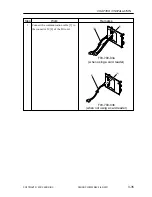
F03-304-04
Sheet
<M>
<S>
<R>
<P>
<F>
FUNC
DISP
ADJUST
COUNTER
OPTION
TEST
INIT-M
SINIT-M
STIR-M
SPLY-M
INIT-3
SINIT-K
STIR-K
INIT-7
SINIT-4
STIR-4
SPLY-K
SPLY-4
INSTALL
1/4
INIT-Y
SINIT-Y
STIR-Y
SPLY-Y
0
0
0
0
0
0
0
0
INIT-C
SINIT-C
STIR-C
SPLY-C
0
0
0
0
0
0
0
0
0
0
0
0
F03-304-05
5
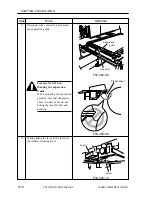
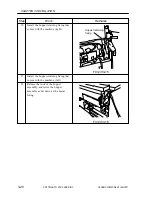
After supplying all developing assemblies
with starters, check to make sure that 10
min or more has passed since the end of
toner supply (to the hopper).
6
Install the retaining fixing.
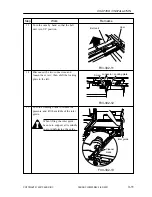
7
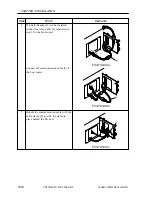
Release the lock of the hopper
assembly, and lower the hopper
assembly as far down as the hopper
assembly retaining fixing; then, remove
the sheet from the toner supply mouth
(for all colors).
Pull it down at an angle to facilitate
removal.
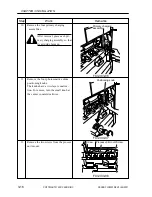
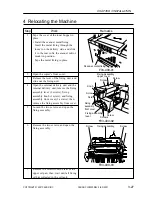
8
Remove the two laser shutter opening
tools installed in step 33.
9
Holding the left and right grips, lift the
hopper assembly while pulling it to the
front.
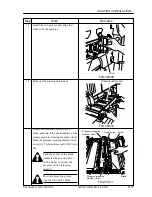
10
Remove the two hopper fixings, and
check to make sure that the lock is
released; then, set the hopper assembly
into place.
Thereafter, fix it in place with two
fixing screws.
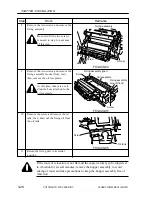
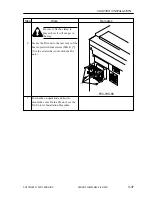
11
Press
STIR-4
.
Wait until stirring ends. (about 1 min)
Summary of Contents for CLC 5000
Page 7: ...Main Body Accessory COPYRIGHT 2001 CANON INC 2000 2000 20000 CANON CLC5000 REV 0 JAN 2001 ...
Page 574: ...COPYRIGHT 2001 CANON INC 2000 2000 2000 2000 CANON CLC5000 REV 0 JAN 2001 APPENDIX ...
Page 578: ...COPYRIGHT 2001 CANON INC 2000 CANON CLC5000 REV 0 JAN 2001 A 4 Blank page ...
Page 587: ...Service Mode COPYRIGHT 2001 CANON INC 2000 CANON CLC5000 REV 0 JAN 2001 ...
Page 725: ...Error Code COPYRIGHT 2001CANONINC 2000CANONCLC5000REV 0JAN 2001 ...
Page 727: ...COPYRIGHT 2001 CANON INC 2000 CANON CLC5000 REV 0 JAN 2001 ii CONTENTS Blank page ...


