Configuring Bridging
15-3
Configuring Default Node-Wide Bridging Parameters
If one or more Bridge ports (interfaces) will be established in the local node, certain
parameters must be configured to define bridge operation. Press
[B]
at the Configure
IP/LLC2/BRIDGE/IPX Default Parameters Menu (or
[A], [A], [E], [B]
from the Main
Menu). When prompted, enter:
●
Virtual LAN ID
– if also configuring LLC2 or Bridging in the node, enter a value
of
0–fff
(hex). Otherwise, press
[Enter]
(accepting the default of
000
).
LAN IDs can also be configured in LLC2 Interface/Bridge
Port records (later in this chapter). Each LAN ID must be
unique within the network on which this node will operate.
●
Any remaining requested information, referring to
Table 15-1
.
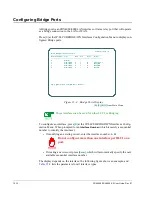
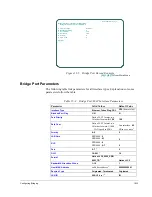
Figure 15-1 Bridge Node Defaults Configuration Screen
[A],[A],[E],[B]
from Main Menu
Node Name=node_xyz
Configure Bridge/LLC2 Node Defaults
A Virtual LAN ID
000
B Bridge Enabled
N
C Bridge Hello Time
2
D Bridge Max Age
20
E Bridge Forward Delay
15
F
Bridge Aging Timer (seconds)
300
G Bridge Priority
0
H Max Size Bridge Forwarding Table
65535
I
IP Bridging Enabled
N
J
IPX Bridging Enabled
N
K SRB ID
0
L Default Ethernet Frame Type
Type II
Option::
Summary of Contents for Netlink FRX4000
Page 2: ......
Page 16: ...xiv FRX4000 FRX6000 4 0 User Guide Rev 01 ...
Page 17: ...Section I Getting Started ...
Page 18: ......
Page 24: ......
Page 37: ...Section II Configuration ...
Page 38: ......
Page 52: ......
Page 78: ......
Page 106: ...7 24 FRX4000 FRX6000 4 0 User Guide Rev 01 ...
Page 142: ...8 36 FRX4000 FRX6000 4 0 User Guide Rev 01 ...
Page 186: ......
Page 216: ......
Page 266: ......
Page 273: ...Section III Operation ...
Page 274: ......
Page 296: ......
Page 324: ......
Page 376: ......
Page 377: ...Section IV Appendices ...
Page 378: ......
Page 384: ......
Page 390: ......
Page 396: ......
Page 400: ......
Page 405: ...Menu Structure E 5 ...
Page 406: ...E 6 FRX4000 FRX6000 4 0 User Guide Rev 01 ...
Page 425: ......
Page 426: ......

