ADVANCED EMBROIDERY
113
3
p
Touch
, then touch
and then press
the “Start/Stop” button to embroider the second
pattern.
After embroidering of the second pattern is finished,
the message to confirm to connect the next pattern
appears. Touch
.
q
When the following message appears, touch
.
r
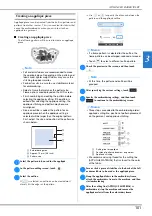
Select the third pattern C, and touch
.
s
Touch
to display the pattern connection
setting screen. In this example, we will select the top
point of the right edge for the second pattern.
t
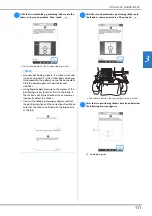
Touch the position where the third pattern will be
connected on the screen, and then touch
. In
this example, touch the upper right side of the second
pattern.
• Pattern rotates automatically when corner position is
selected.
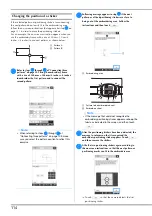
1
Touch the connecting area
2
Third pattern C
3
Second pattern B
4
Move the third pattern.
Message appears on screen and carriage will move
after touching
.
u
Follow the on-screen instruction to perform steps
k
to
o
.
v
Touch .
w
Touch
and then press the “Start/Stop”
button to embroider the third pattern.
After embroidering of the third pattern is finished, the
message to confirm to connect the next pattern
appears. When finished connecting patterns, touch
.
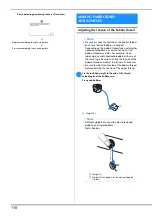
After embroidering is finished,
at the top left
side of the screen disappears.
The three patterns have been connected.
Touch
to clear the pattern.
2
1
3
4


