52
Recalling scenes automatically during recording or playback (Auto Scene)
The BR-1600CD allows you to assign scenes to markers so
that they can be recalled automatically when recording or
playback reaches the corresponding marker positions.
Referred to as Auto Scene, this function makes it possible for
track faders, effects, etc. to be controlled automatically.
Setting an Auto Scene
1.
With the top screen displayed, move to the position in the
song where you want settings to be changed automatically.
2.
Hold down [STOP] and press [MARK].
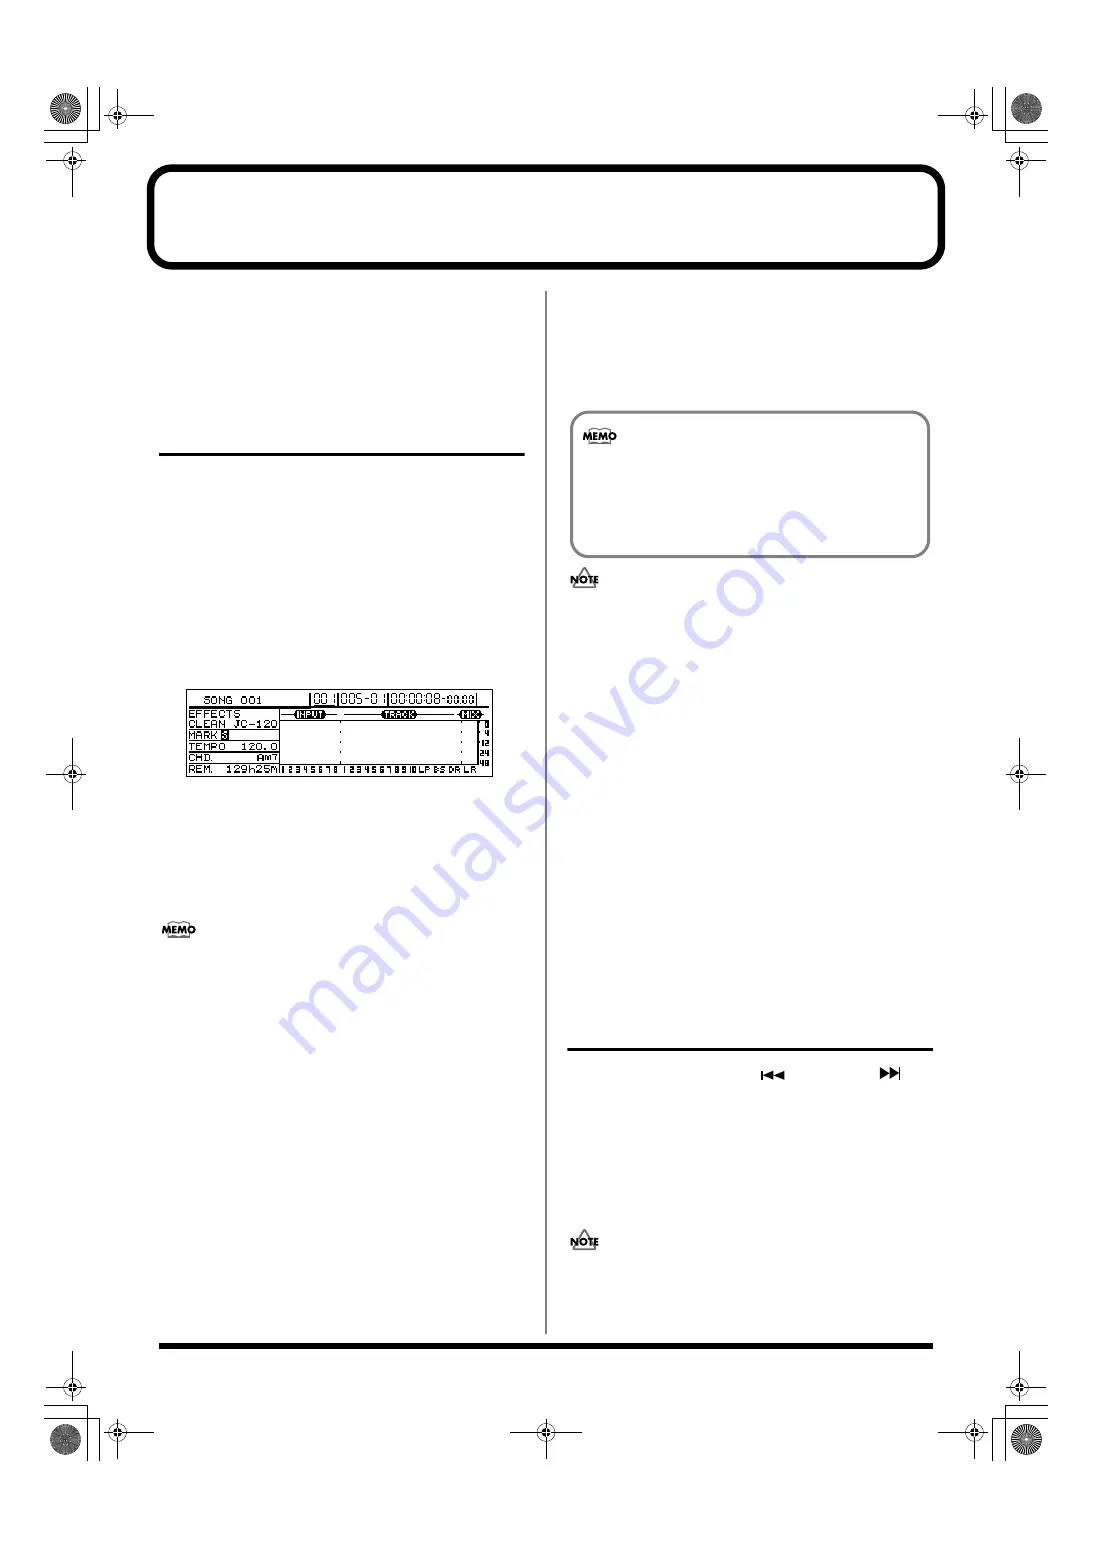
A new marker will be created at the current position.
Also at this time, a new scene will be created and
assigned to the marker. All settings for track faders,
effects, and the like will be stored in this scene.
In addition, an “S” will appear in the Marker name area
on the top screen to indicate that a scene has been
assigned to the marker.
fig.13-05
3.
Press [ZERO] to return to the beginning of the song and
then press [PLAY] to start playback.
When playback reaches the position of the new marker,
the scene that you have assigned to it will be
automatically recalled. In addition, an “S” will appear in
the top screen’s Marker name area.
Automatic recalling of scenes is not restricted to
playback and recording; in fact, scenes are recalled
automatically whenever the current position is moved to
the position of the corresponding marker, even if
playback is stopped at the time. It is important to note
that not all parameter settings stored in a scene will be
restored when it is recalled automatically. Settings are
restored for the following parameters.
• Faders for Tracks 1 through 15/16
• Track mute
• The MASTER fader
• Pan (for Tracks 1 through 15/16)
• Compressors and limiters
• EQ (for Tracks 1 through 15/16) (p. 74)
• Insert effects (p. 74), Vocal Tool Box (p. 75), Speaker
Modeling (p. 75), Mastering Tool Kit (p. 75)
• Chorus/delay sends (for Tracks 1 through 15/16)
• Reverb sends (for Tracks 1 through 15/16)
* Settings can be made to indicate whether or not EQ and effect
parameters will be restored by Auto Scene (p. 53). This is set
to OFF in the factory settings.
4.
If you wish to store the modified settings, save the
current song (p. 72).
• A maximum of 100 markers can be created in a single song,
and this includes both markers with scenes assigned and
those without. Furthermore, a maximum of 100 scenes can
be registered. If you try to create a marker or scene that will
result in the corresponding limit being exceeded, the
message “Marker Memory Full!” or “Scene Memory Full!”
will be displayed and this action will not be possible.
• When a new marker and scene are created as described
in Step 2, the lowest available number will be assigned to
this new scene.
• Markers cannot be created within 100 ms of one another.
In such instances, first clear the existing marker, and
then carry out Step 2 (p. 48).
• When a scene is recalled, there may be a delay of several
hundredths of a second before the stored settings are
actually applied to your song. Please note that this delay
is intentional and is intended to prevent noise being
generated as a result of sudden changes in parameters.
• If you do not save the song as indicated in Step 4, your
settings will not be stored.
Clearing an Auto Scene
1.
Press MARKER [SEARCH
] or [SEARCH
] to
move to the marker with the scene assignment you
wish to clear.
This marker will be shown in the display’s Marker box.
2.
Press MARKER [CLEAR].
The current marker will be cleared together with the
scene that was assigned to it.
If a scene has also been assigned to some other marker,
the scene itself won’t be erased; only the current marker
will be erased.
The allocation of scenes to markers for Auto Scene
can be modified later on. For more detailed
information regarding the modification of scene
assignments, refer to “Changing scenes assigned to
markers” (p. 50).
BR-1600_R_e.book 52 ページ 2007年12月6日 木曜日 午前9時52分
Summary of Contents for Digital Recording Studio BR-1600 CD
Page 41: ...41 Section 1 Advanced Use Section 1 Advanced Use BR 1600_R_e book 41...
Page 73: ...73 Section 2 Using Effects Section 2 Using Effects BR 1600_R_e book 73...
Page 145: ...145 Section 3 Using Rhythm Section 3 Using Rhythm BR 1600_R_e book 145...
Page 203: ...203 Section 4 Using the CD R RW Drive Section 4 Using the CD R RW Drive BR 1600_R_e book 203...
Page 220: ...220 MEMO BR 1600_R_e book 220...
Page 221: ...221 Section 5 Using MIDI Section 5 Using MIDI BR 1600_R_e book 221...
Page 239: ...239 Section 6 Using USB Section 6 Using USB BR 1600_R_e book 239...
Page 272: ...272 MEMO BR 1600_R_e book 272...
Page 273: ...273 Appendices Appendices BR 1600_R_e book 273...
Page 309: ...309 MEMO BR 1600_R_e book 309...


