194
Creating rhythm arrangements
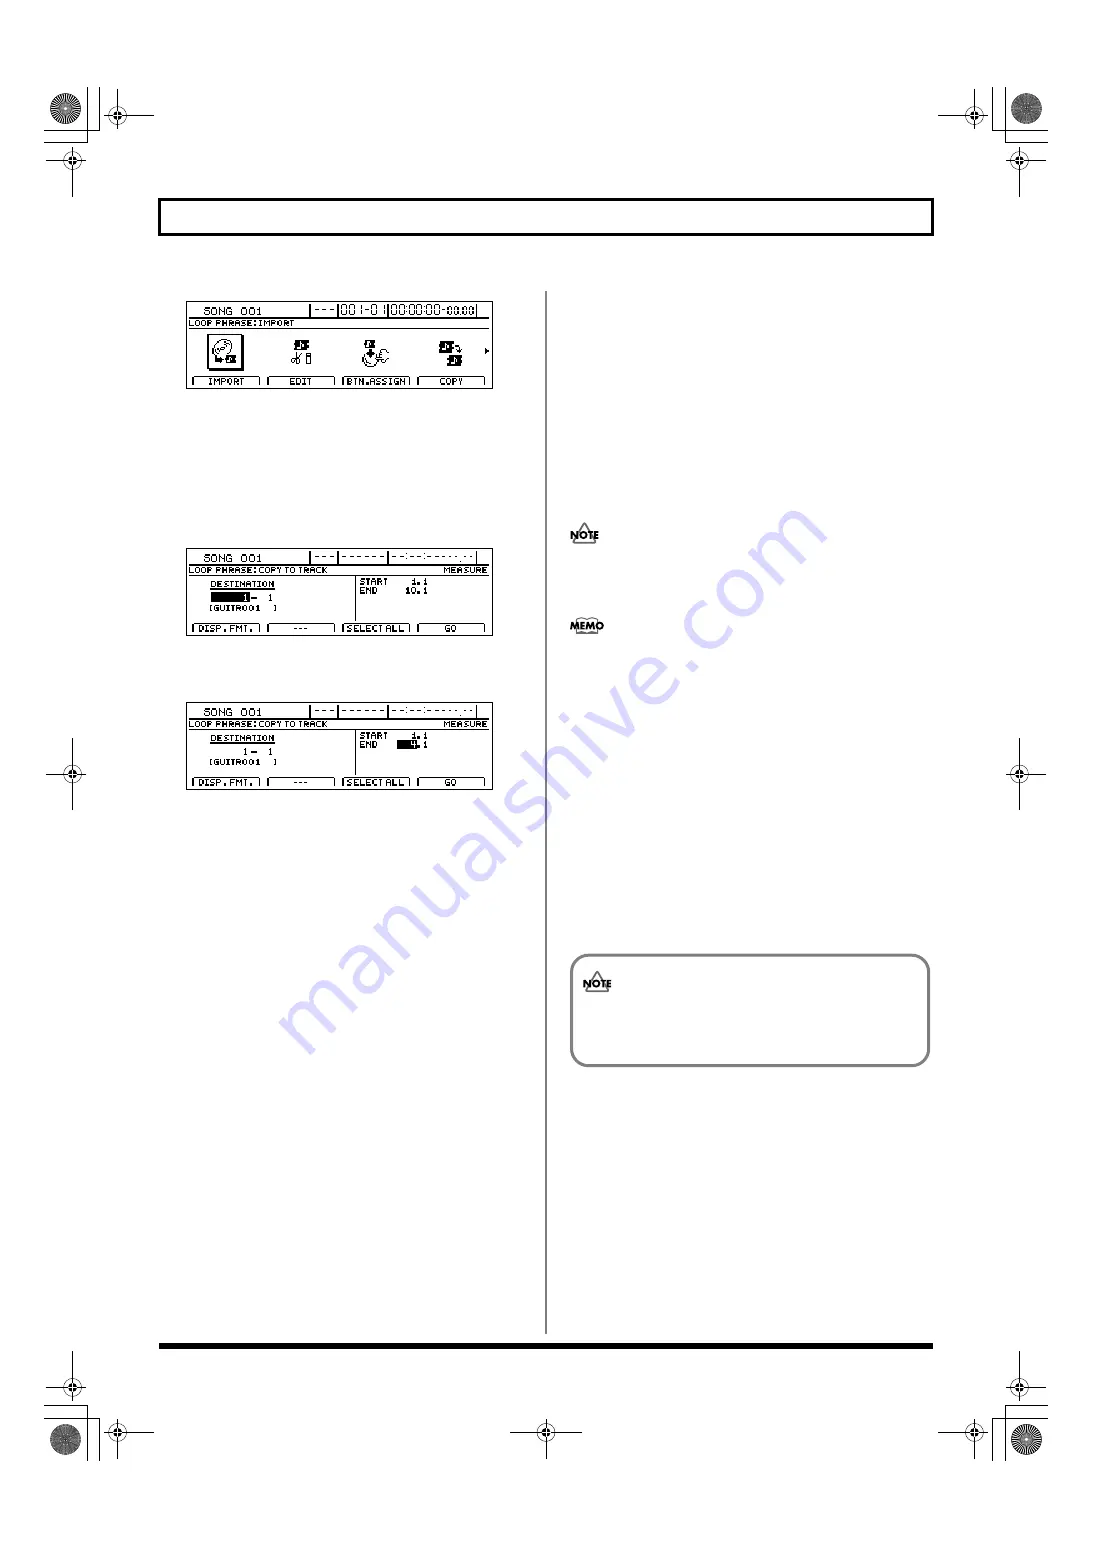
fig.21-090d
2.
Move the cursor to the TO TRACK icon and press
[ENTER/YES].
Alternatively, you can press [F3] (TO TRACK).
A screen for selecting the destination track will appear.
3.
Use [CURSOR] and the TIME/VALUE dial to specify
the copy-destination track.
fig.21-23d
4.
Move the cursor to the right half of the screen and
specify the copy range.
fig.21-24d
Pressing [F1] (DISP.FMT.) at this time will allow you
select how the positions will be specified (i.e., by
measure, time, or marker).
The following parameters should now be set.
START (Start point):
This parameter is used to specify the start point of the
audio data to be copied.
END (End point):
This parameter is used to specify the end point of the
audio data to be copied.
If time values are used to specify the above points and
you then switch the specification method to measures or
markers, a plus (+) character may be displayed to warn
that indicated positions and actual positions are not the
same. If you want to specify points using measures or
markers, this discrepancy can be eliminated by using the
TIME/VALUE dial to make settings in each of the
relevant screens.
If you want to set the range as extending from the start
of the song to the end of the Loop Phrase(s), press [F3]
(SELECT ALL).
5.
Once you’ve made all the necessary settings, press [F4]
(GO).
The message “Now Copying…” will appear on the
display and copying to the audio track will begin.
To cancel writing while this operation is in process, press
[EXIT/NO]. When the message “Cancel?” appears, press
[ENTER/YES] to confirm cancellation. (A certain
amount of time may pass between pressing of [EXIT/
NO] and display of the confirmation message.)
When the message “Complete!” appears, it indicates that
copying has been completed.
Once audio data has been copied to an audio track in this
way, it will not be possible to change its tempo at a later
time.
If you are not happy with the results of a copy operation,
you can use Undo to cancel it. (“Undo” (Basic Operation;
p. 42))
6.
Press the track button for Track 11/12 several times
until it turns off.
The Loop Phrase will now be turned off.
7.
Raise the fader for the copy-destination track to a
suitable level.
8.
Press [PLAY] to start playback.
The copied Loop Phrase will be played back from the
copy-destination track.
9.
If you wish to store the results of the copy operation,
save the current song (p. 72).
Unless the song is saved, the copied audio will be
lost when the BR-1600CD is turned off or a new song
is loaded.
BR-1600_R_e.book 194 ページ 2007年12月6日 木曜日 午前9時52分
Summary of Contents for Digital Recording Studio BR-1600 CD
Page 41: ...41 Section 1 Advanced Use Section 1 Advanced Use BR 1600_R_e book 41...
Page 73: ...73 Section 2 Using Effects Section 2 Using Effects BR 1600_R_e book 73...
Page 145: ...145 Section 3 Using Rhythm Section 3 Using Rhythm BR 1600_R_e book 145...
Page 203: ...203 Section 4 Using the CD R RW Drive Section 4 Using the CD R RW Drive BR 1600_R_e book 203...
Page 220: ...220 MEMO BR 1600_R_e book 220...
Page 221: ...221 Section 5 Using MIDI Section 5 Using MIDI BR 1600_R_e book 221...
Page 239: ...239 Section 6 Using USB Section 6 Using USB BR 1600_R_e book 239...
Page 272: ...272 MEMO BR 1600_R_e book 272...
Page 273: ...273 Appendices Appendices BR 1600_R_e book 273...
Page 309: ...309 MEMO BR 1600_R_e book 309...


