53
Recalling scenes automatically during recording or playback (Auto Scene)
Section 1
Disabling Auto Scene
Auto Scene can actually hinder your work in certain
situations if settings are automatically restored while you are
manually operating track faders and the like.
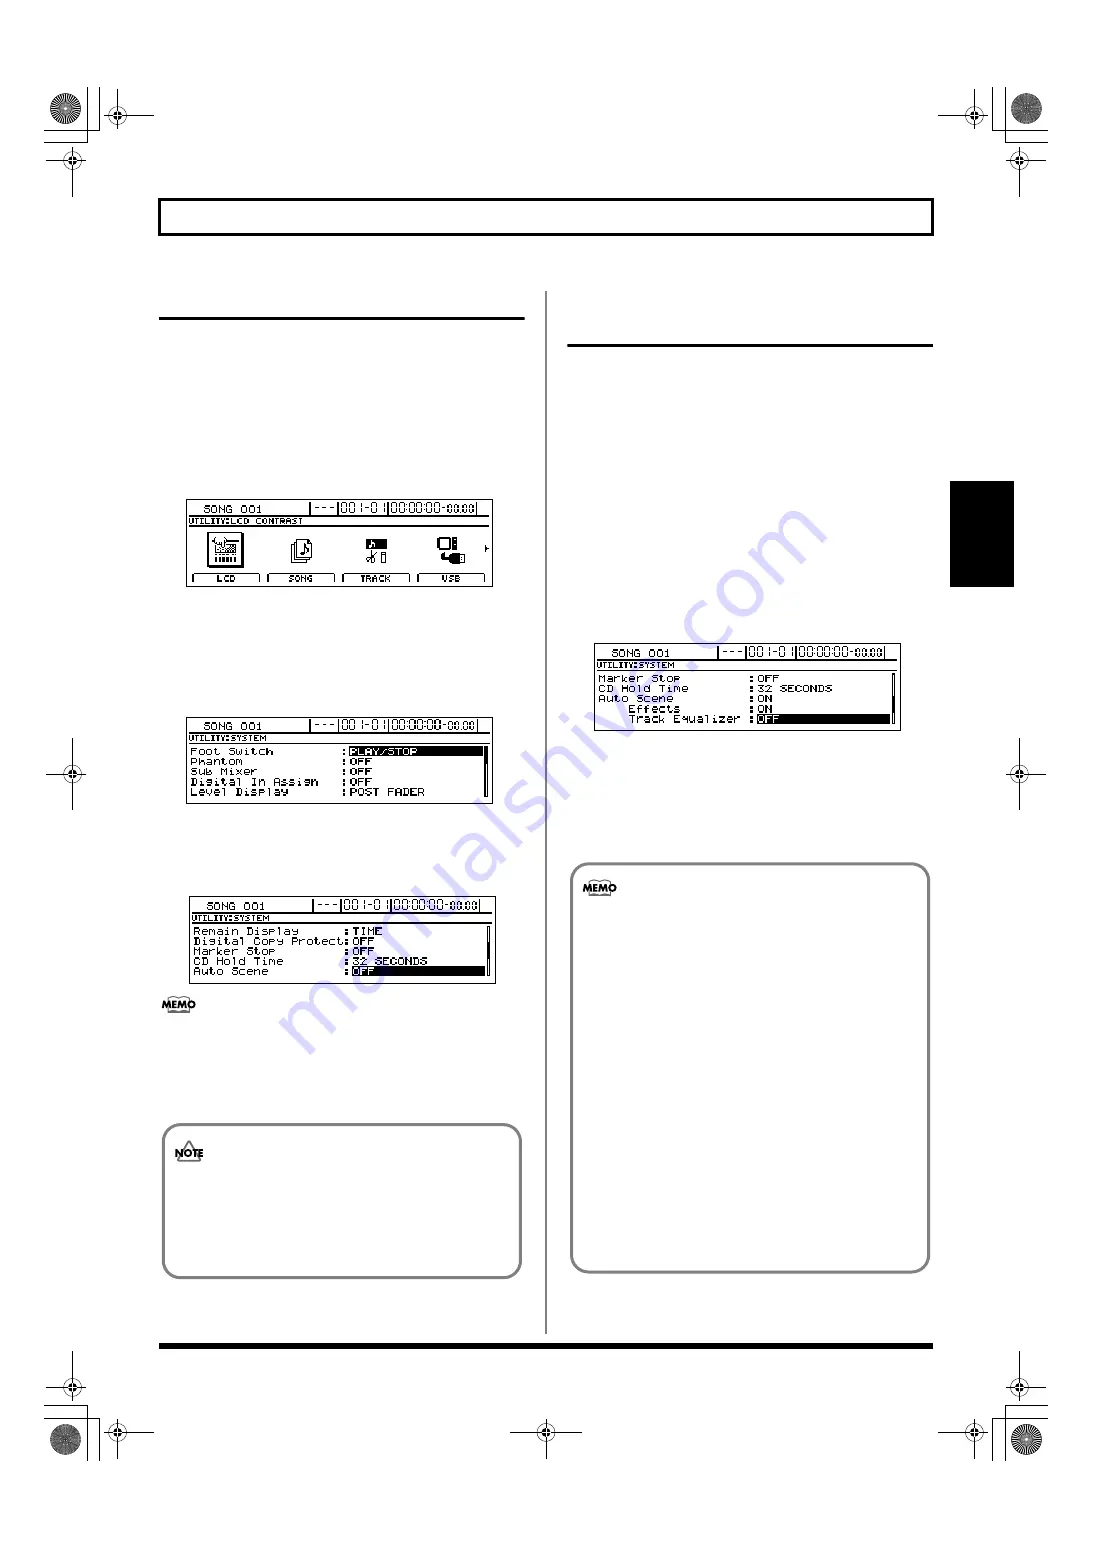
In such cases, use the following procedure to disable Auto
Scene and prevent it from changing your settings.
1.
Press [UTILITY].
The Utility Menu screen will appear.
fig.12-12d
2.
Move the cursor to the SYSTEM icon and press
[ENTER/YES].
Alternatively, you can press [F1] (SYSTEM) if the
SYSTEM icon is currently displayed.
The System screen will appear.
fig.10-03d
3.
Move the cursor to “Auto Scene” and select “OFF”
using the TIME/VALUE dial.
Auto Scene will now be disabled.
fig.13-07d
To enable Auto Scene once again, return the above
setting to “ON.”
4.
If you wish to store the modified settings, save the
current song (p. 72).
Setting Auto Scene control of
effects and track EQ
Use the following procedure to allow or forbid the control of
effects (i.e., insert effects, Vocal Tool Box, Speaker Modeling,
and Mastering Tool Kit) and of track EQ by Auto Scene.
1.
Press [UTILITY].
The Utility screen will appear.
2.
Move the cursor to the SYSTEM icon and press
[ENTER/YES].
Alternatively, you can press [F1] (SYSTEM) if the
SYSTEM icon is currently displayed.
The System Parameter screen will appear.
3.
Move the cursor to “Effects” or “Track Equalizer” and
select “ON” or “OFF” using the TIME/VALUE dial.
fig.10-03d
ON:
Control by Auto Scene is allowed.
OFF:
Control by Auto Scene is forbidden.
4.
If you wish to store the modified settings, save the
current song (p. 72).
Take care not to forget if “Auto Scene” is set to
“OFF” when saving a song, or Auto Scene will not
function afterwards. We recommend returning this
setting to “ON” as often as possible when saving
songs.
• When playback reaches a location where a marker
has been set, the scene assigned to the marker is
called up automatically, and the settings change to
those recorded in the scene, including the track EQ
and effects patch parameters.
• Be sure to note that application of the effects in the
performance may be delayed from several hundred
milliseconds to one second from the point at which
the marker is set.
• Patch switching will be possible for similar types of
effects (for example, patches from insert effects), but
not for different types. In addition, this type of
change will not be possible for different insert effect
connections (p. 82).
• Depending on the sounds used in a performance
recorded on a track, noise may be audible when the
EQ is being adjusted.
BR-1600_R_e.book 53 ページ 2007年12月6日 木曜日 午前9時52分
Summary of Contents for Digital Recording Studio BR-1600 CD
Page 41: ...41 Section 1 Advanced Use Section 1 Advanced Use BR 1600_R_e book 41...
Page 73: ...73 Section 2 Using Effects Section 2 Using Effects BR 1600_R_e book 73...
Page 145: ...145 Section 3 Using Rhythm Section 3 Using Rhythm BR 1600_R_e book 145...
Page 203: ...203 Section 4 Using the CD R RW Drive Section 4 Using the CD R RW Drive BR 1600_R_e book 203...
Page 220: ...220 MEMO BR 1600_R_e book 220...
Page 221: ...221 Section 5 Using MIDI Section 5 Using MIDI BR 1600_R_e book 221...
Page 239: ...239 Section 6 Using USB Section 6 Using USB BR 1600_R_e book 239...
Page 272: ...272 MEMO BR 1600_R_e book 272...
Page 273: ...273 Appendices Appendices BR 1600_R_e book 273...
Page 309: ...309 MEMO BR 1600_R_e book 309...


