Cursors
133
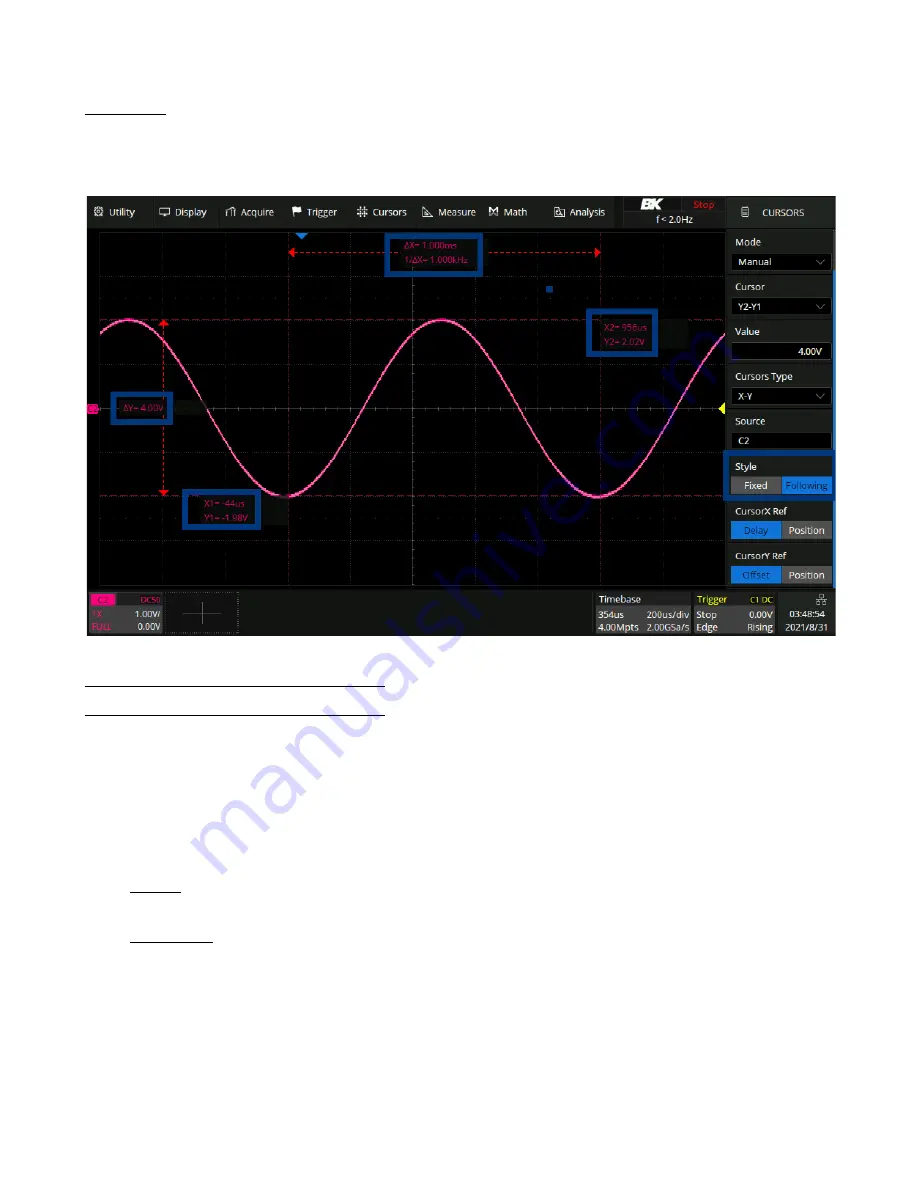
Following
The position information of each cursor and the difference between the cursors are displayed in a region on the screen.
The region can be moved by gestures to avoid covering the waveform.
Figure 11.7
Following Display Style
11.4
Make Cursor Measurements
1.
Press the
Cursors
key on the front panel to enter the CURSOR function menu.
2.
Press the
Mode
softkey and set the cursors mode to Manual or Track.
3.
Press the
Source
softkey, and then use the
Universal Knob
to select the desired source. Only analog channels, math
waveforms and reference waveforms that are displayed are available for cursors.
4.
Press the
X Ref
and
Y Ref
softkey to set the reference of X cursors and Y cursors.
•
Position
: when the horizontal/vertical scale is changed, the X/Y cursors remain fixed to the grid position on the
display.
•
Delay/Offset
: when the horizontal/vertical is changed, the value of X/Y cursors remain fixed.
5.
To make cursor measurements:
•
To measure the horizontal time, use the
Universal Knob
to move the X1 and X2 cursors to desired place. If
necessary, set the cursor type to X2-X1, move X1 and X2 cursors together.
•
To measure vertical voltage or current, use the
Universal Knob
to move the Y1 and Y2 cursors to desired place.
If necessary, set the cursor type to
“Y2
-
Y1”,
move Y1 and Y2 cursors together.
•
To adjust the transparence of the cursors message box, press the
Display/Persist
softkey and go to the second
page, press the
Transparence
(20% to 80%) softkey and then turn the
Universal Knob
to adjust the transparence
to the desired value.


