37
WWW.BIGASSFANS.COM ©2013 DELTA T LLC ALL RIGHTS RESERVED
Appendix A - Troubleshooting
Appendix A.1 - Checking wiring and settings
Symptom
Possible solution(s)
No COMS on Modbus RTU side.
If TX/RX are not flashing rapidly, there is a COM issue on the Modbus side. Check the
following:
•
Visually observe the LEDs on the ProtoNode (Appendix A.4).
•
Check the baud rate, parity, data bits, and stop bits.
•
Check the Modbus device address.
•
Verify wiring.
•
Verify all Modbus RTU devices that were discovered in the FST Web Configurator
(see Section 7.2).
Field COM issues.
Verify the following:
•
Visually observe the LEDs on the ProtoNode (Appendix A.4).
•
Visually observe the DIP switch settings (ensure correct baud rate and device
instance).
•
Verify the IP address setting.
•
Verify wiring.
If the issue still occurs, take a diagnostic capture and send it to FieldServer (Appendix A.2).
Appendix A.2 - Taking a diagnostic capture
Note: When the diagnostic capture is complete, e-mail it to [email protected]. The capture enables Support to diagnose the
issue quickly.
1.
Make sure the FieldServer utilities are loaded on the PC
(
http://fieldserver.com/techsupport/utility/utility.php).
2.
Disable any wireless Ethernet adapters on the PC/laptop.
3.
Disable the firewall and virus protection software if possible.
4. Connect a standard CAT5 Ethernet cable between the PC and the ProtoNode.
5. The default IP address of the ProtoNode is
192.168.1.24
, and the subnet mask is
255.255.255.0
. If the PC and the ProtoNode are
on different IP networks, assign a static IP address to the PC on the 192.168.1.xxx network.
6.
Do one of the following:
For Windows XP:
a. Click
Start
>
Control Panel
>
Network Connections
.
b. Right-click
Local Area Connection
, and then click
Properties
.
c. Highlight
Internet Protocol (TCP/IP)
, and then click
Properties.
For Windows 7:
a. Click
Start
>
Control Panel
>
Network and Internet
>
Network and Sharing Center
>
Change adapter settings
.
b. Right-click
Local Area Connection
, and then click
Properties
.
c. Highlight
Internet Protocol Version 4 (TCP/IPv4)
, and then click
Properties
.
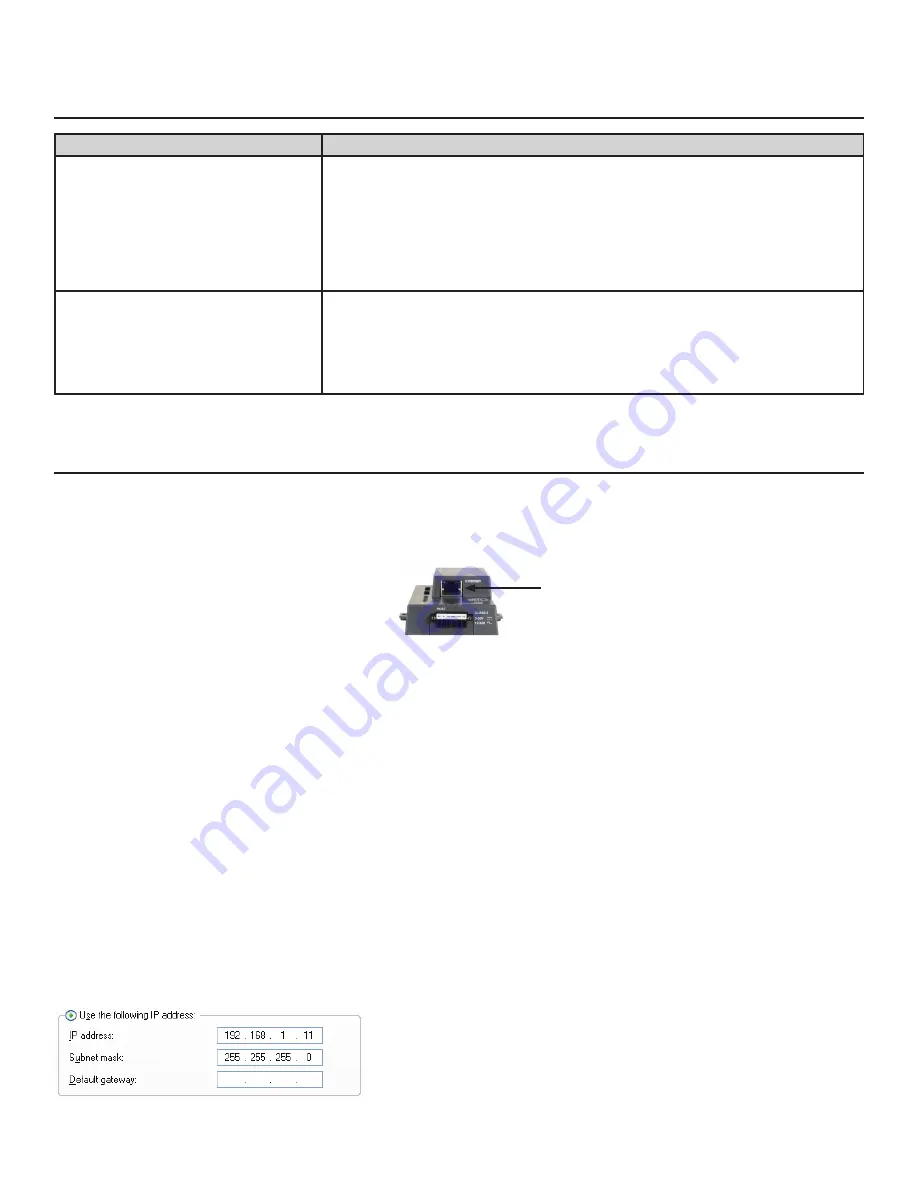
7. Select
Use the following IP address
:
8. Click
OK
twice.
Figure 30: Ethernet port location
Ethernet port


